Keep scrolling to read our written and our video walkthrough of the Warrior Path in Kena: Bridge Of Spirits. On this page:
Kena: Bridge Of Spirits Warrior Path walkthrough (Toshi’s Love quest) Shoot the three crystals in order Reach the top portal The second crystal shooting puzzle Reach the hidden area Reach the bell and defeat the Warrior
Kena: Bridge Of Spirits Warrior Path walkthrough (Toshi’s Love quest)
The Warrior Path in Kena: Bridge Of Spirits is one of three “Path” areas which lie beyond the purple barriers in the Village. These barriers cannot be passed through until you reach the “third act” of the game and gain the Spirit Dash ability. Once you reach this point and you’re ready to complete the Toshi’s Love quest, head to the southwest barrier at the Docks, and Spirit Dash through it to enter the Warrior Path. Below I’ll walk you through everything you must do to reach the end of this path - but if you’re more of a visual learner, you can watch the video above which shows me completing every step of this quest on Master level.
Shoot the three crystals in order
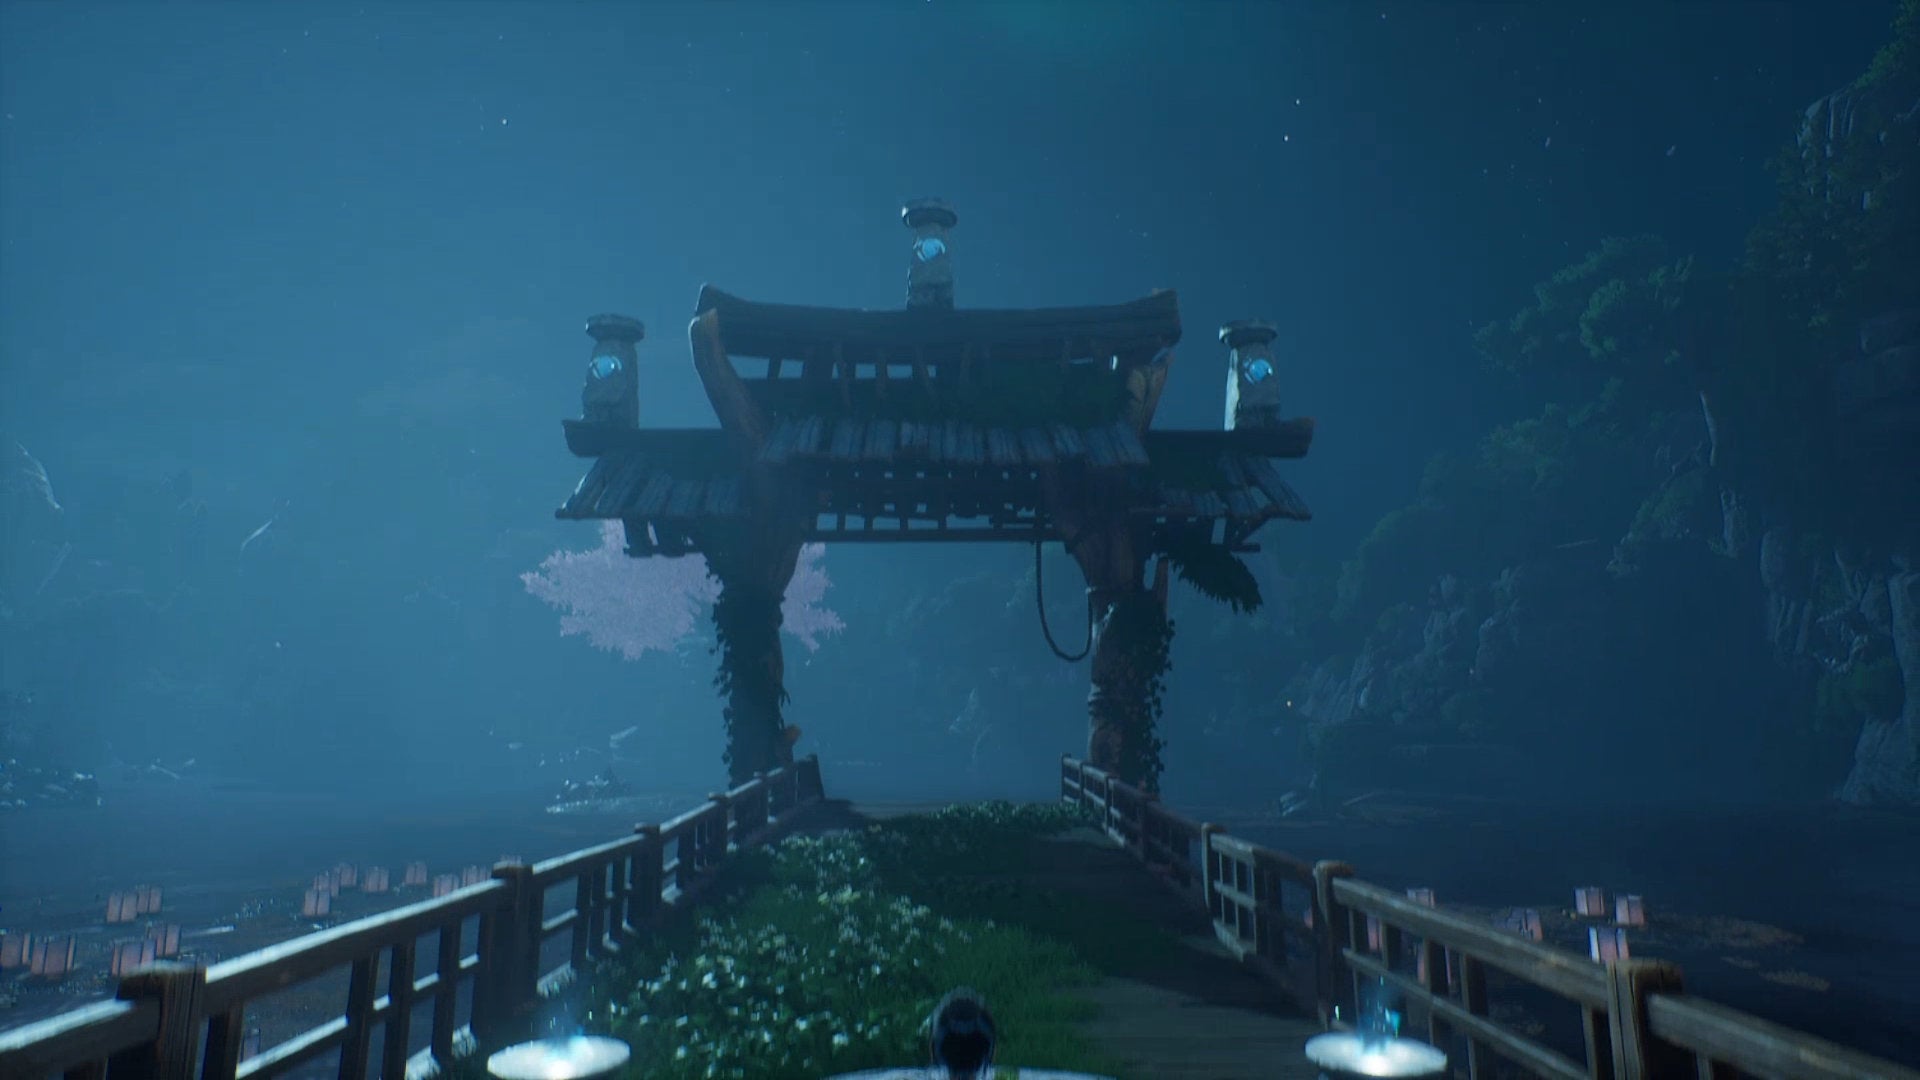
First thing you’ll see on the Warrior Path is a giant archway with three crystal statues on top. You must shoot the crystals with your Spirit Bow in the correct order to activate the portal. To find the order, look closely at the stars in the sky just above each statue. You’ll see some stars are brighter than the rest, and they’ll reveal the following order: Bear this mechanic in mind, because it reappears in another puzzle later on down the Warrior Path. For now, Spirit Dash through the portal.
Reach the top portal
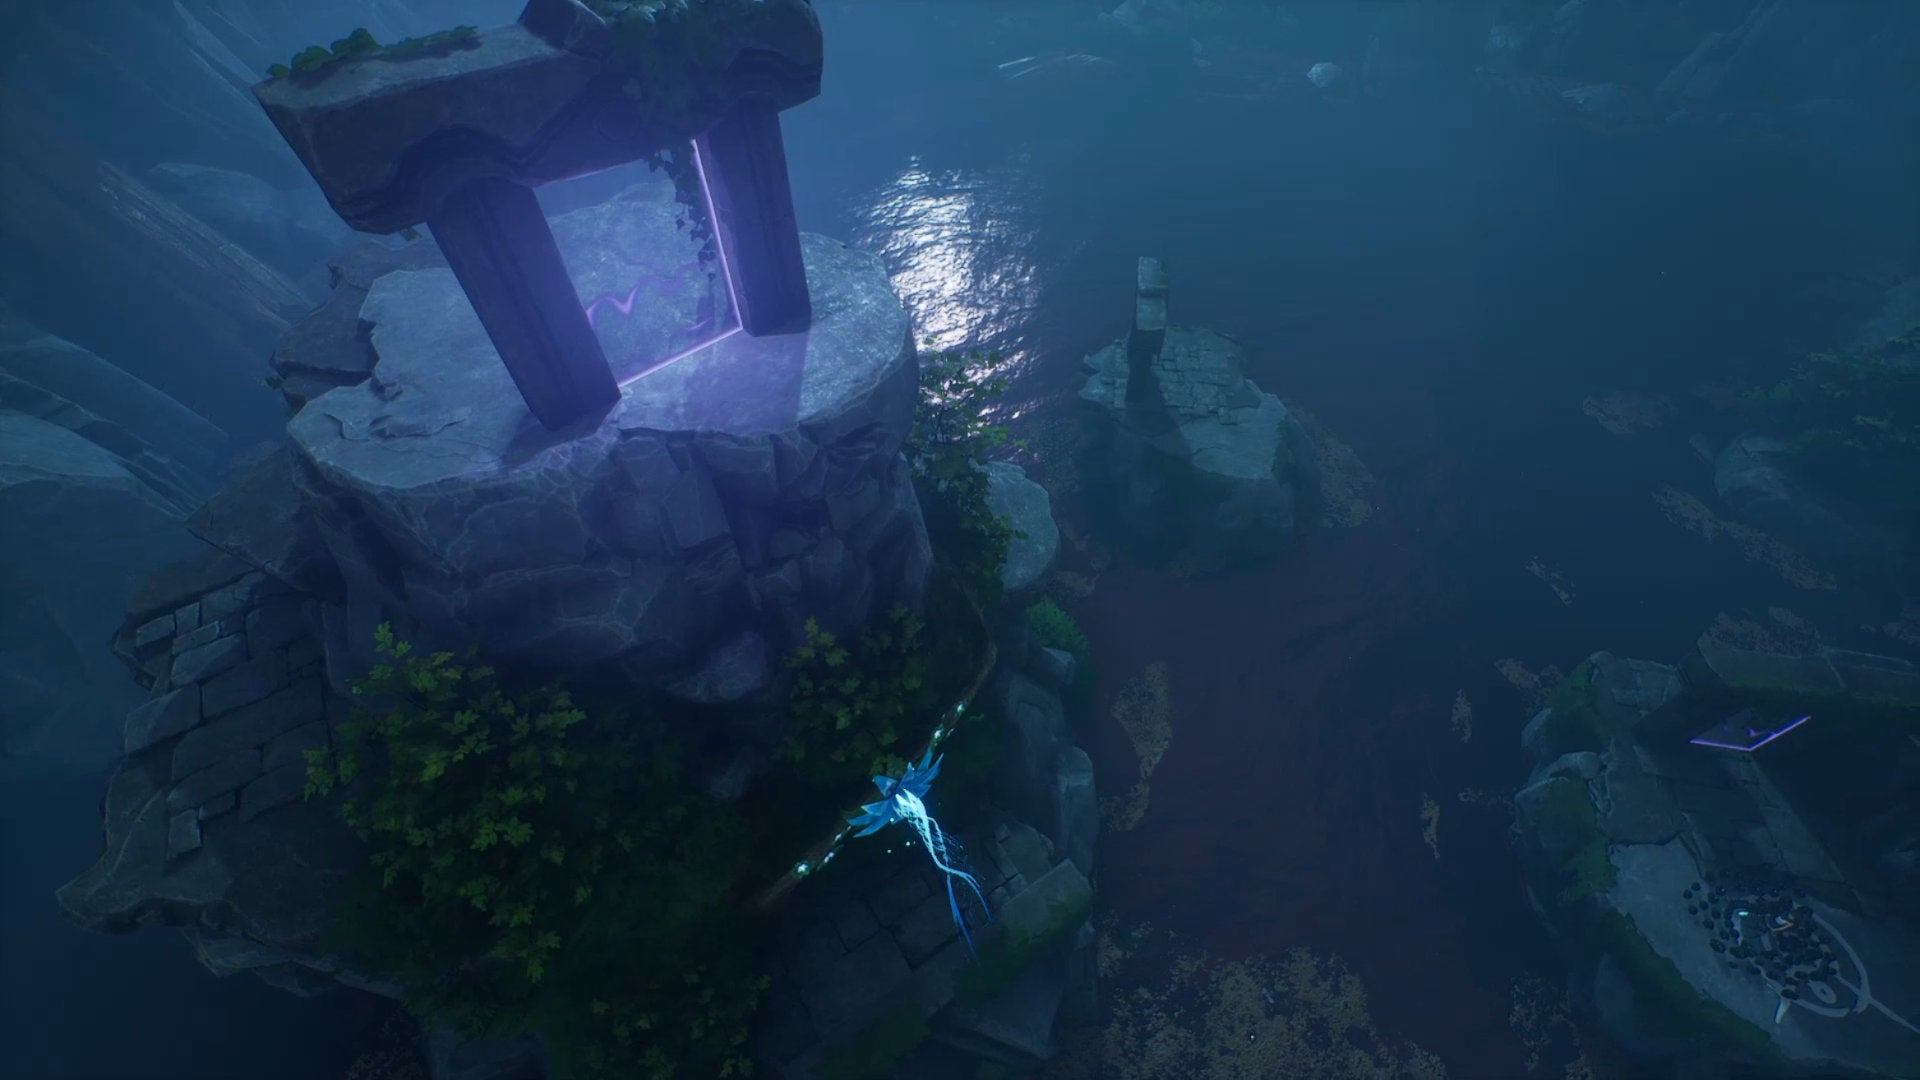
Follow the path round until you reach a gap. Throw a Spirit Bomb down at the rocks below and they’ll levitate to create a platform, in just the same way as when you gained the ability in the Storehouse earlier on in the game. This next section involves lots of portals - but first you’re treated to a quick cutscene and then a barrage of enemies to defeat. Once they’re dead, the Deadzone Heart across the way will open up. Target it with the Rot and shoot it to destroy it. The aim now is to reach the top of that little mountain where the Deadzone Heart was and head through the portal at the top. To do this, head through the portal next to you, then throw a Spirit Bomb at the cylindrical glowing section embedded into the mountain. Then immediately hop through the next portal, then do the same with the next cylindrical section. Work your way around the mountain, throwing Spirit Bombs at each of those cylindrical sections. Head through the final portal and you’ll find you’re back where you started. There’s a Blue Flower on the mountain near where the Deadzone Heart was. Grapple to it with your Bow. By Spirit Bombing those cylindrical sections you’ve now created little floating platforms all the way around and up the mountain. Follow these platforms quickly before they return to their natural cylindrical state, and Dash through the portal at the top.
The second crystal shooting puzzle
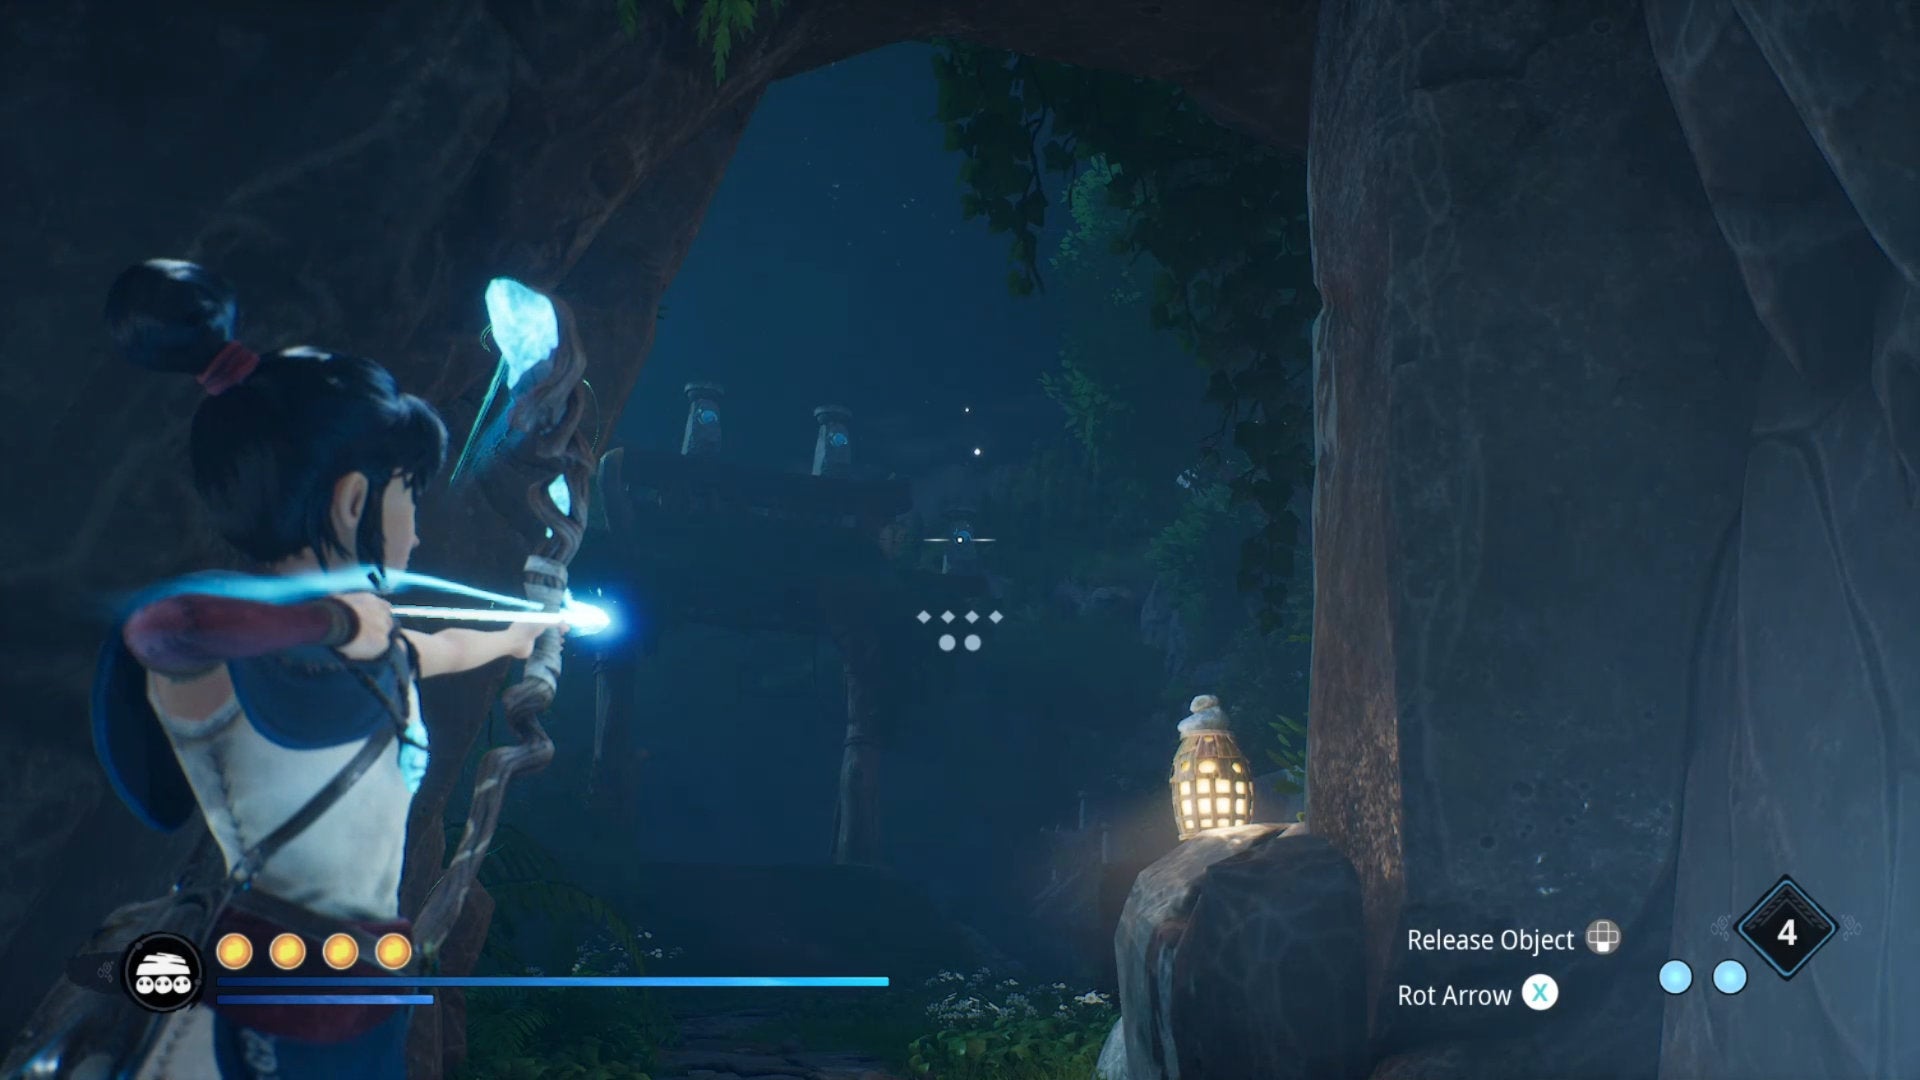
Head into the next clearing and defeat the enemies there. Two of them are the large spectral wraiths that cannot be damaged until you Spirit Dash through them, so make sure you do that first. Once the enemies are defeated, you’ll see there’s another archway, this time with four crystals that must be shot in the right order. This time, however, it’s more complicated, because you have to shoot them in the correct order and from the correct location for each one. There are four stone buttons nearby. Stand on each one and look at the crystals, and you’ll see that a constellation of stars has appeared above a certain crystal. This tells you not only which button to stand on in order to shoot which crystal, but also the order in which you must shoot them. This order is: Doing this will activate the portal which you can now Dash through.
Reach the hidden area
Turn around once you teleport, and climb up to the top platform. There’s a great view in front of you, but turn around first and hop up onto that next platform. Spirit Bomb the rocks below to create a platform, then grapple over to the Blue Flower in front of you. Follow this path round, defeating the enemies that appear before you, and Dash through the portal at the end to reach the hidden area of the Warrior Path. Here you’ll find a statue you can interact with which reveals one of Toshi’s Memories; as well as a hat and a Spirit Mail to collect. When you’re done, dash through the portal at the end to return to the beginning of this section.
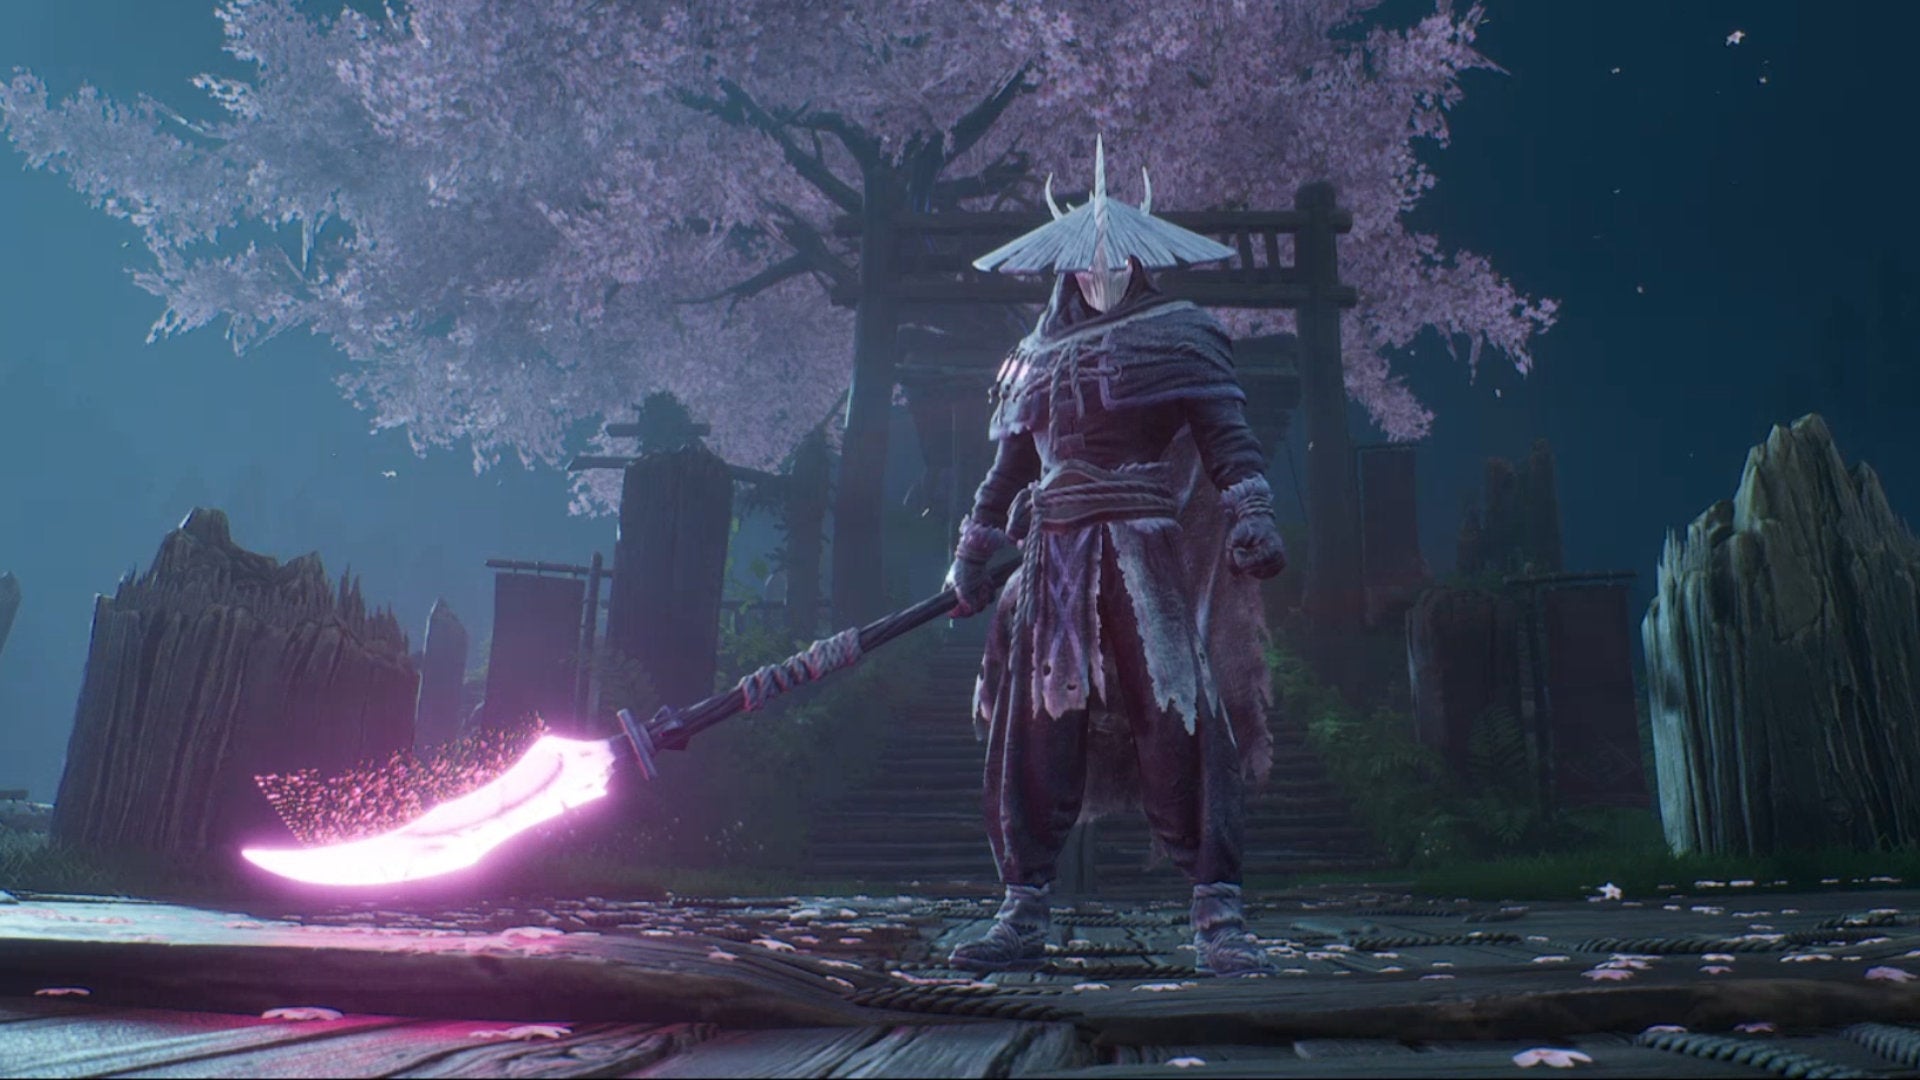
Reach the bell and defeat the Warrior
Climb up once again until you reach the great view. To the right is a slope down into nothing. Before you go down it, throw a Spirit Bomb onto the rocks below to activate the platforms. Slide down the slope and jump onto the platform. Then follow the path, Dashing across the gaps through the portals, until you reach the bell area. Run up to the bell area and tell the Rot to pull back and release the log which rings the bell. This will summon the Warrior, who you must defeat in order to claim Toshi’s relic and complete the Toshi’s Love quest. If you’re having trouble defeating the Warrior, be sure to check out our Kena: Bridge Of Spirits boss fights guide for detailed tips. Alternatively, you can check out my video walkthrough below, where I defeat the Warrior on the hardest difficulty level in the game. That’s all there is to beating the Warrior Path and completing Toshi’s Love quest in Kena: Bridge Of Spirits. If you’re after more general advice and hints on the game, be sure to take a look at our Kena: Bridge Of Spirits tips and tricks list next. Alternatively, if you want to make sure you haven’t missed anything along this route, check out our comprehensive Kena: Bridge Of Spirits map of collectibles.