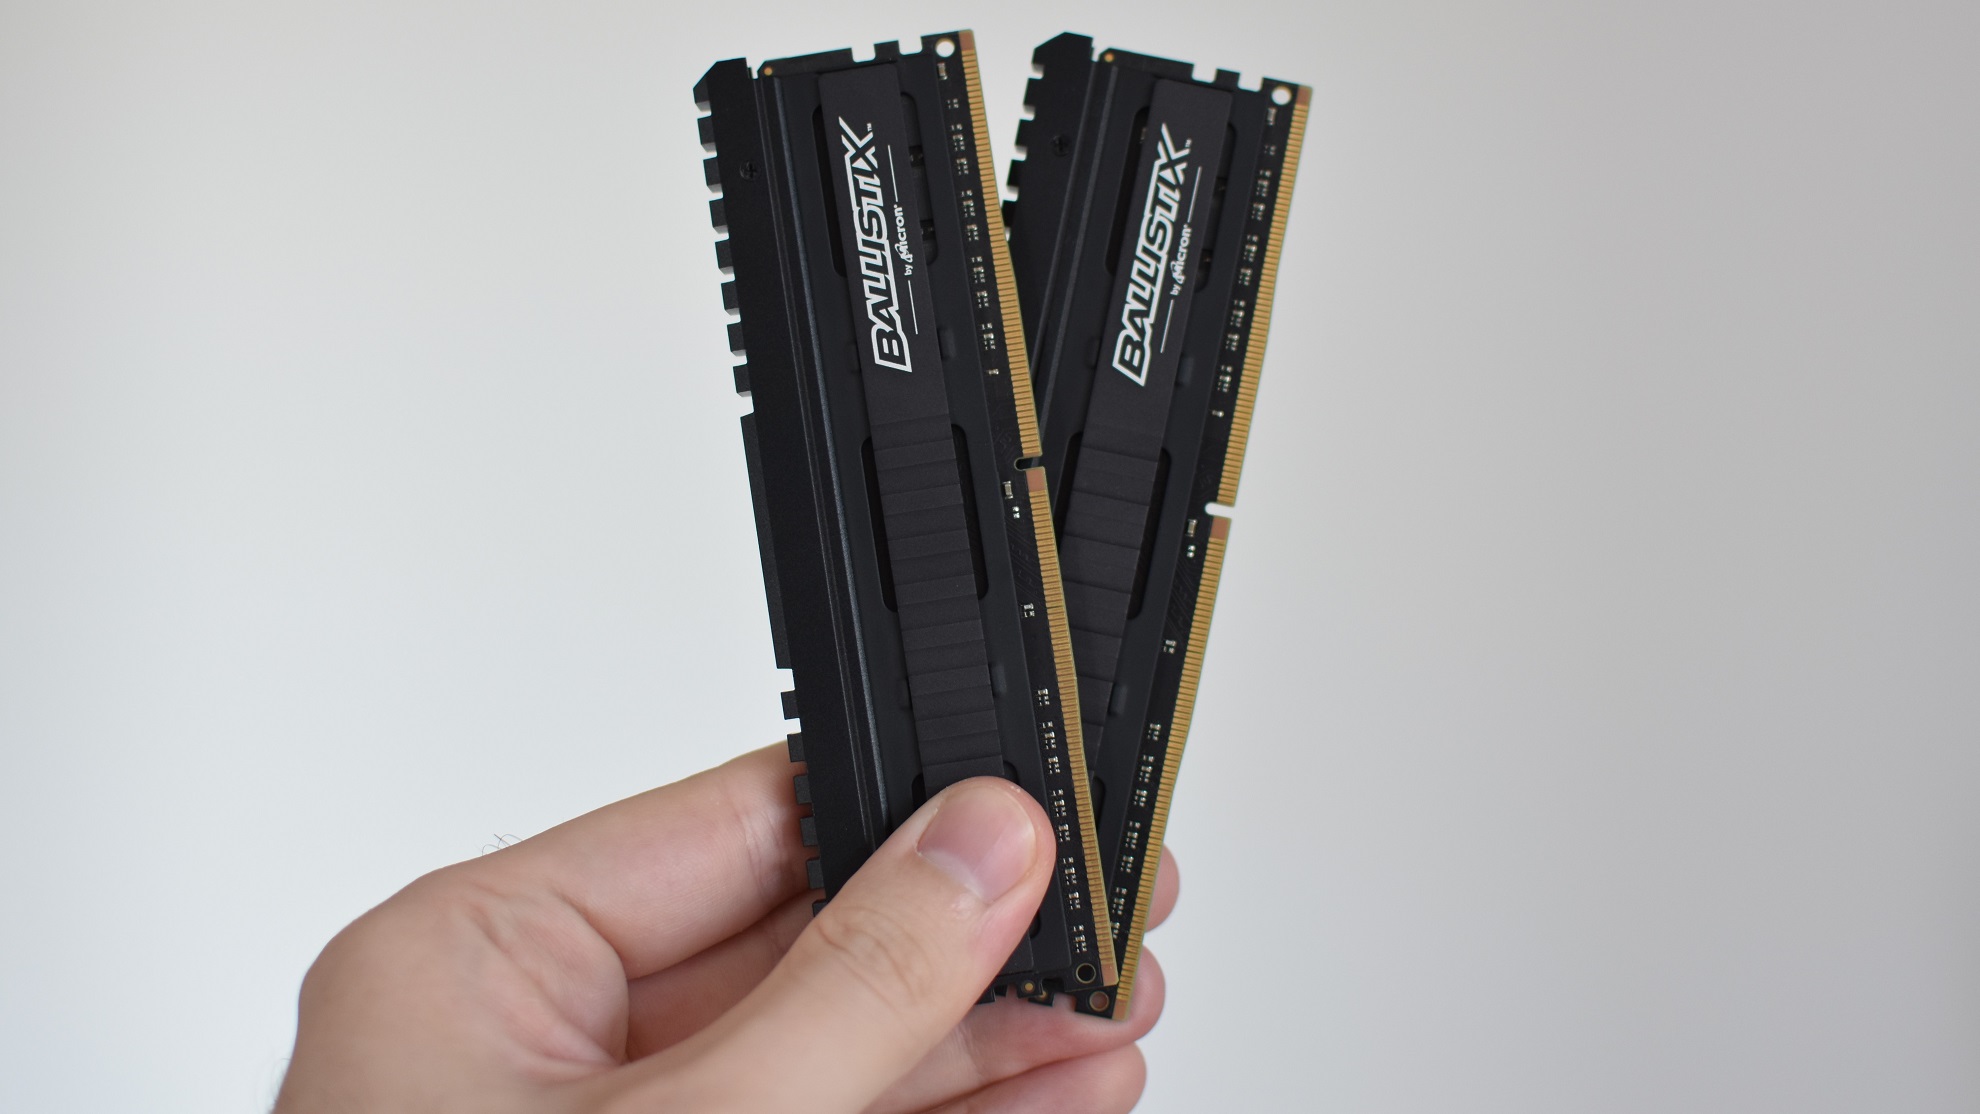
Before getting into the hands-on stuff, let’s start by making sure you have the right memory. For a desktop build, that will mean the standard DIMM form factor, with either DDR4 or DDR5 as the memory type. Which one you can use will depend on your motherboard: although the physical process of installing RAM is basically the same for DDR4 and DDR5, motherboards will only support one or the other, and they don’t fit in the other’s intended slots. Be sure, then, to only buy RAM that’s compatible with your board. You can also get much smaller SO-DIMM RAM sticks, which are designed for laptops and mini-PCs like Intel NUCs. If you own or are building a more conventional PC, even one with a relatively small case, full-size DIMM sticks are the way to go, but I’ve included a guide to installing SO-DIMM memory further down anyway. In any case, installing faster or higher-capacity can help get the most of out the best CPUs or best graphics cards, so it’s worth knowing how.
How to install RAM (the standard DIMM kind)
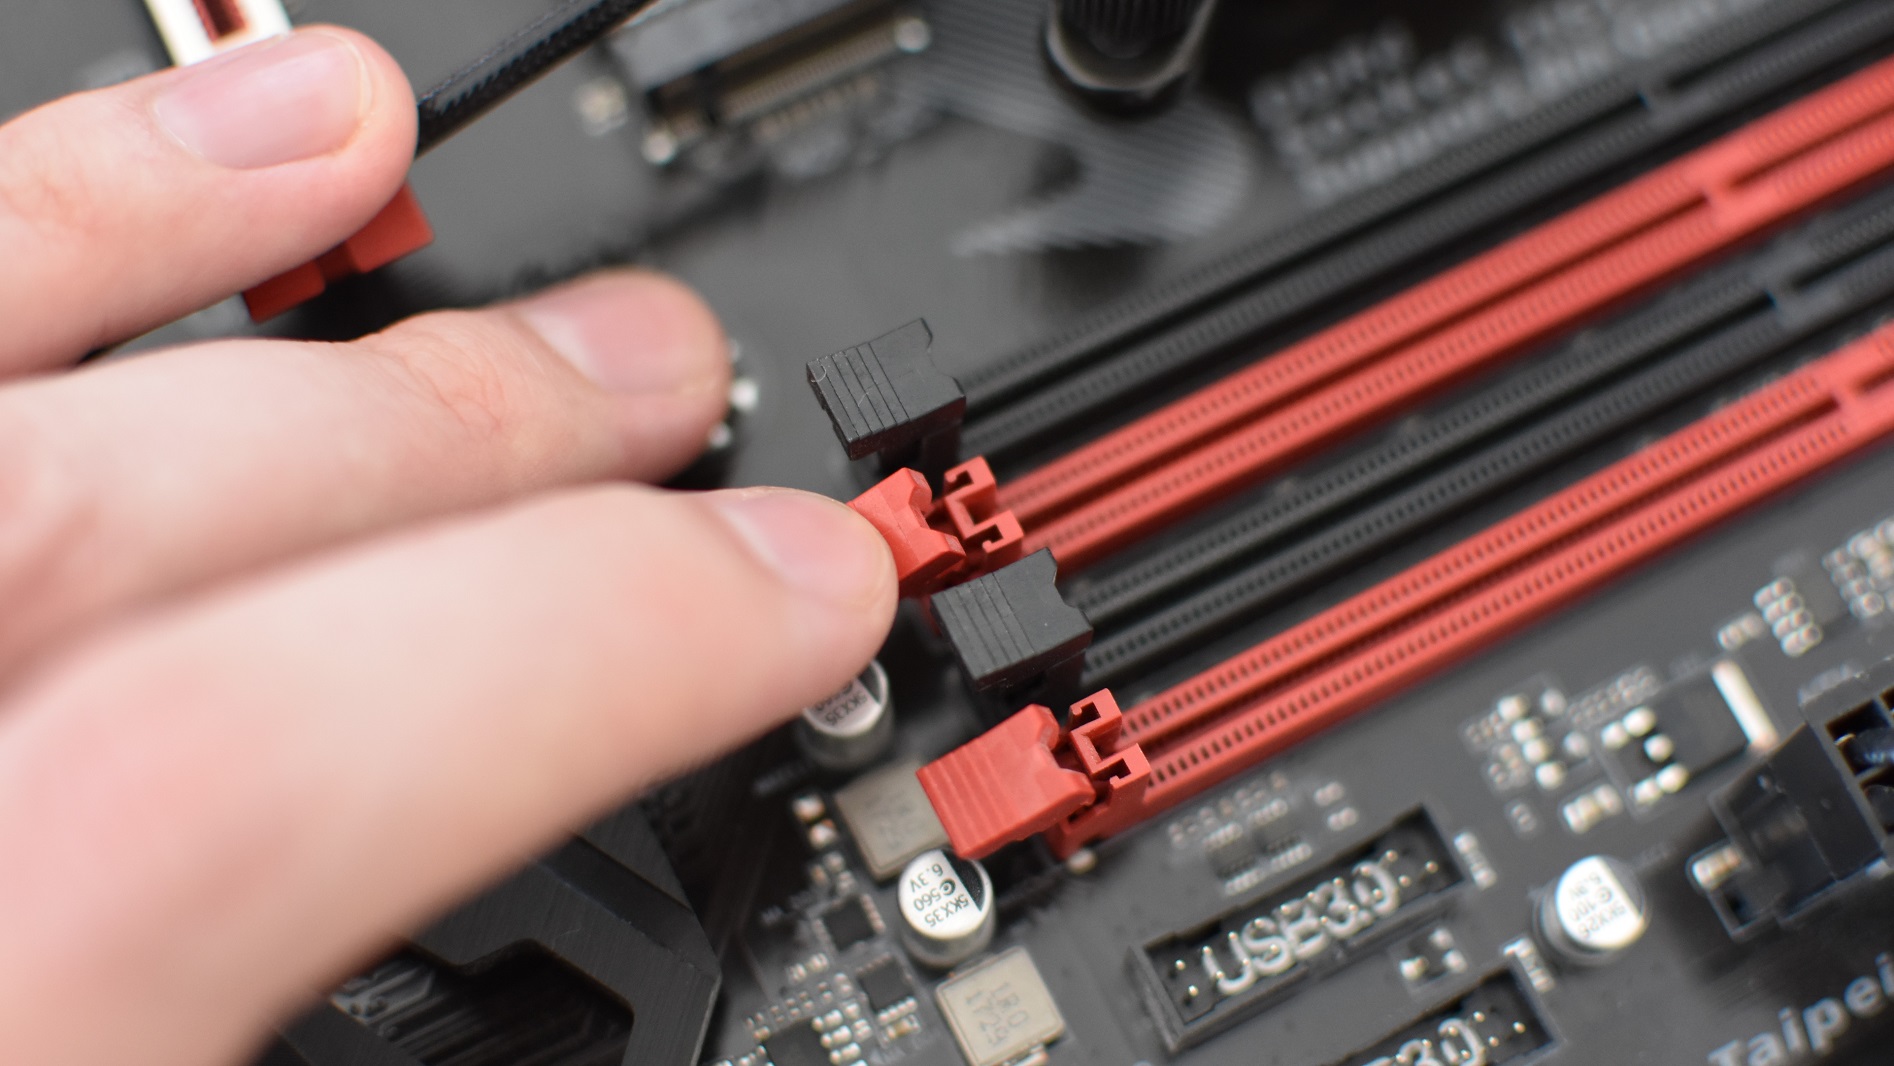
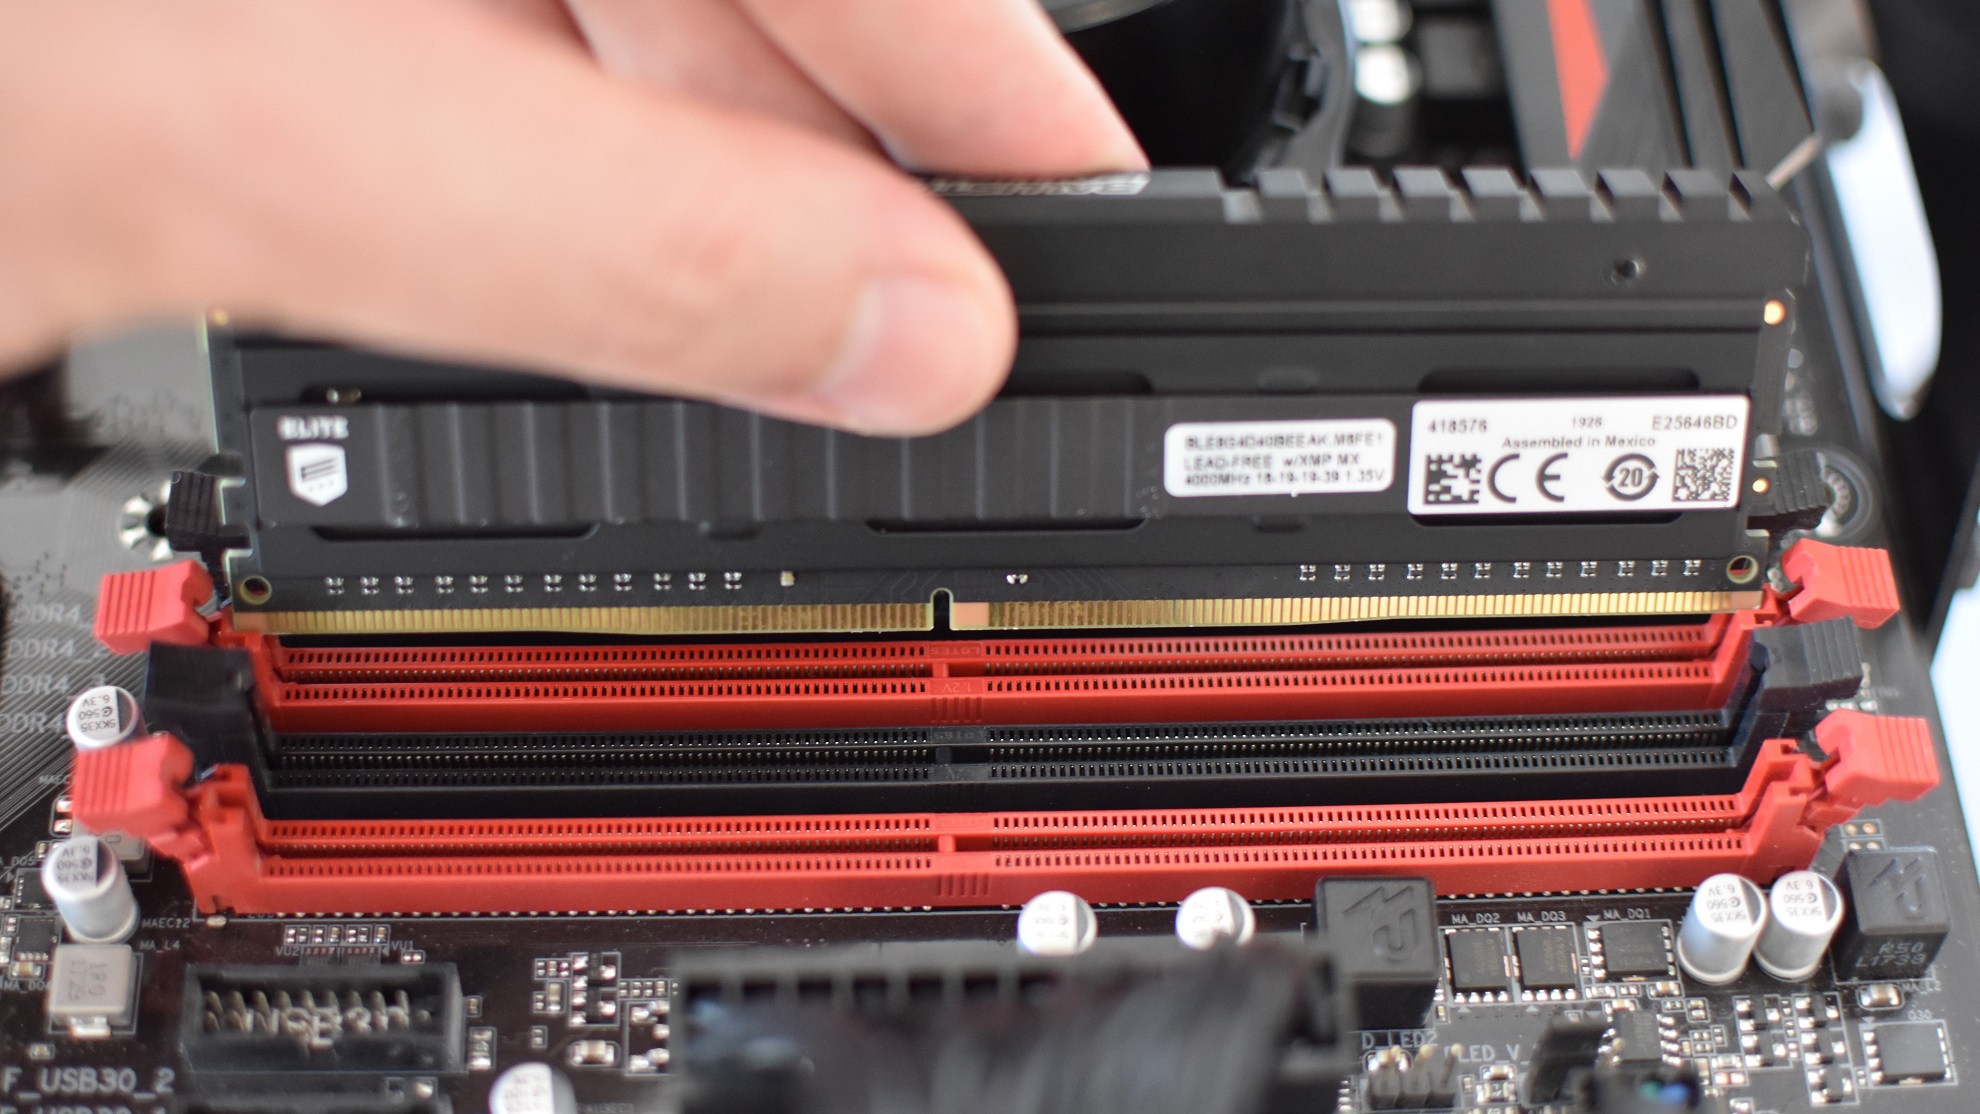
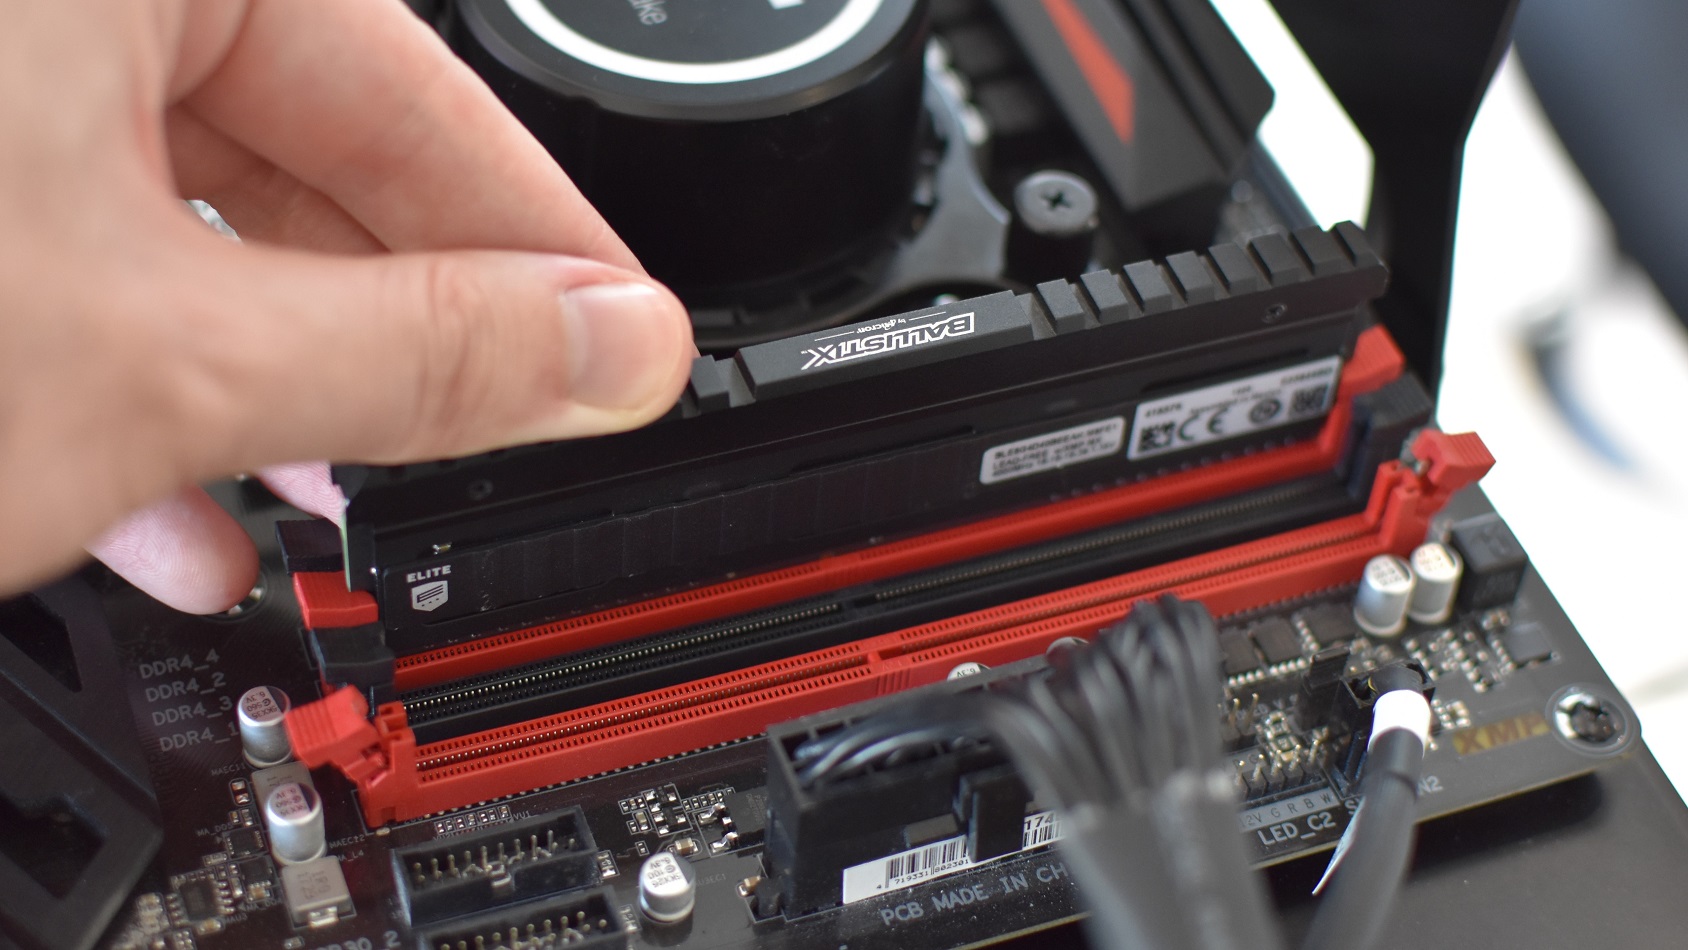
Step 1: Having made sure your RAM type is compatible with your motherboard, find the RAM slots on the motherboard – they’ll be next to the CPU socket. The number of available slots usually varies between two and eight, with a four-slot setup the most common. You can’t just shove your RAM into any of them, though. Each slot will be numbered, and you’ll need to fill them in ascending order. For example, if you have two sticks of RAM, they’ll need to go in slots 1 and 2. You can find the slot numbers in your motherboard’s manual, and/or printed on the board itself; look for lettering that reads “DDR4_1”, “DDR4_2” or similar. Note that slots 1 and 2 will usually work as a pair, as will 3 and 4, though they’re often split up so that the slots are numbered (counting left to right) as either 4-2-3-1 or 1-3-2-4. Still following? Jolly good. Once you’ve ID’d the slots you need, open their plastic clasps by pushing them down and outwards. Step 2: Line up the little notch on the bottom edge of your RAM stick with the slot. DDR4 and DDR5 sticks have this notch in different places, so you’ve somehow ended up with the wrong type…this is a good way of figuring that out, I guess? Step 3: Slide the stick downwards into the slot, and push firmly on it until you feel it click into place. The latches on the sides will snap back into place as well, securing the stick. Repeat for any other sticks you have, again making sure to follow the slot numbering scheme. If you ever need to remove your RAM, just push the clasps down to release them again, then pull the stick upwards out of its slot.
How to install SO-DIMM RAM
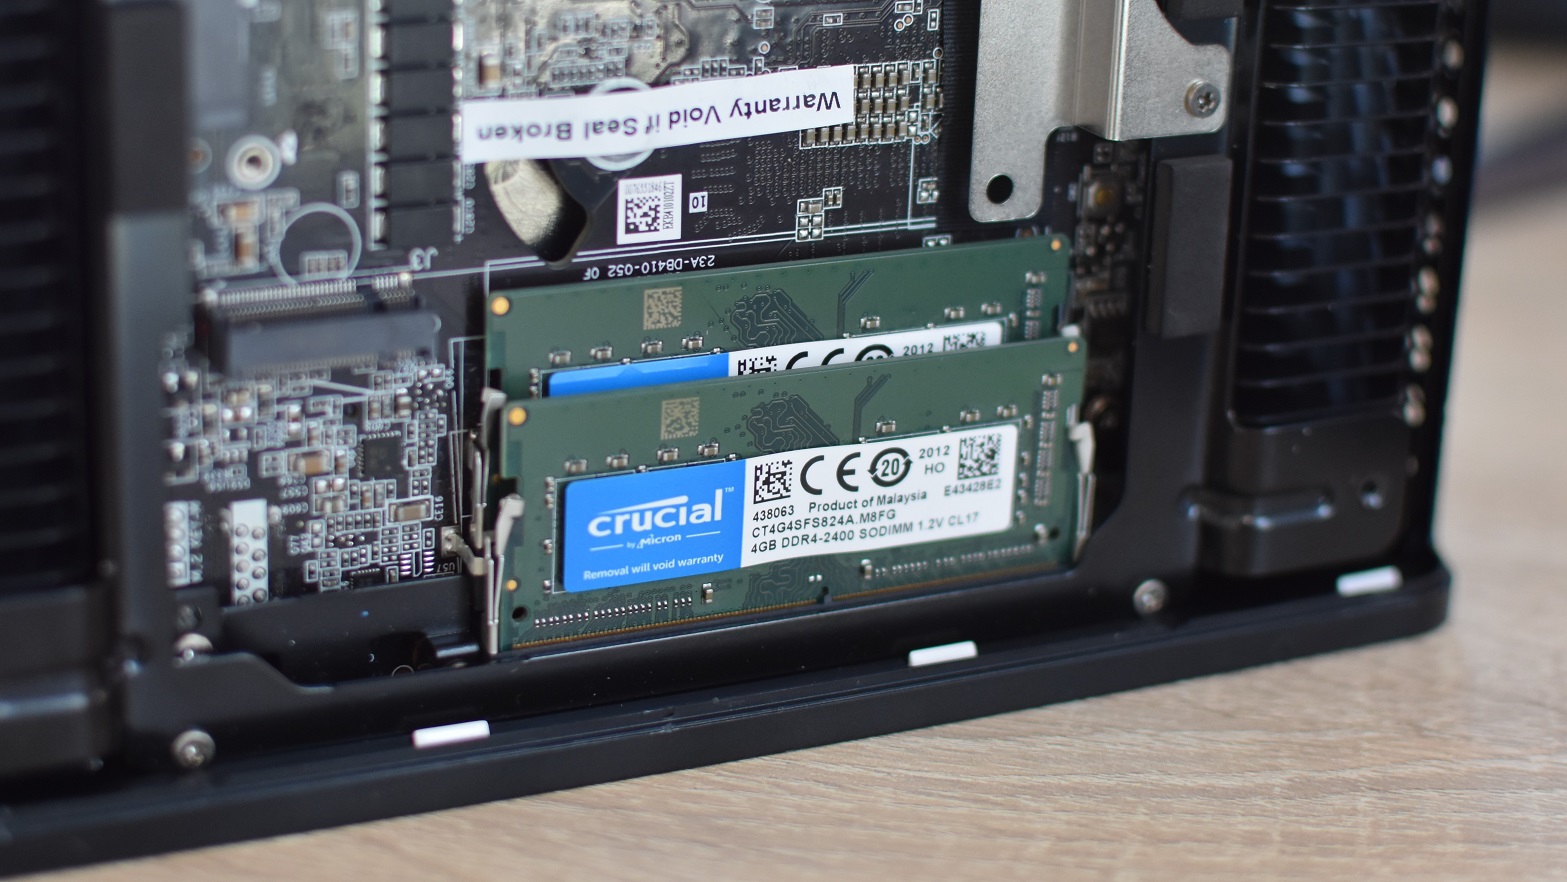
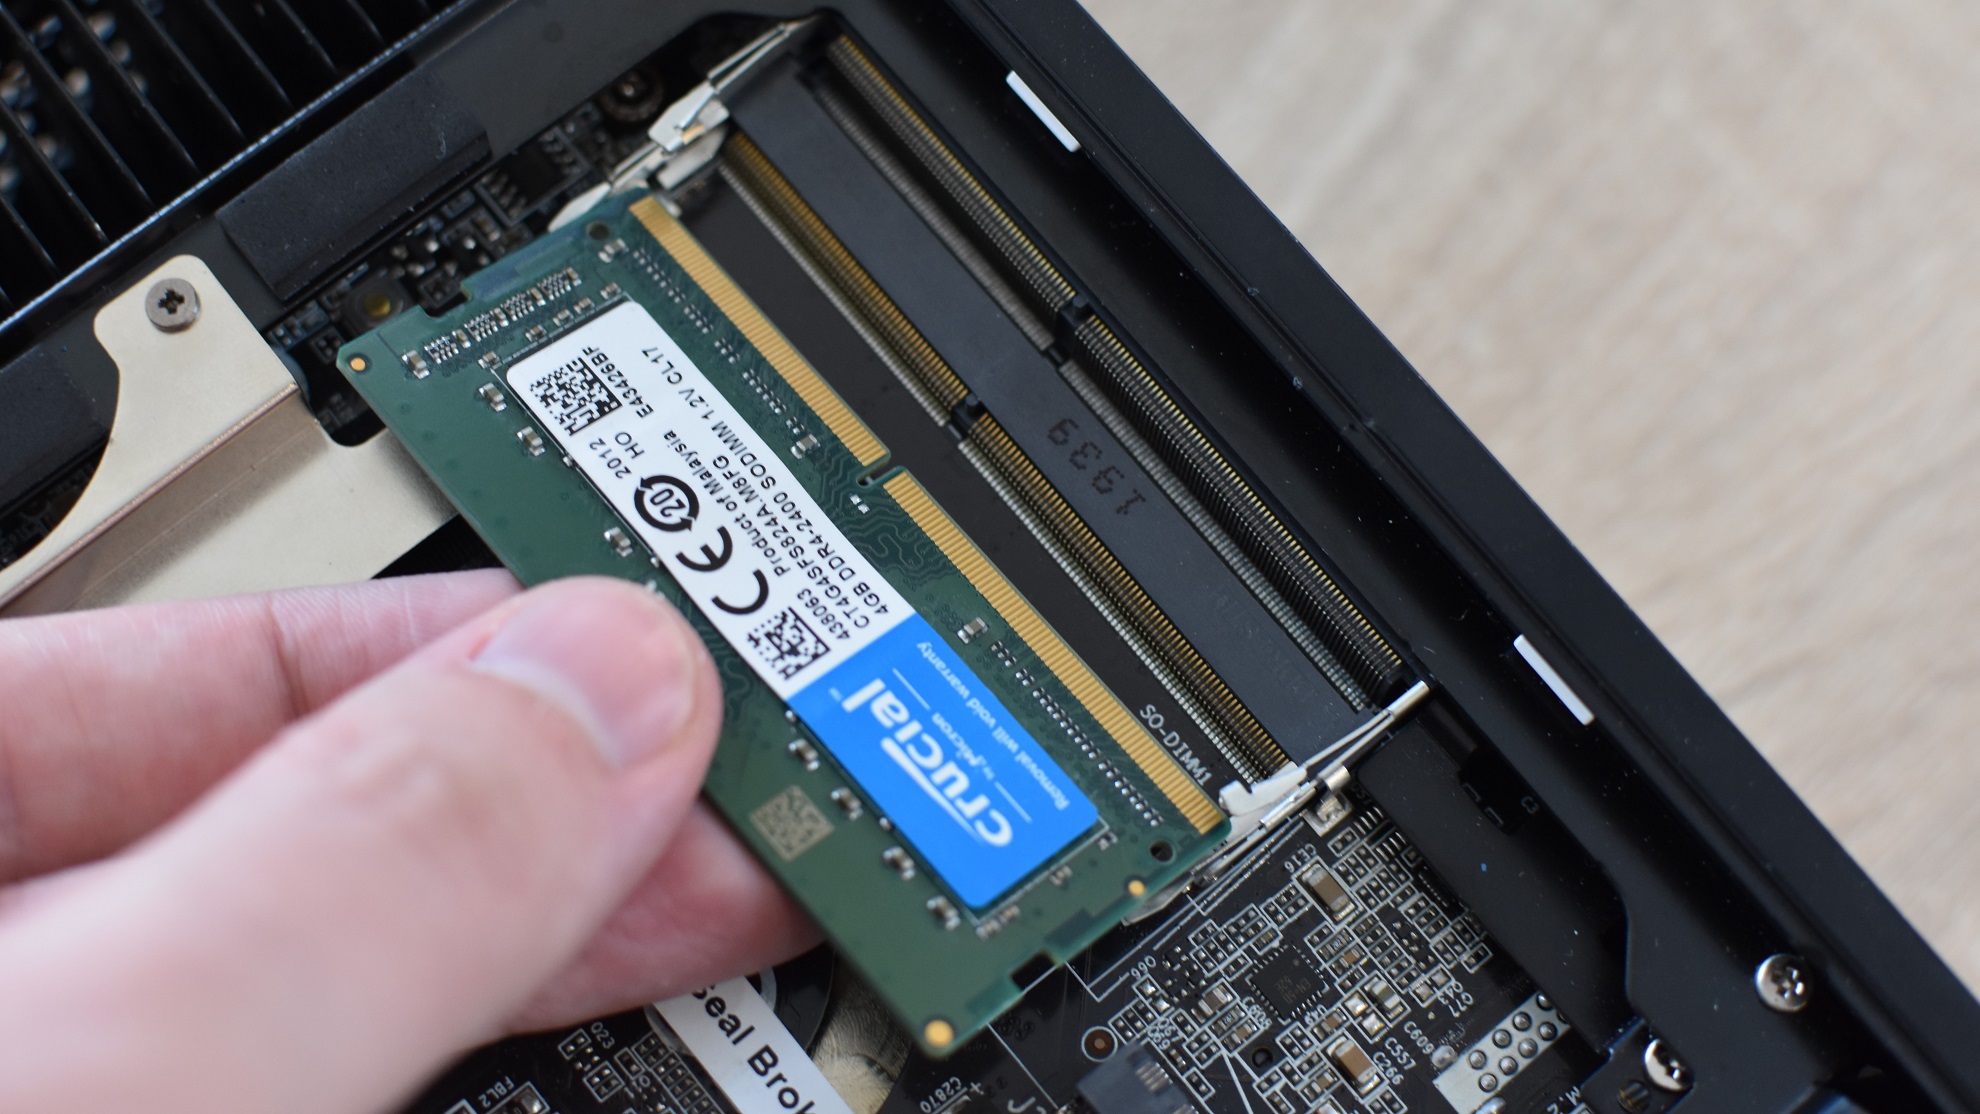
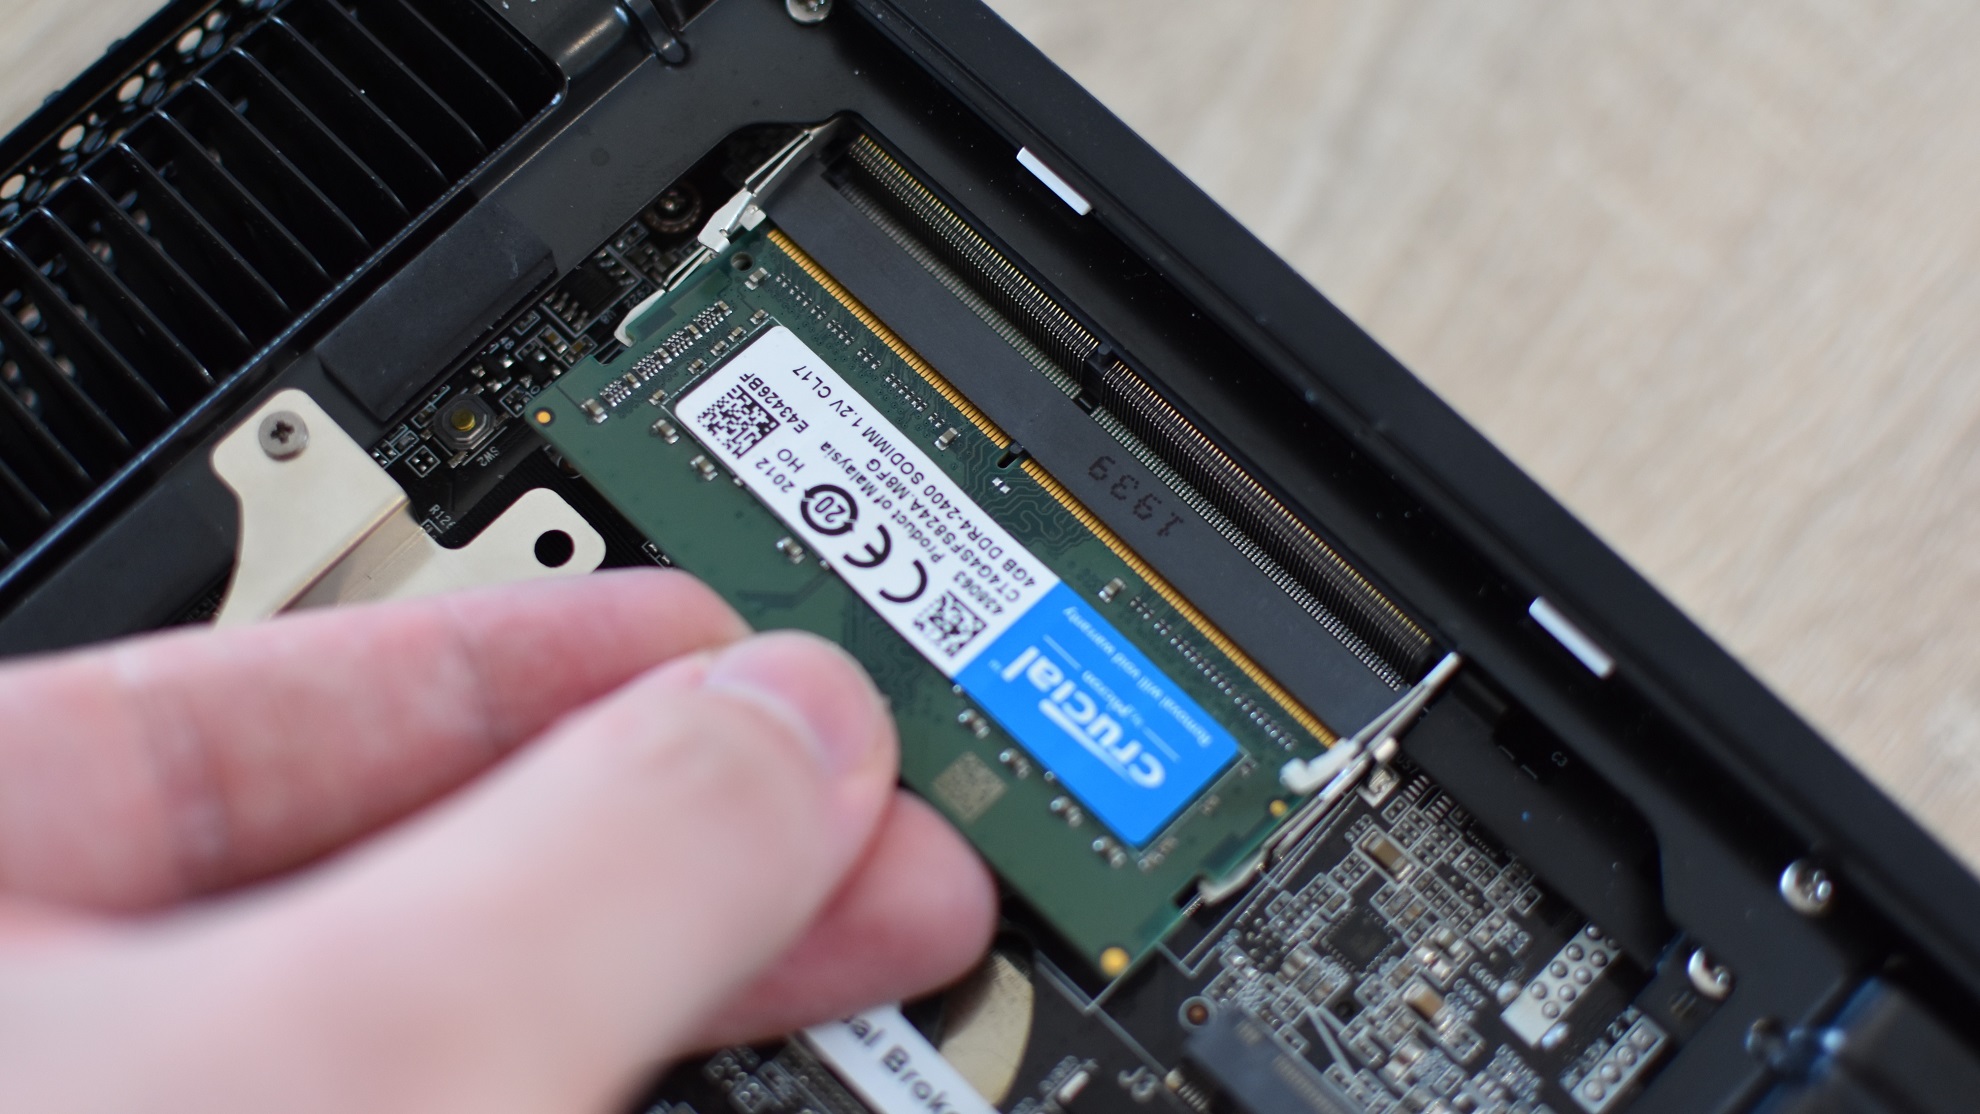
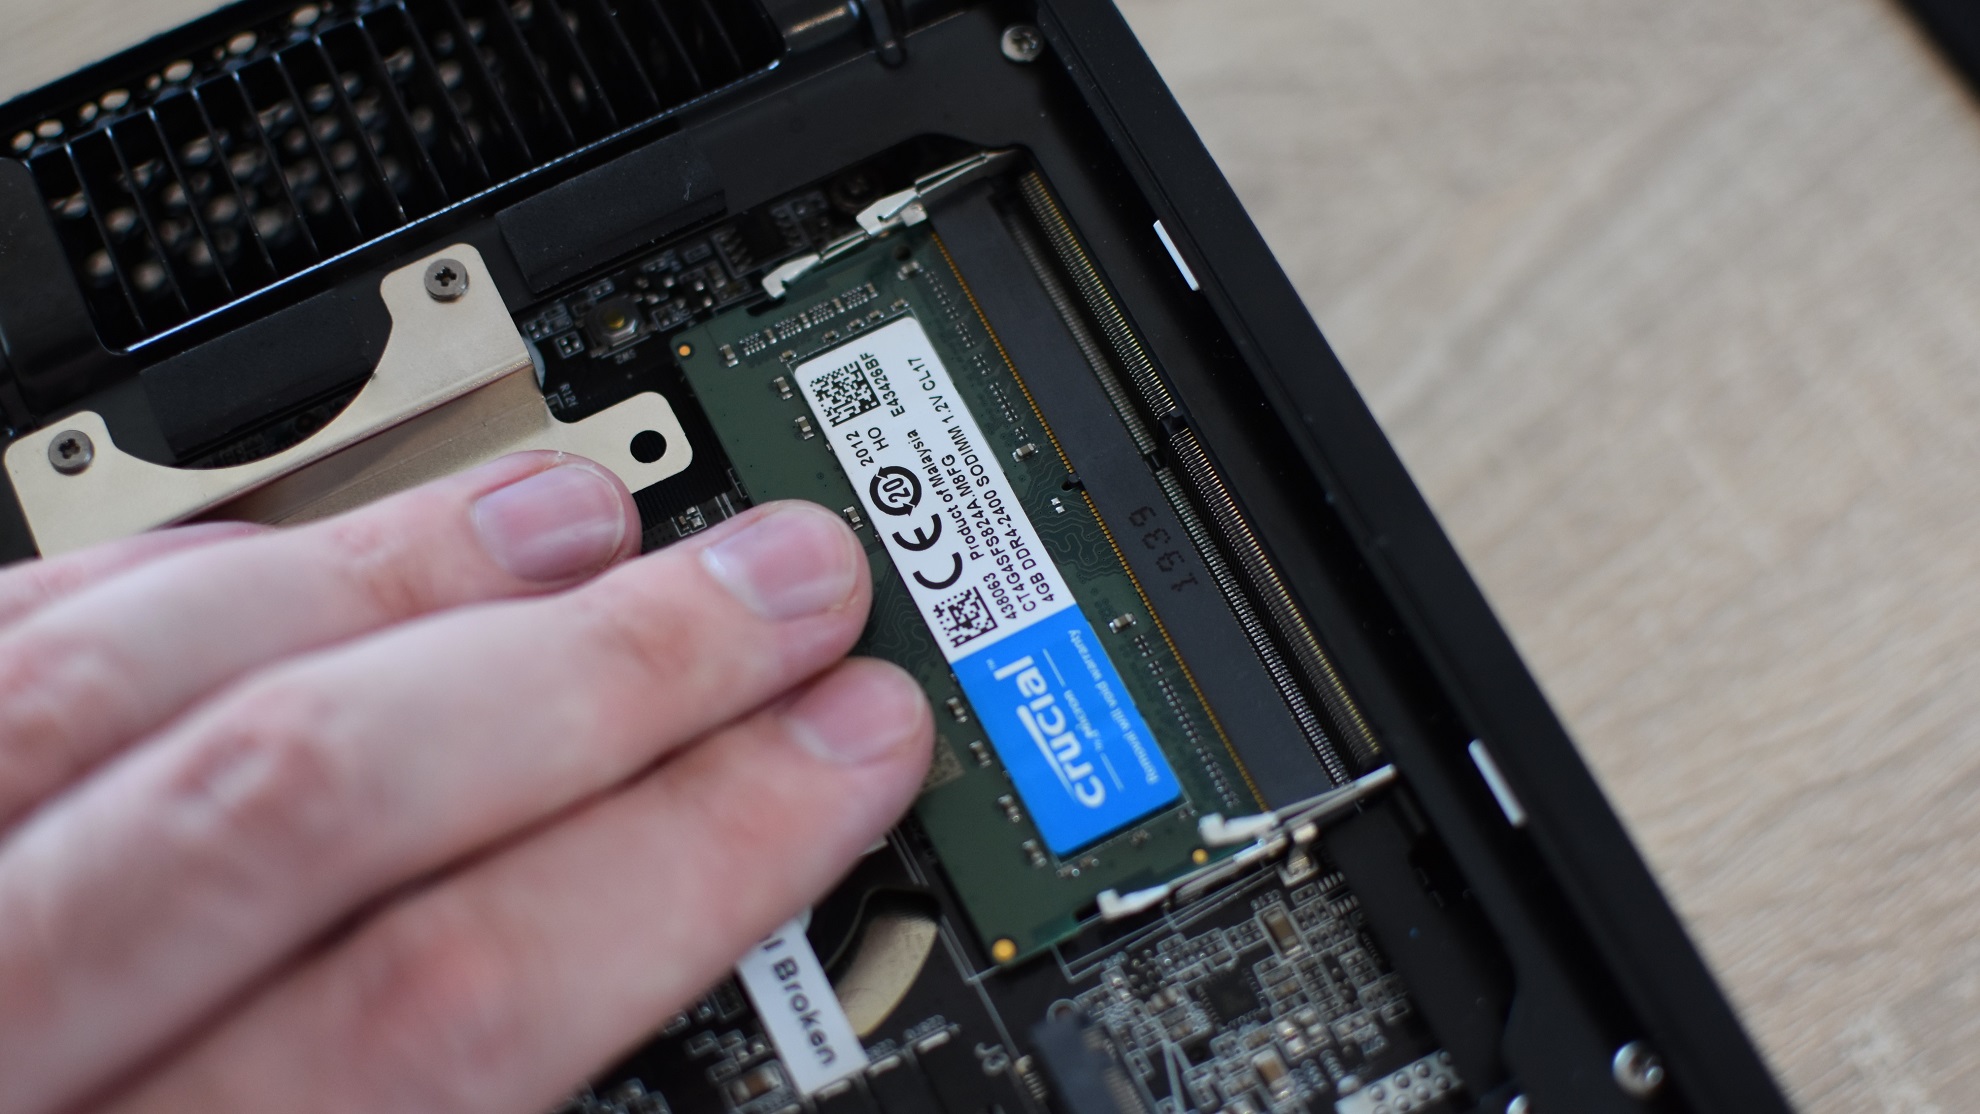
Step 1: Locate the memory slots, which unlike standard DIMM slots are usually oriented horizontally. If your PC has more than one memory slot, start with the one on the bottom. Grab a stick of SO-DIMM RAM and line up the notch on the bottom edge so it will fit in the slot. Step 2: Push the RAM into the slot until the copper contacts are fully concealed inside. It might point outward at an awkward-looking angle, but don’t worry – it’s not bending. Step 3: Gently but firmly, push down vertically on the RAM until the metal arms either side of the slot click into place. Repeat for any other sticks/slots, and if you ever need to remove a stick, pull the metal arms away until it springs loose. You can then simply pull the stick out of the slot.