PSUs can still be a source of the latter if they ever fail or, worse, short out the more expensive parts of the build. Luckily, the installation process is more idiot-proof than it might appear. Just like installing an SSD or fitting a new CPU, it’s mainly about knowing what plugs in where. A lot of “tab A goes into slot A” stuff, rather than any serious electrical engineering. This guide will walk you through the process, and remember that installing a PSU is best done once all of the other components – the motherboard, graphics cards, storage and so on – are already in place.
What PSU do I need?
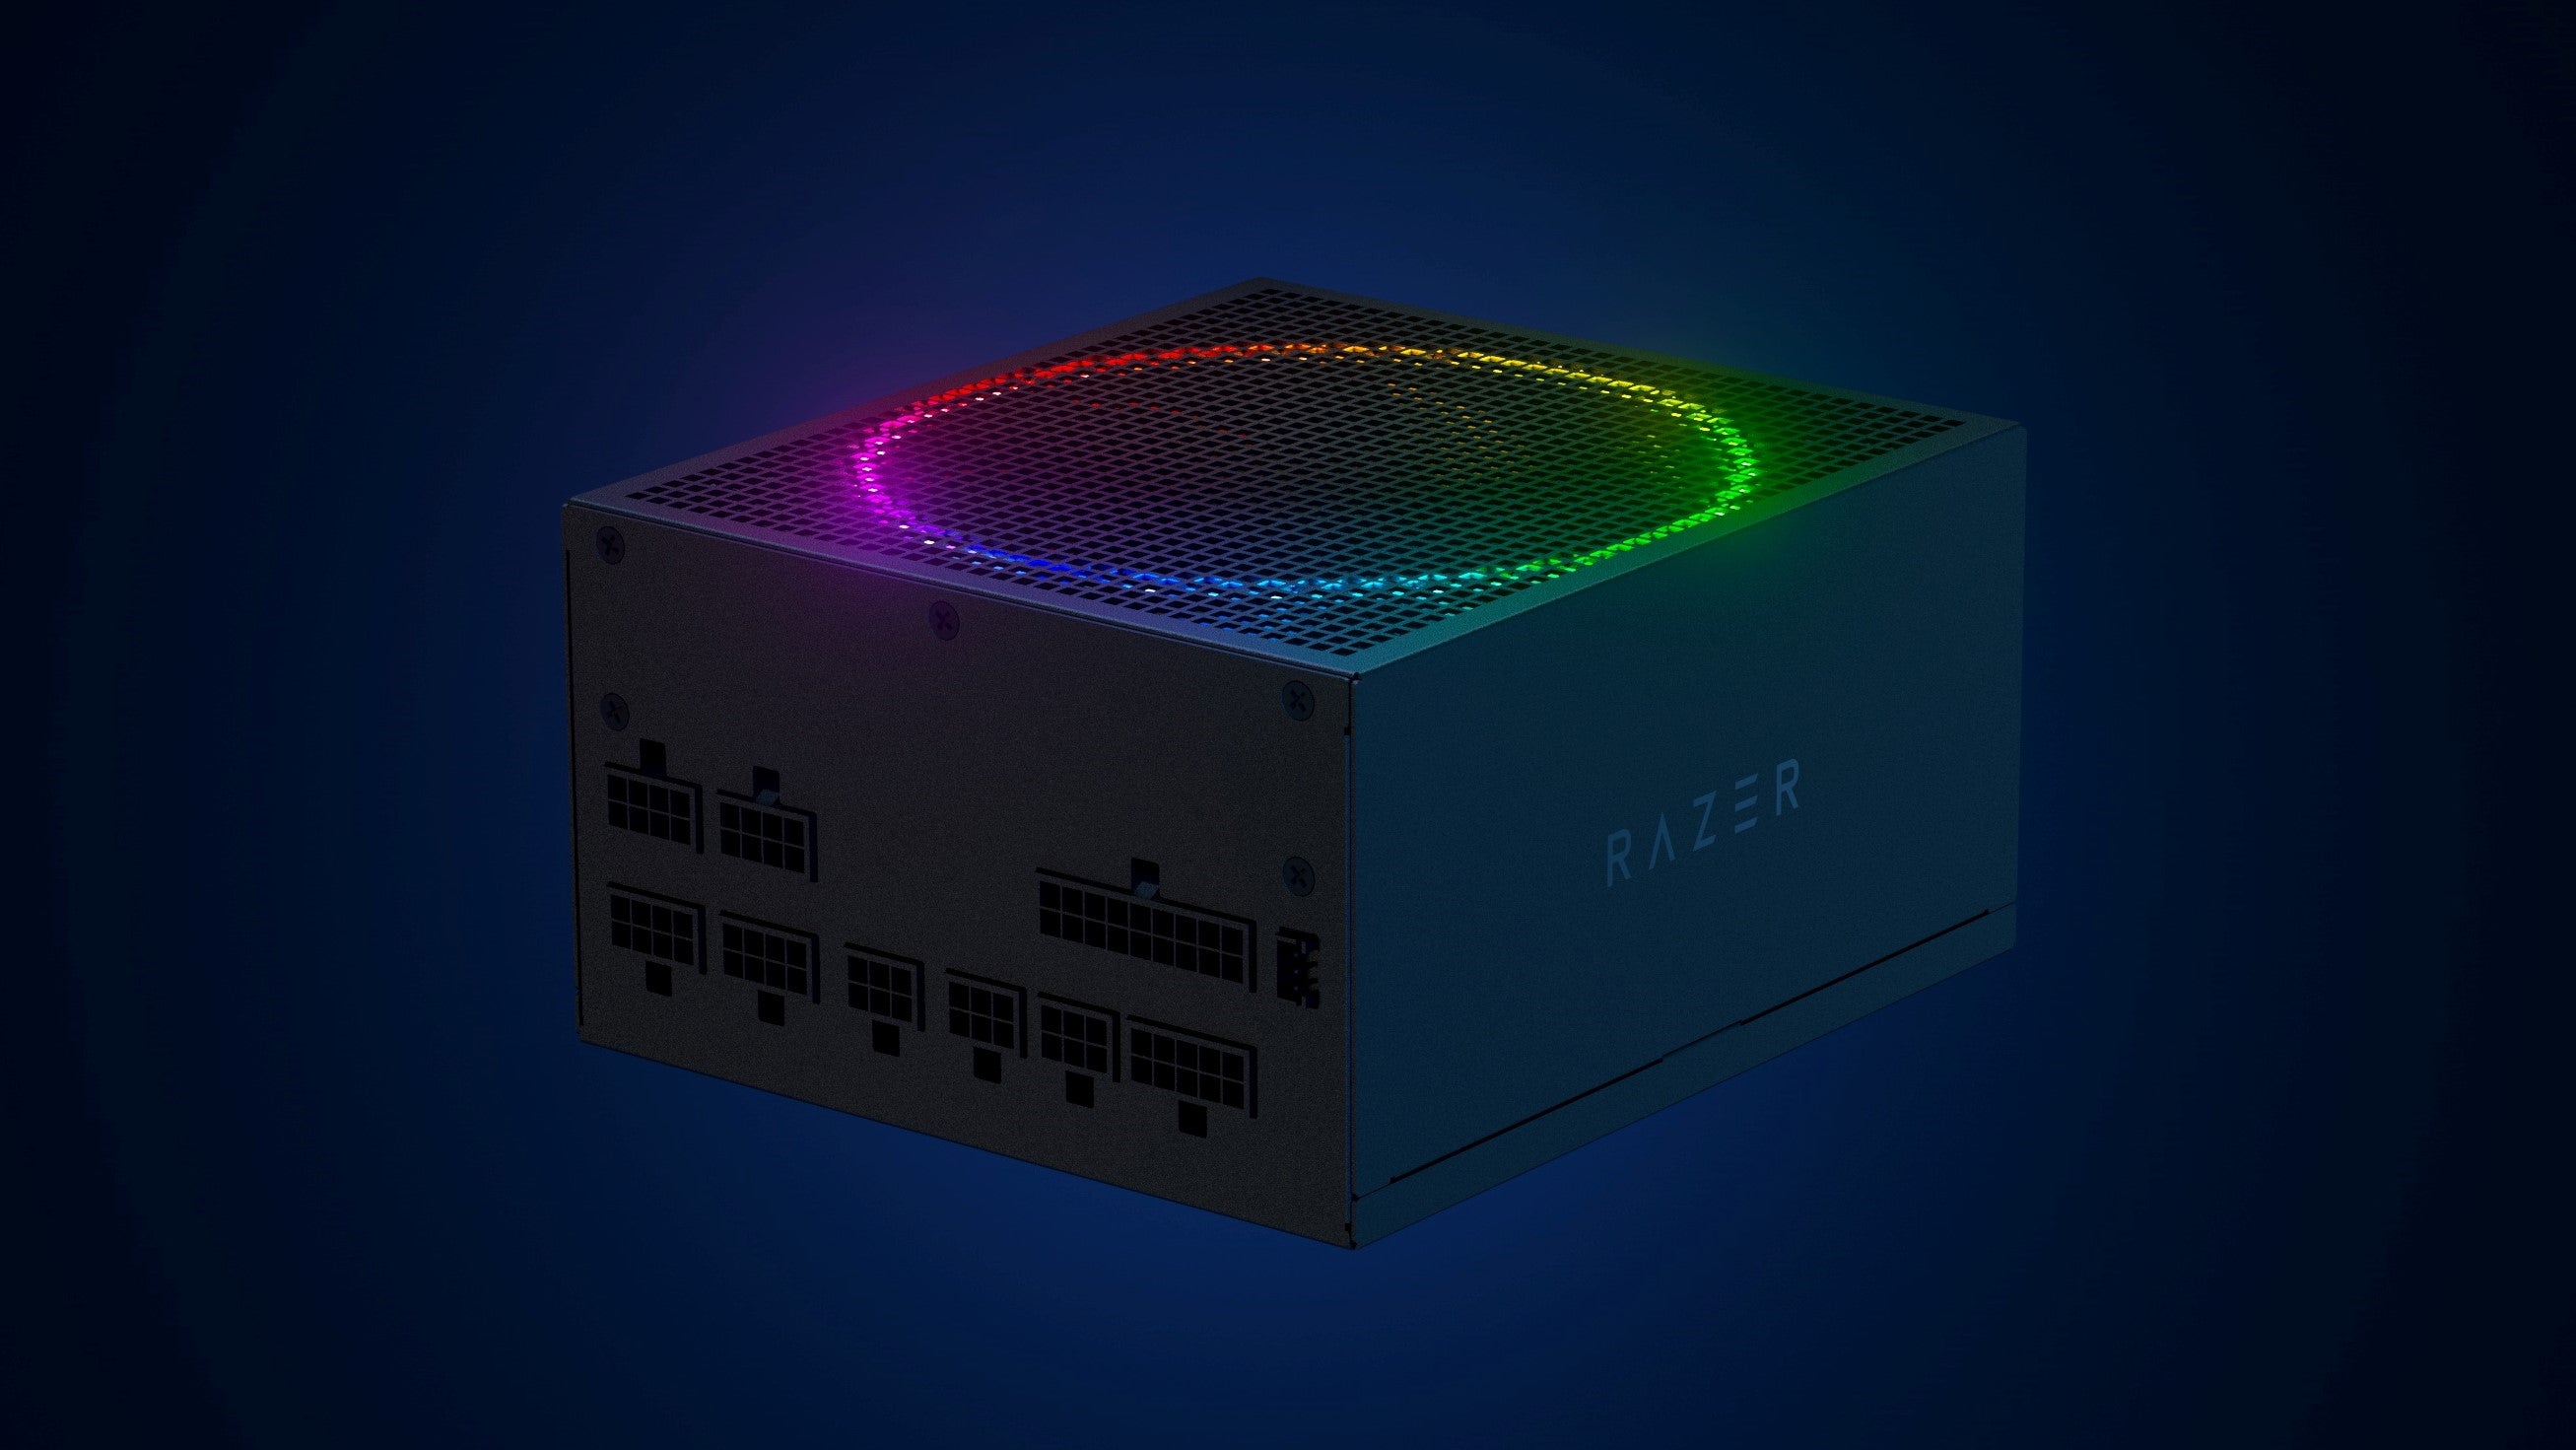
Most importantly, your PSU should fit your case. Most conventional tower-style cases have room for standard ATX power supplies, whereas compact chassis designs may only fit an SFX-style PSU. Check your case’s specs if you’re not sure. Next, you’ll need enough watts on hand to ensure the components doing the heavily lifting are sufficiently fed – there’s no sense investing in the best graphics cards or best CPUs if they’re not getting enough power. For a very basic gaming PC, 450-500W will be enough, but I’d recommend at least 650W for mid-range builds. More advanced rigs, especially those with power-hungry GPUs like the RTX 3080 or RTX 3090, should go for at least 750W. You’ll also see PSU possess ratings like 80 Plus Bronze, 80 Plus Gold and 80 Plus Platinum. These basically rate how efficiently a PSU can turn wall power into PC power. Higher ratings (Gold, Platinum and Titanium) are therefore better for your electricity bill and should produce less heat, at the cost of being more expensive to buy. Honestly, Bronze-rated PSUs are fine for budget builds, but Gold is a better middle ground. Lastly, you can take your pick of modular, semi-modular and fixed PSUs. Modular models allow you to attach and detach every individual PSU cable from the PSU itself, so the only cables in the case are the ones you need; fixed PSU cables can’t be removed, so are cheaper but might stuff your case with unnecessary wires. Semi-modular PSUs have both a few fixed cables and a few sockets for removable cables. I personally prefer semi-modular PSUs when buying them for myself, as the fixed cables are usually the most essential ones anyway.
How to install a PSU
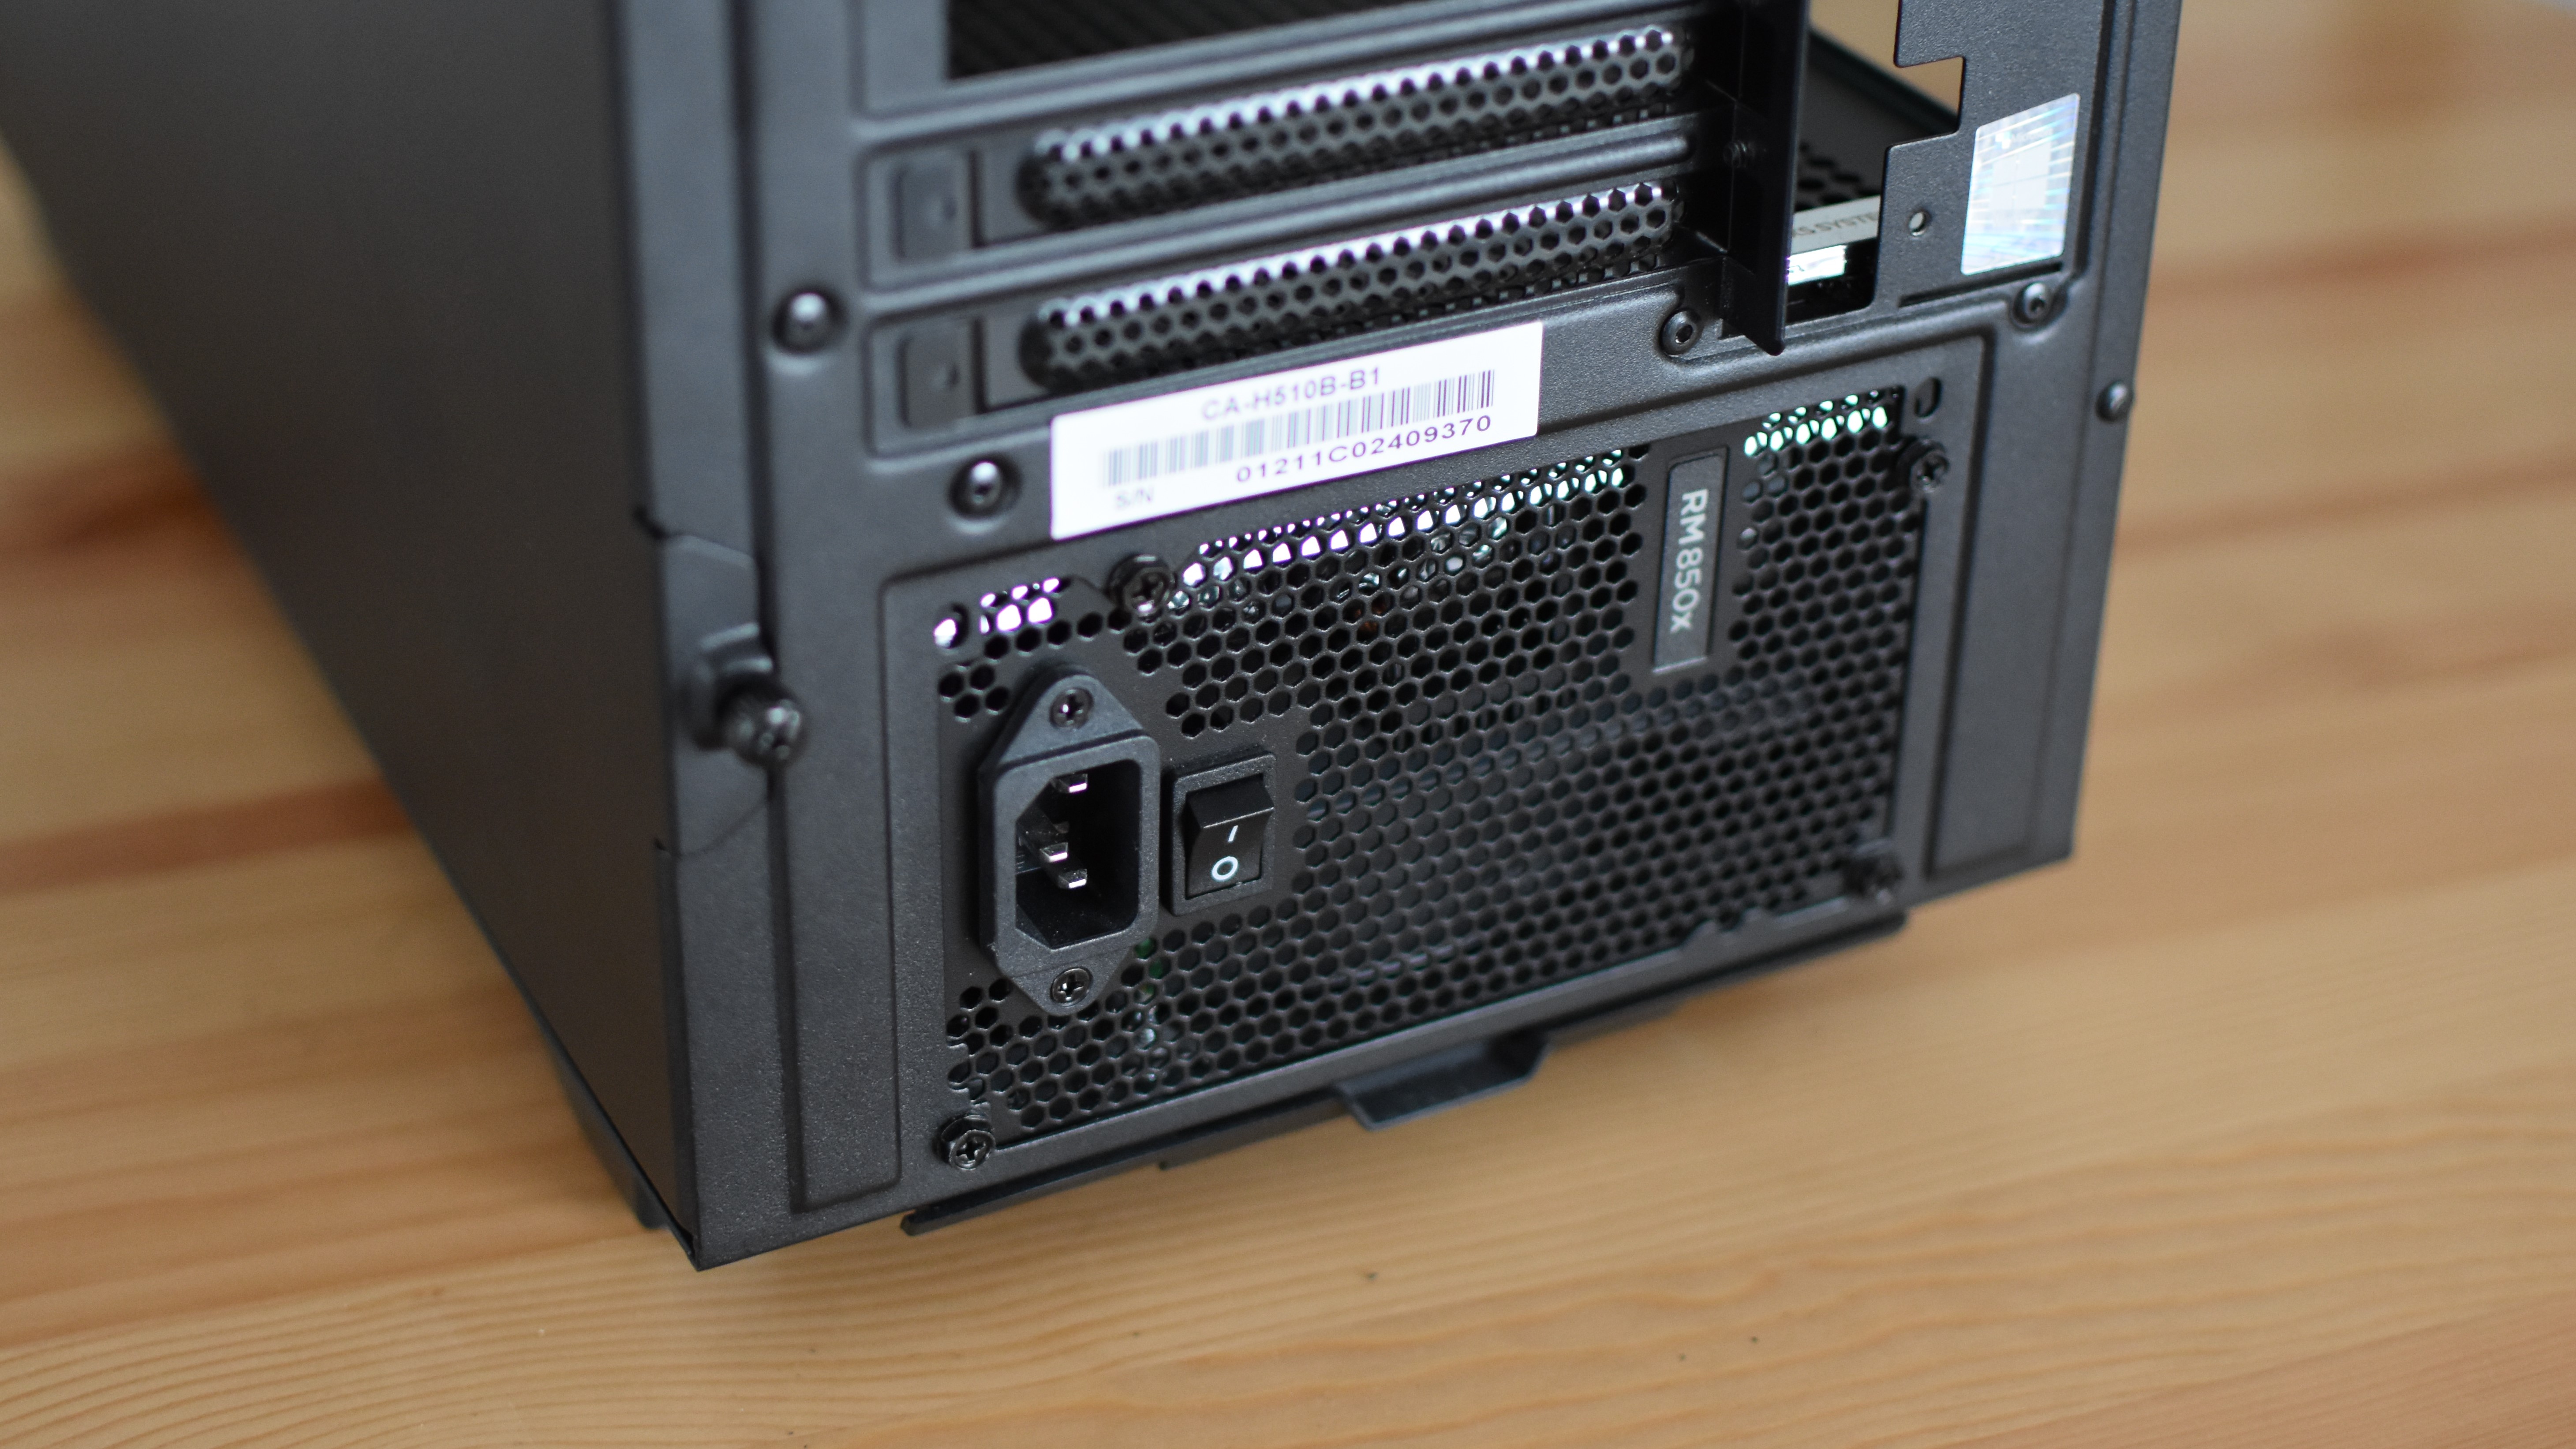
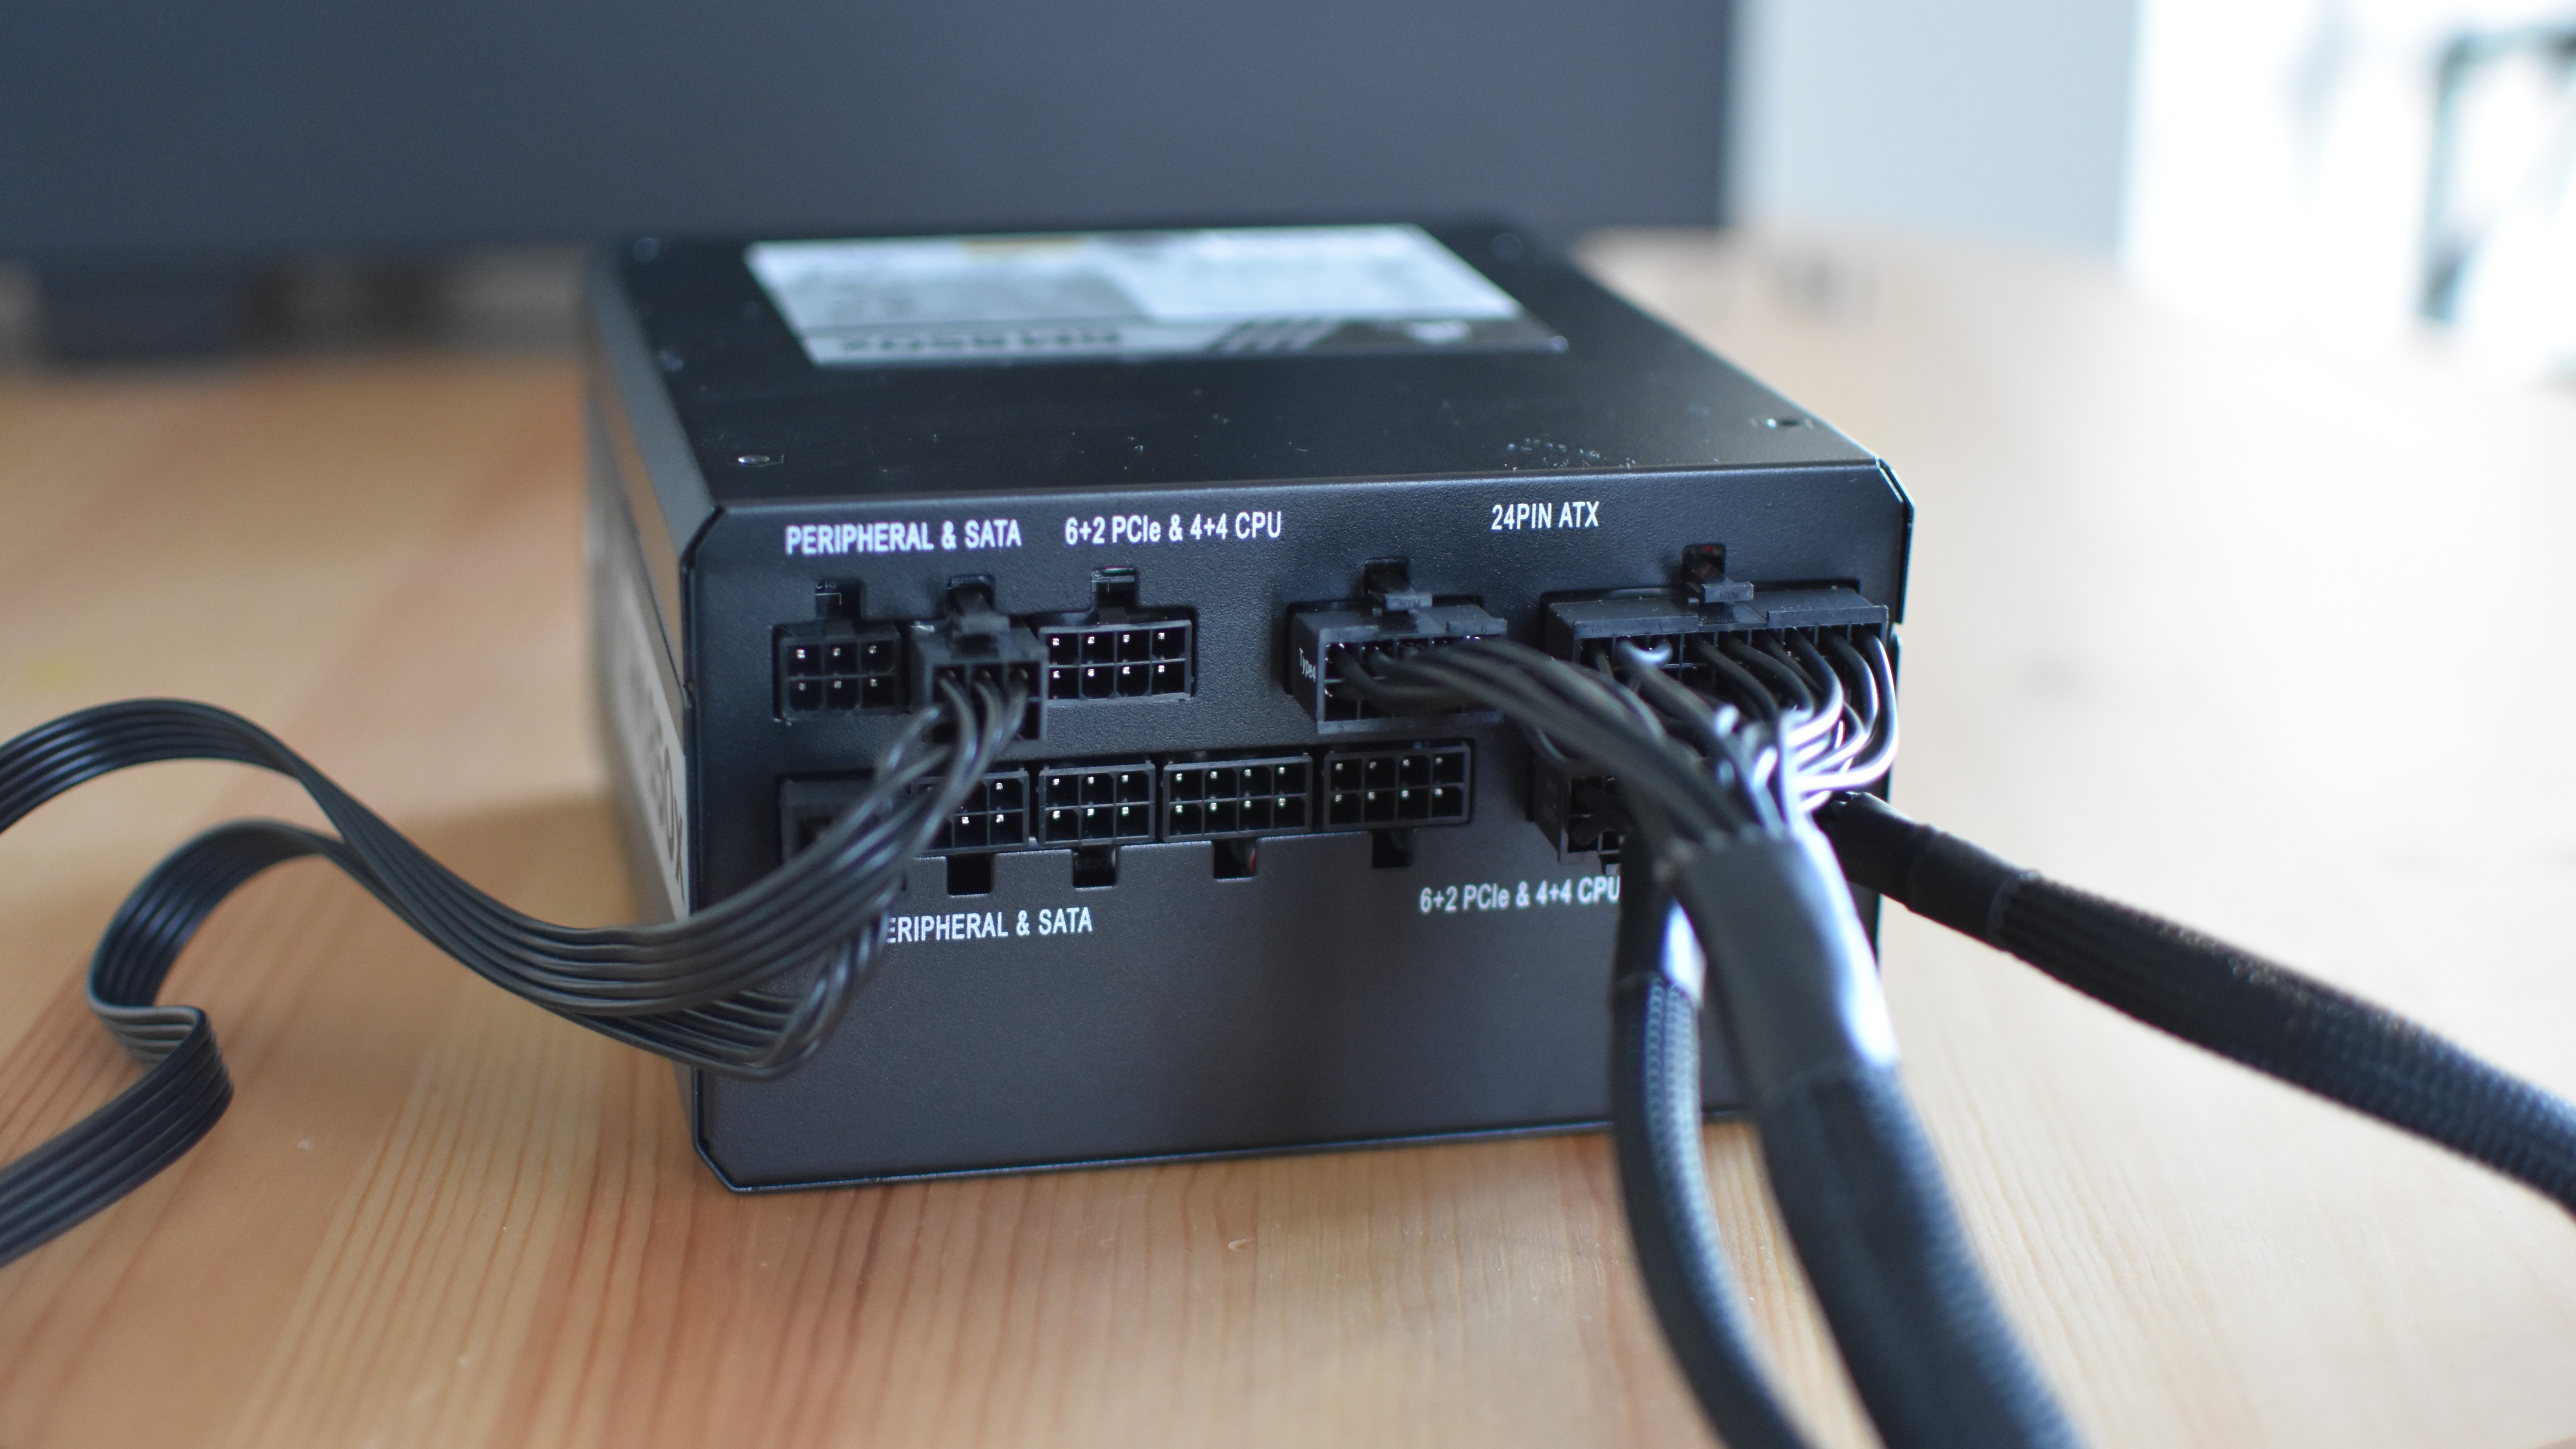
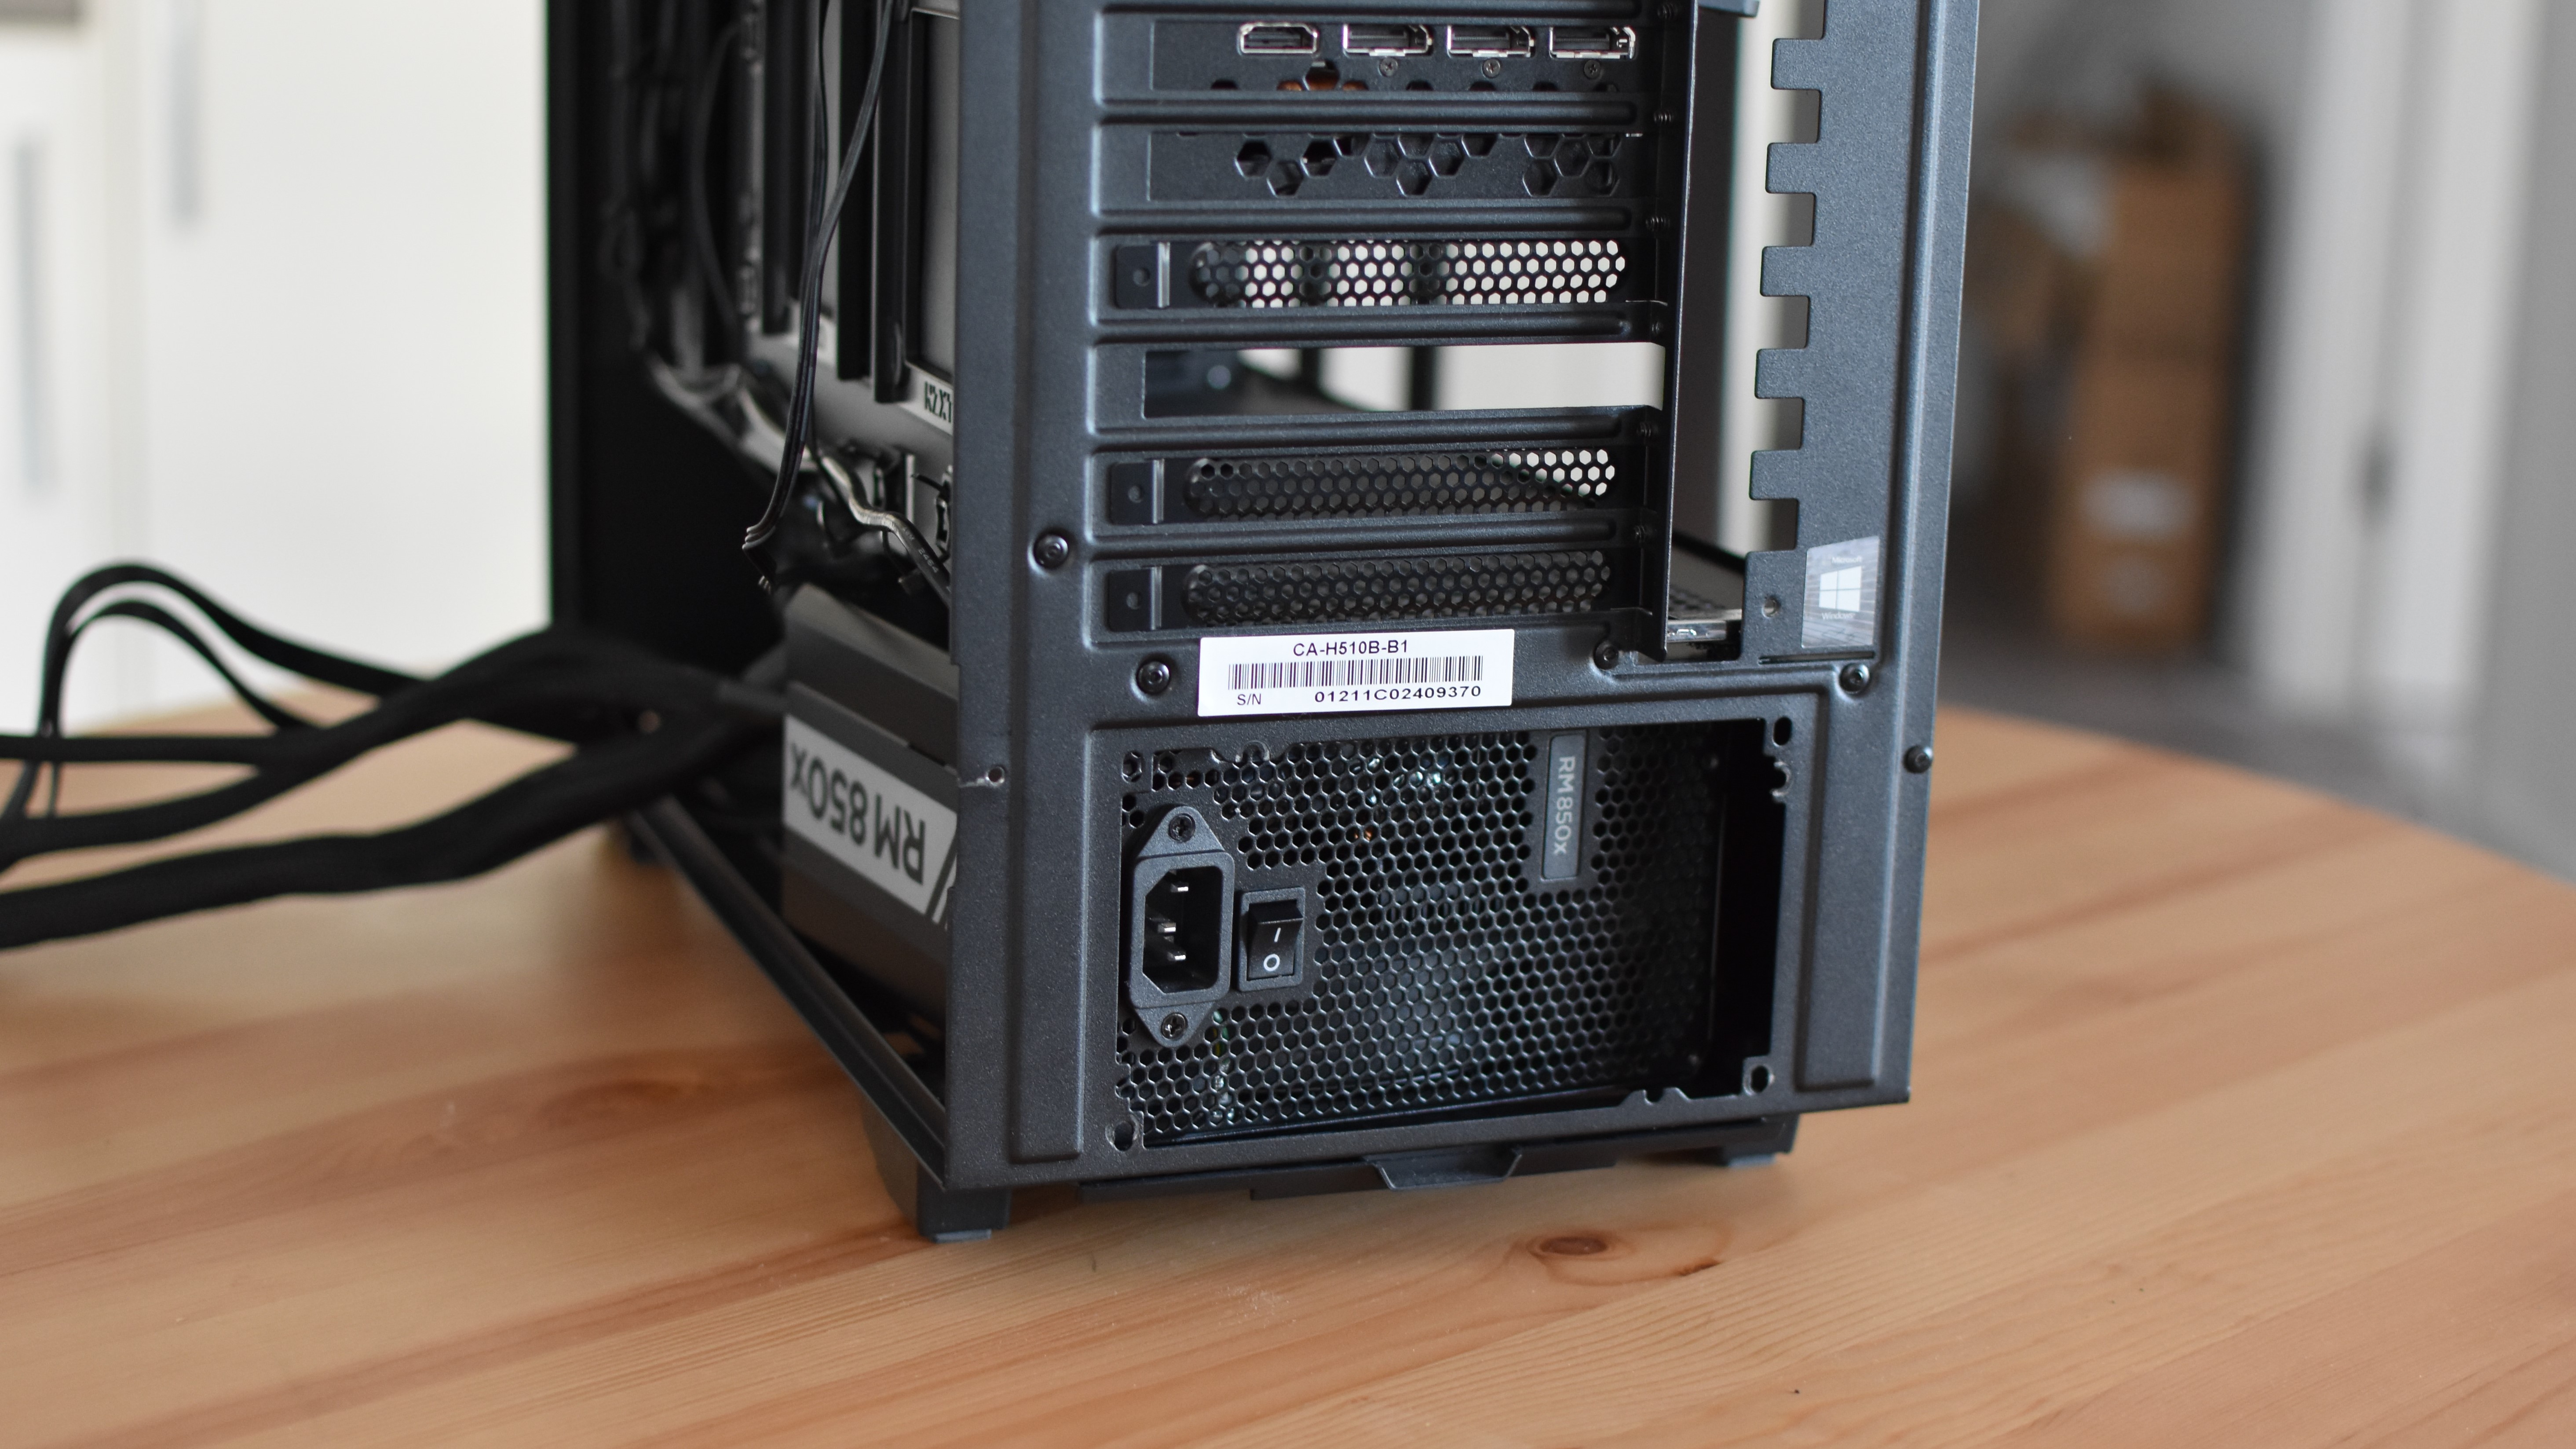
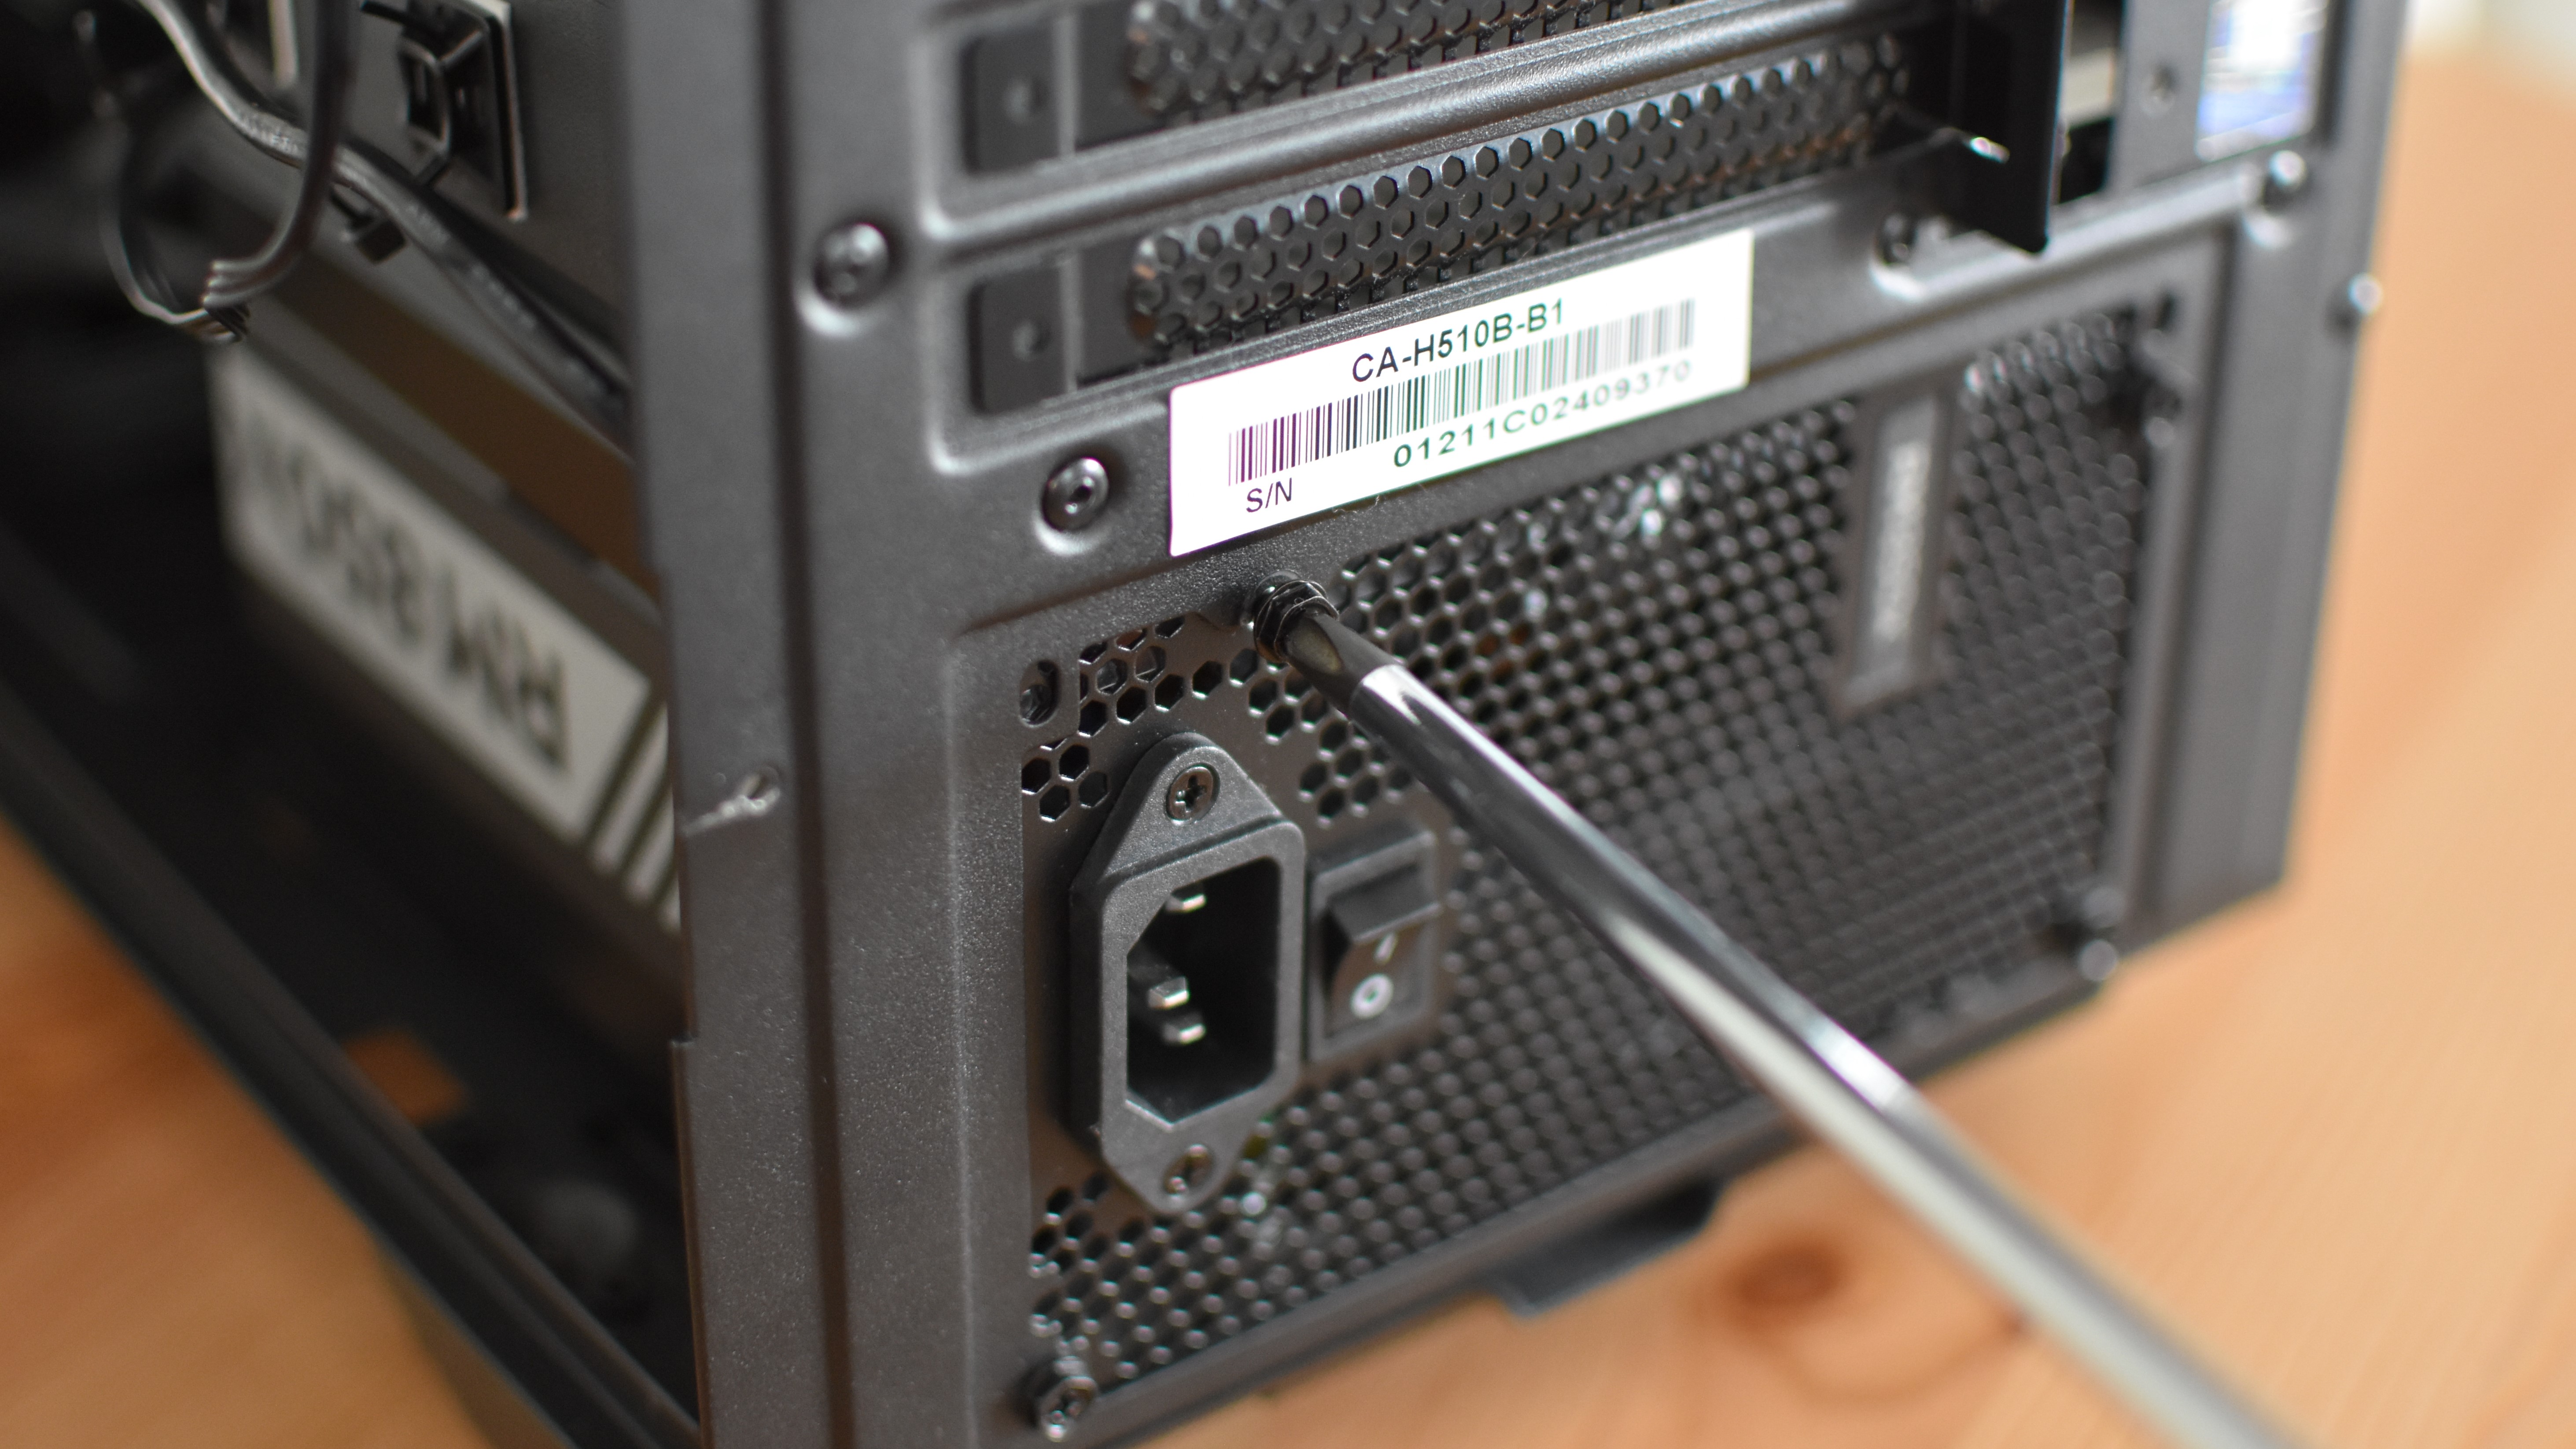
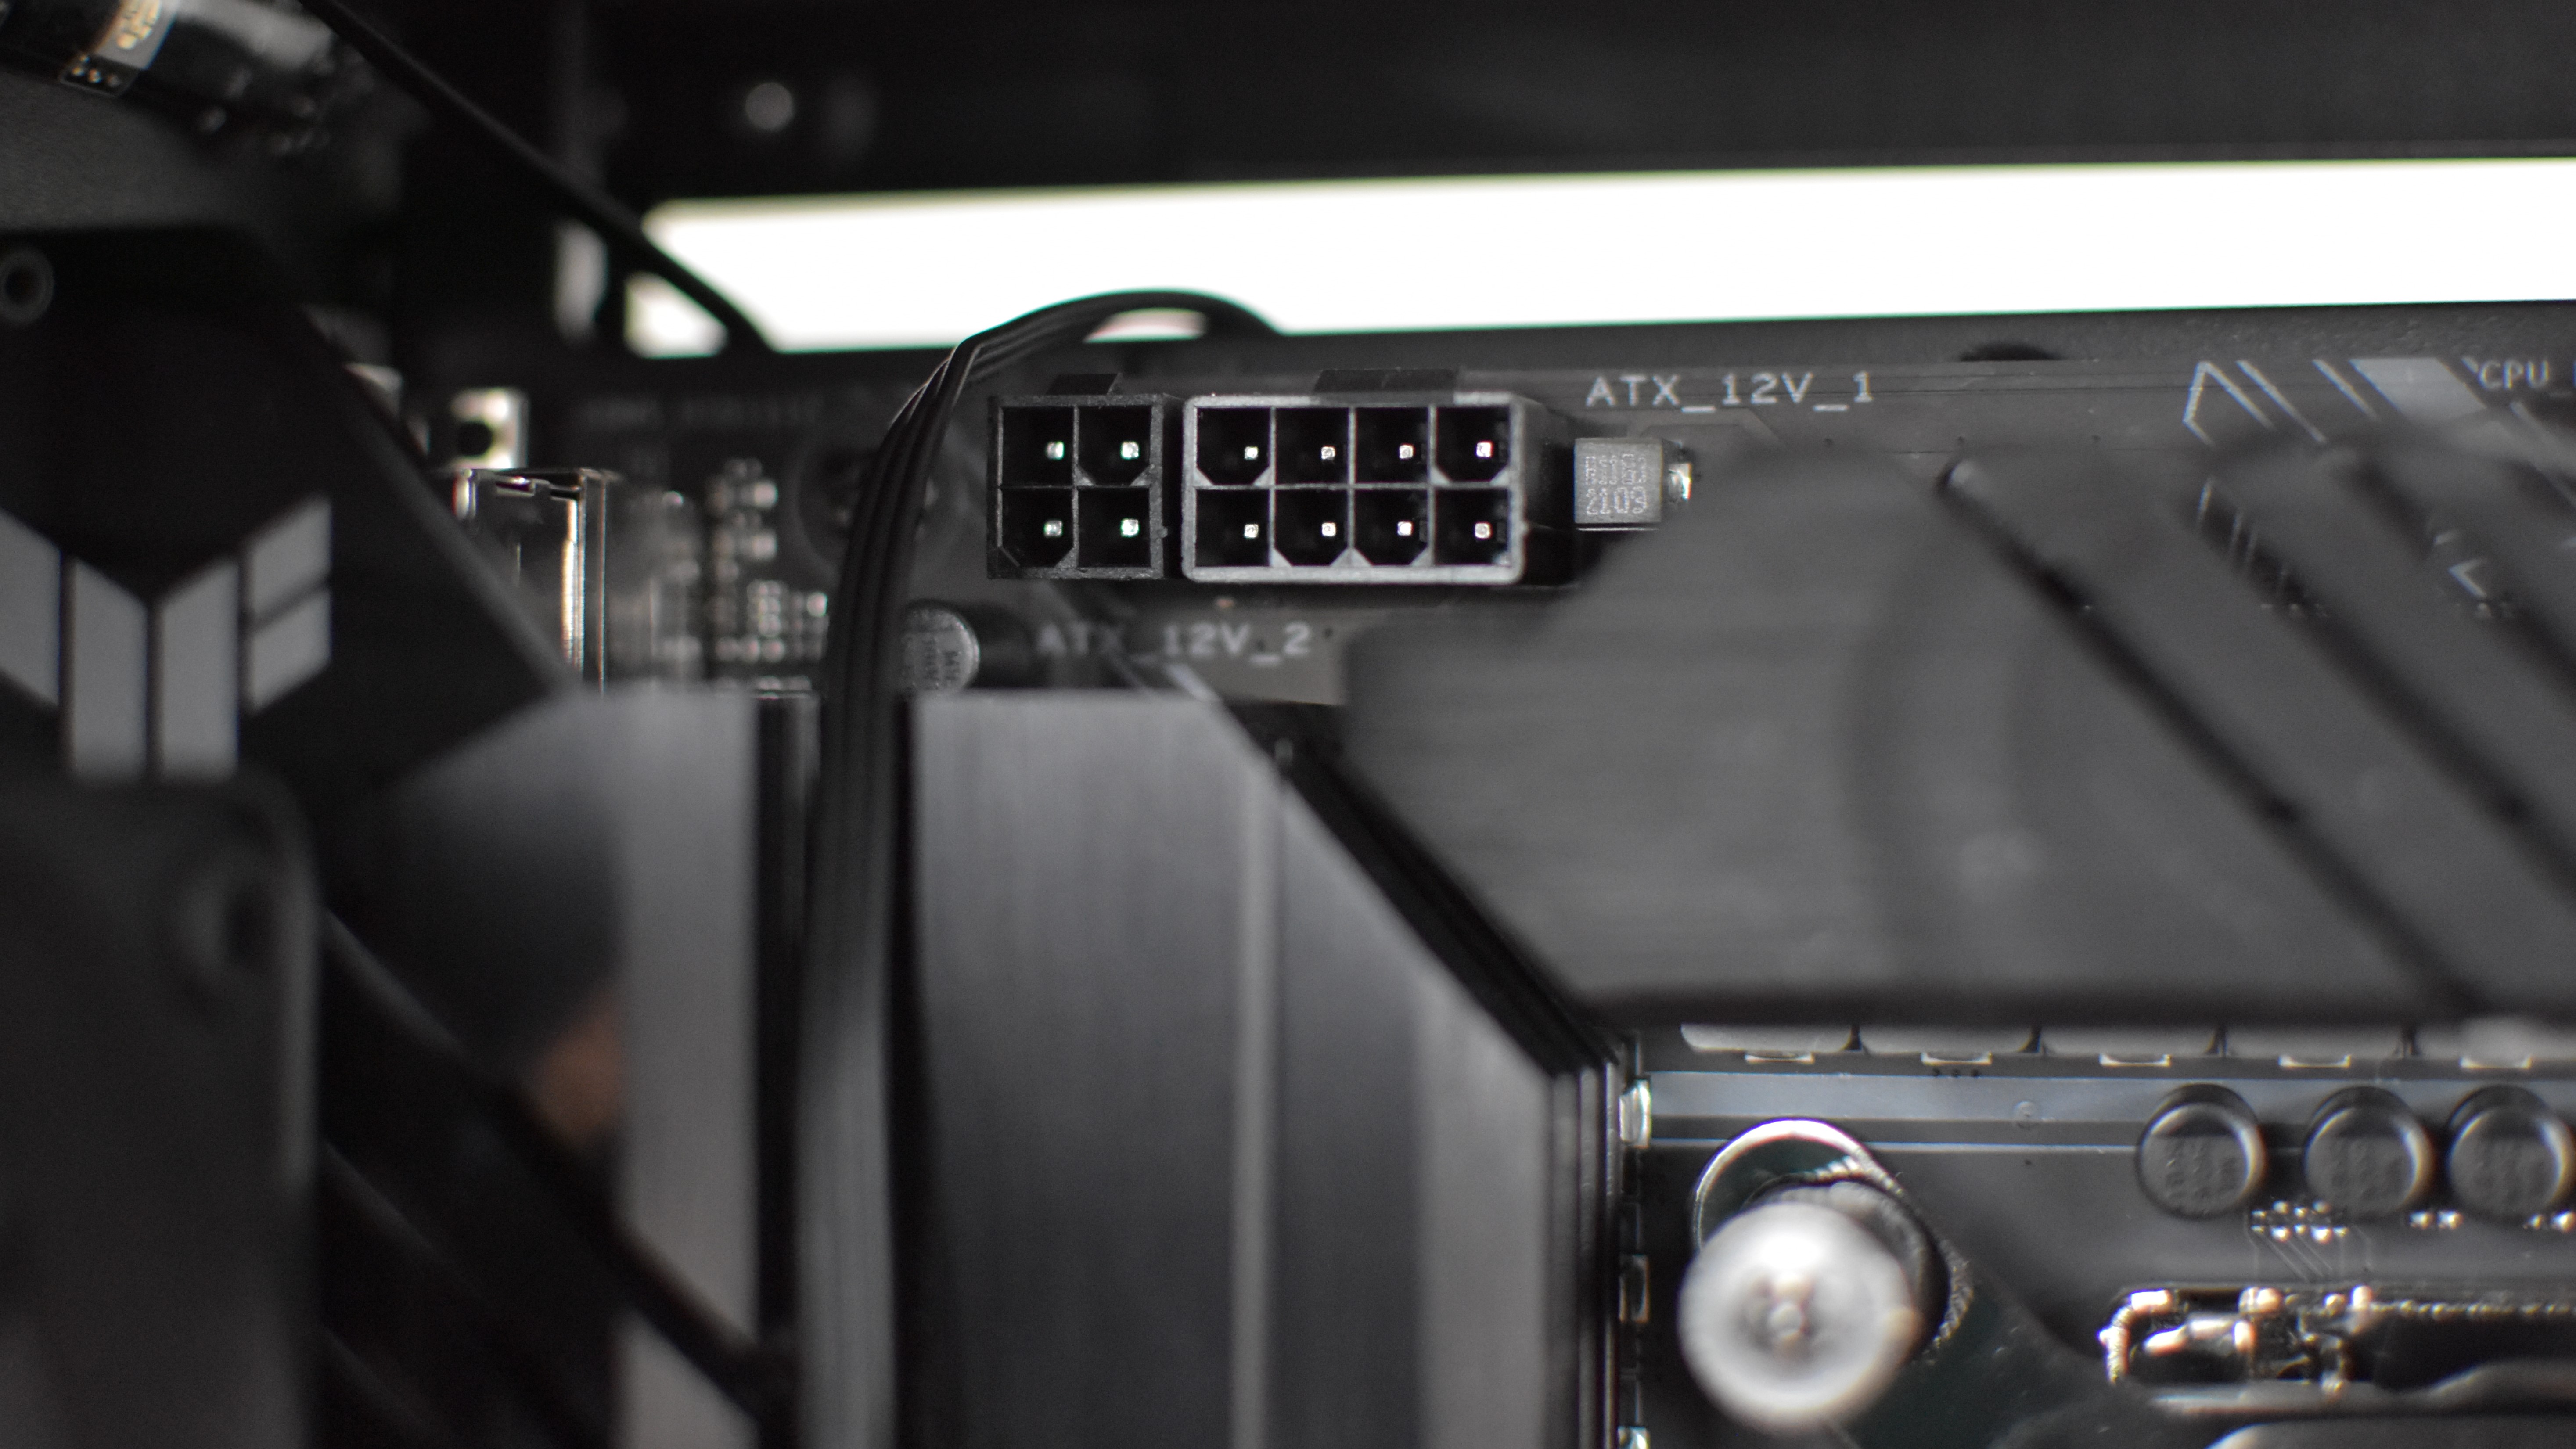
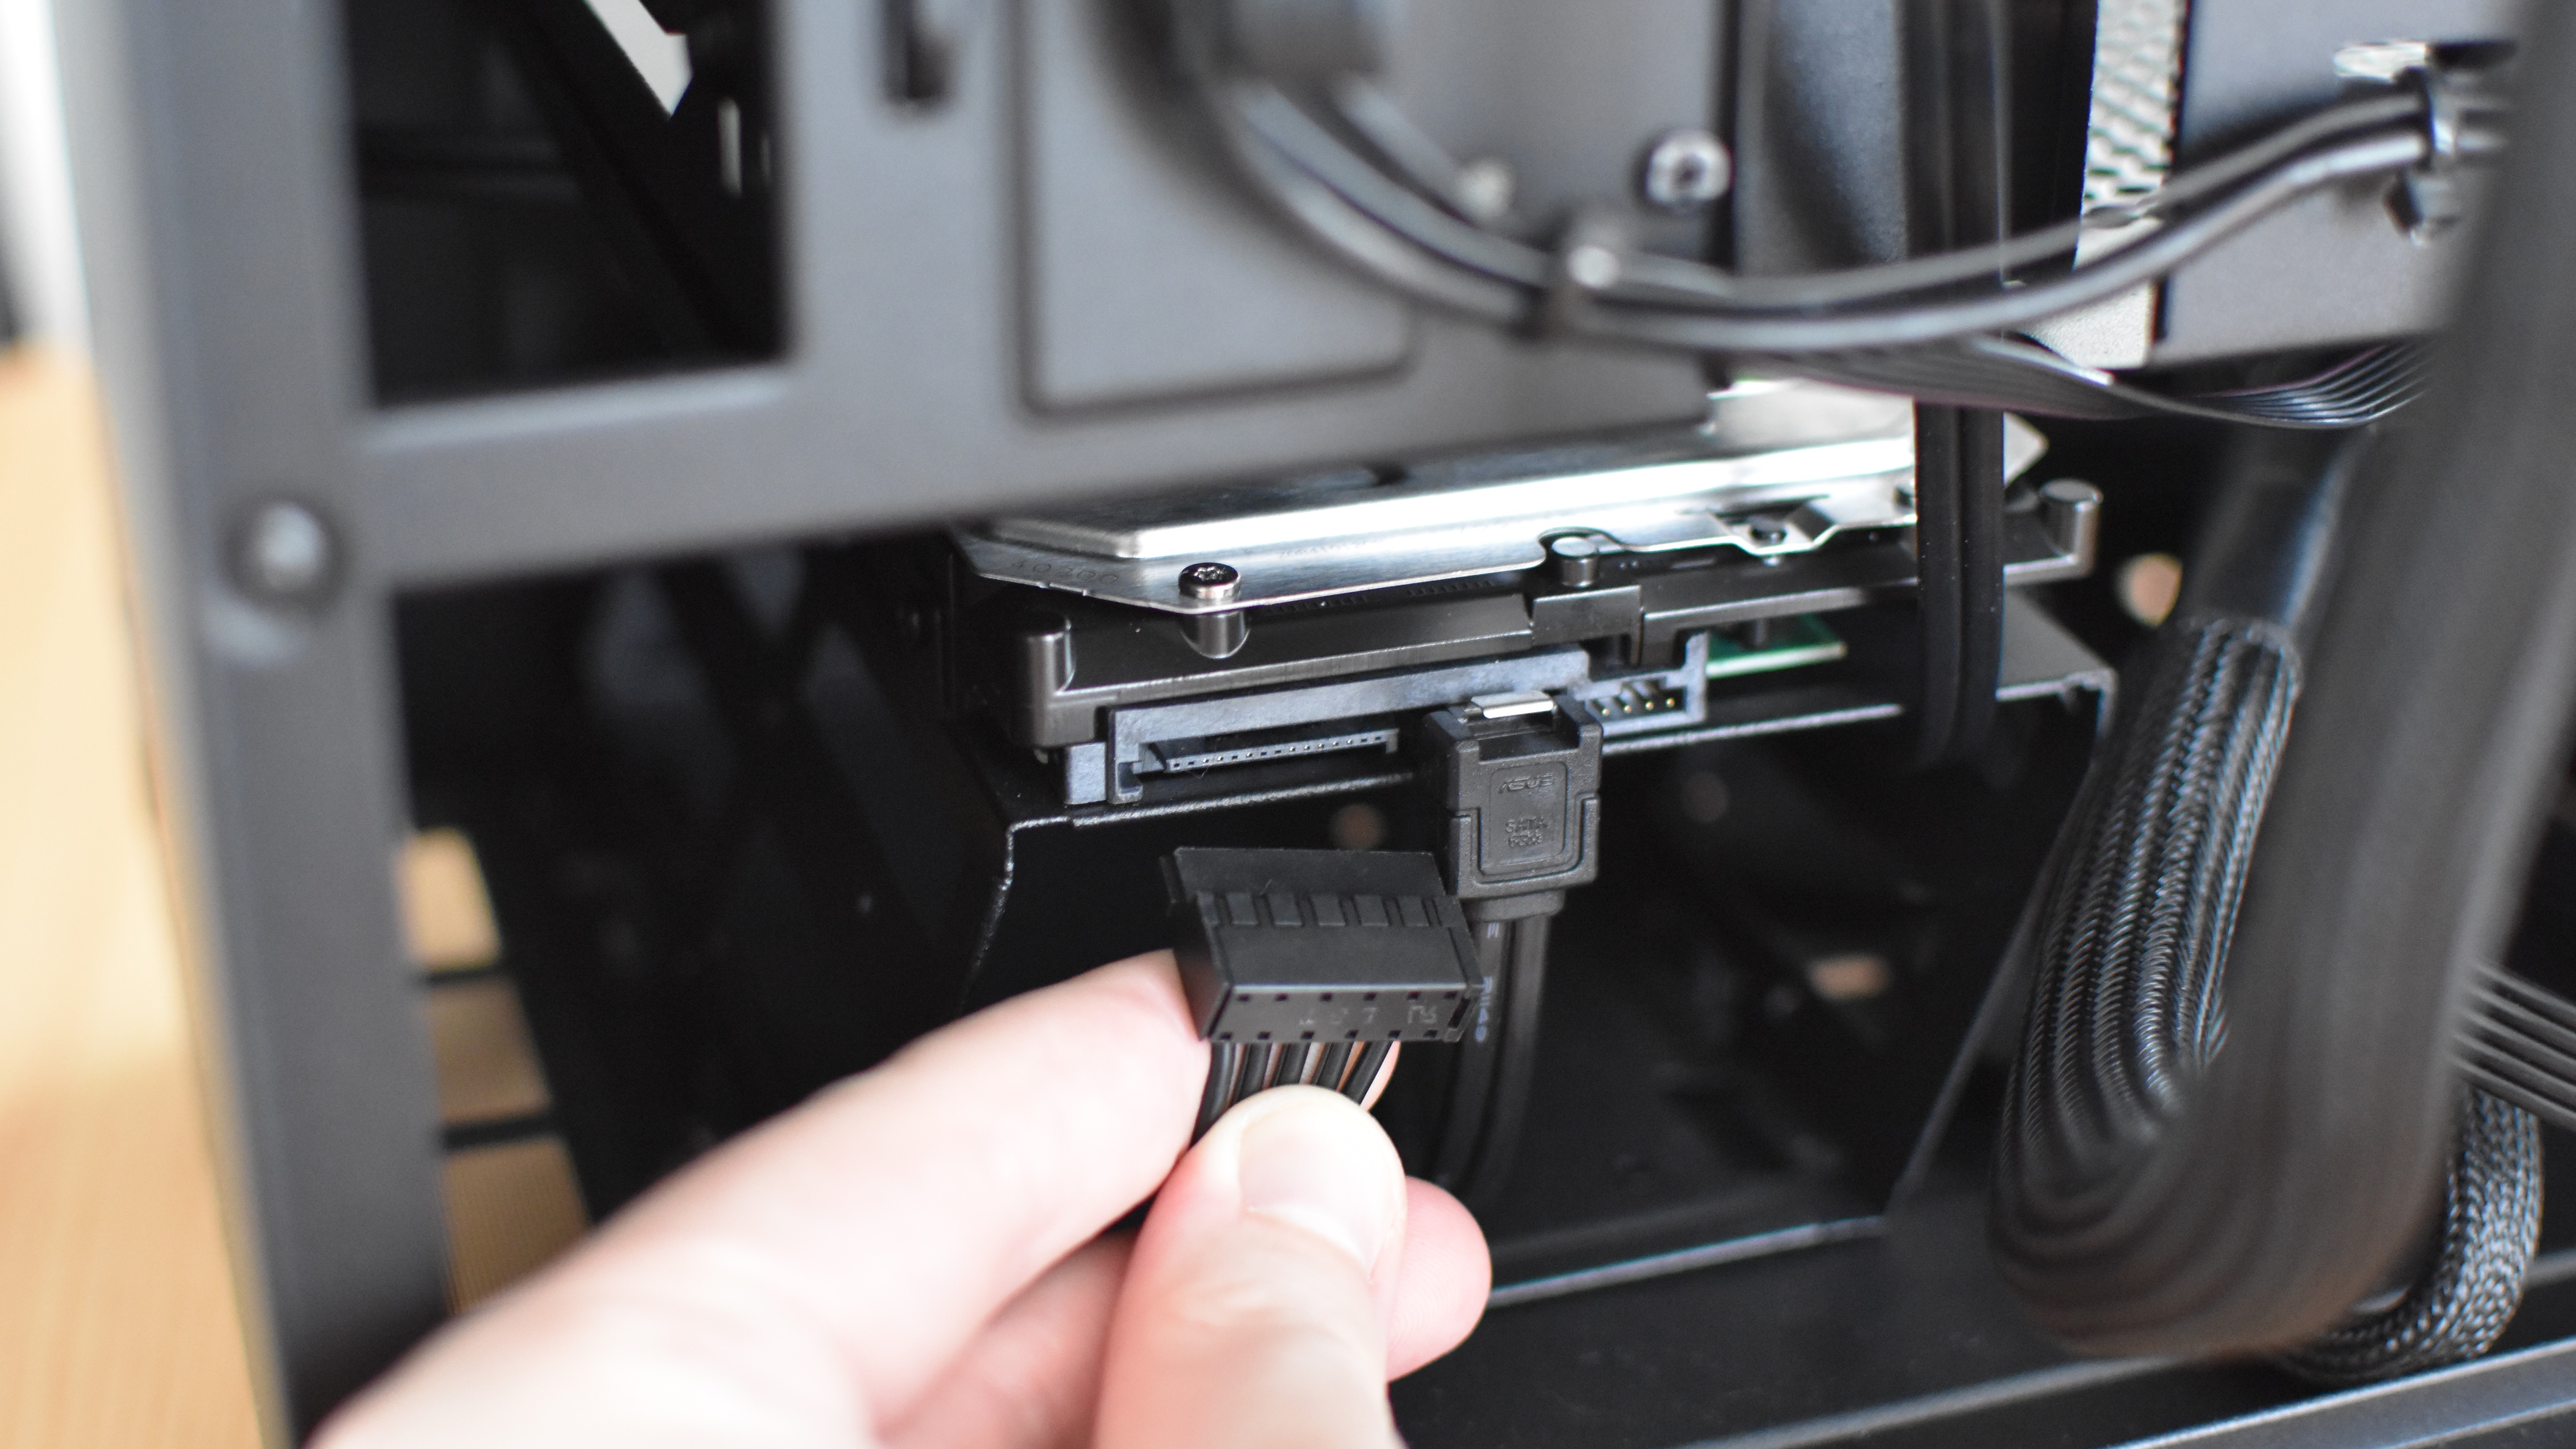
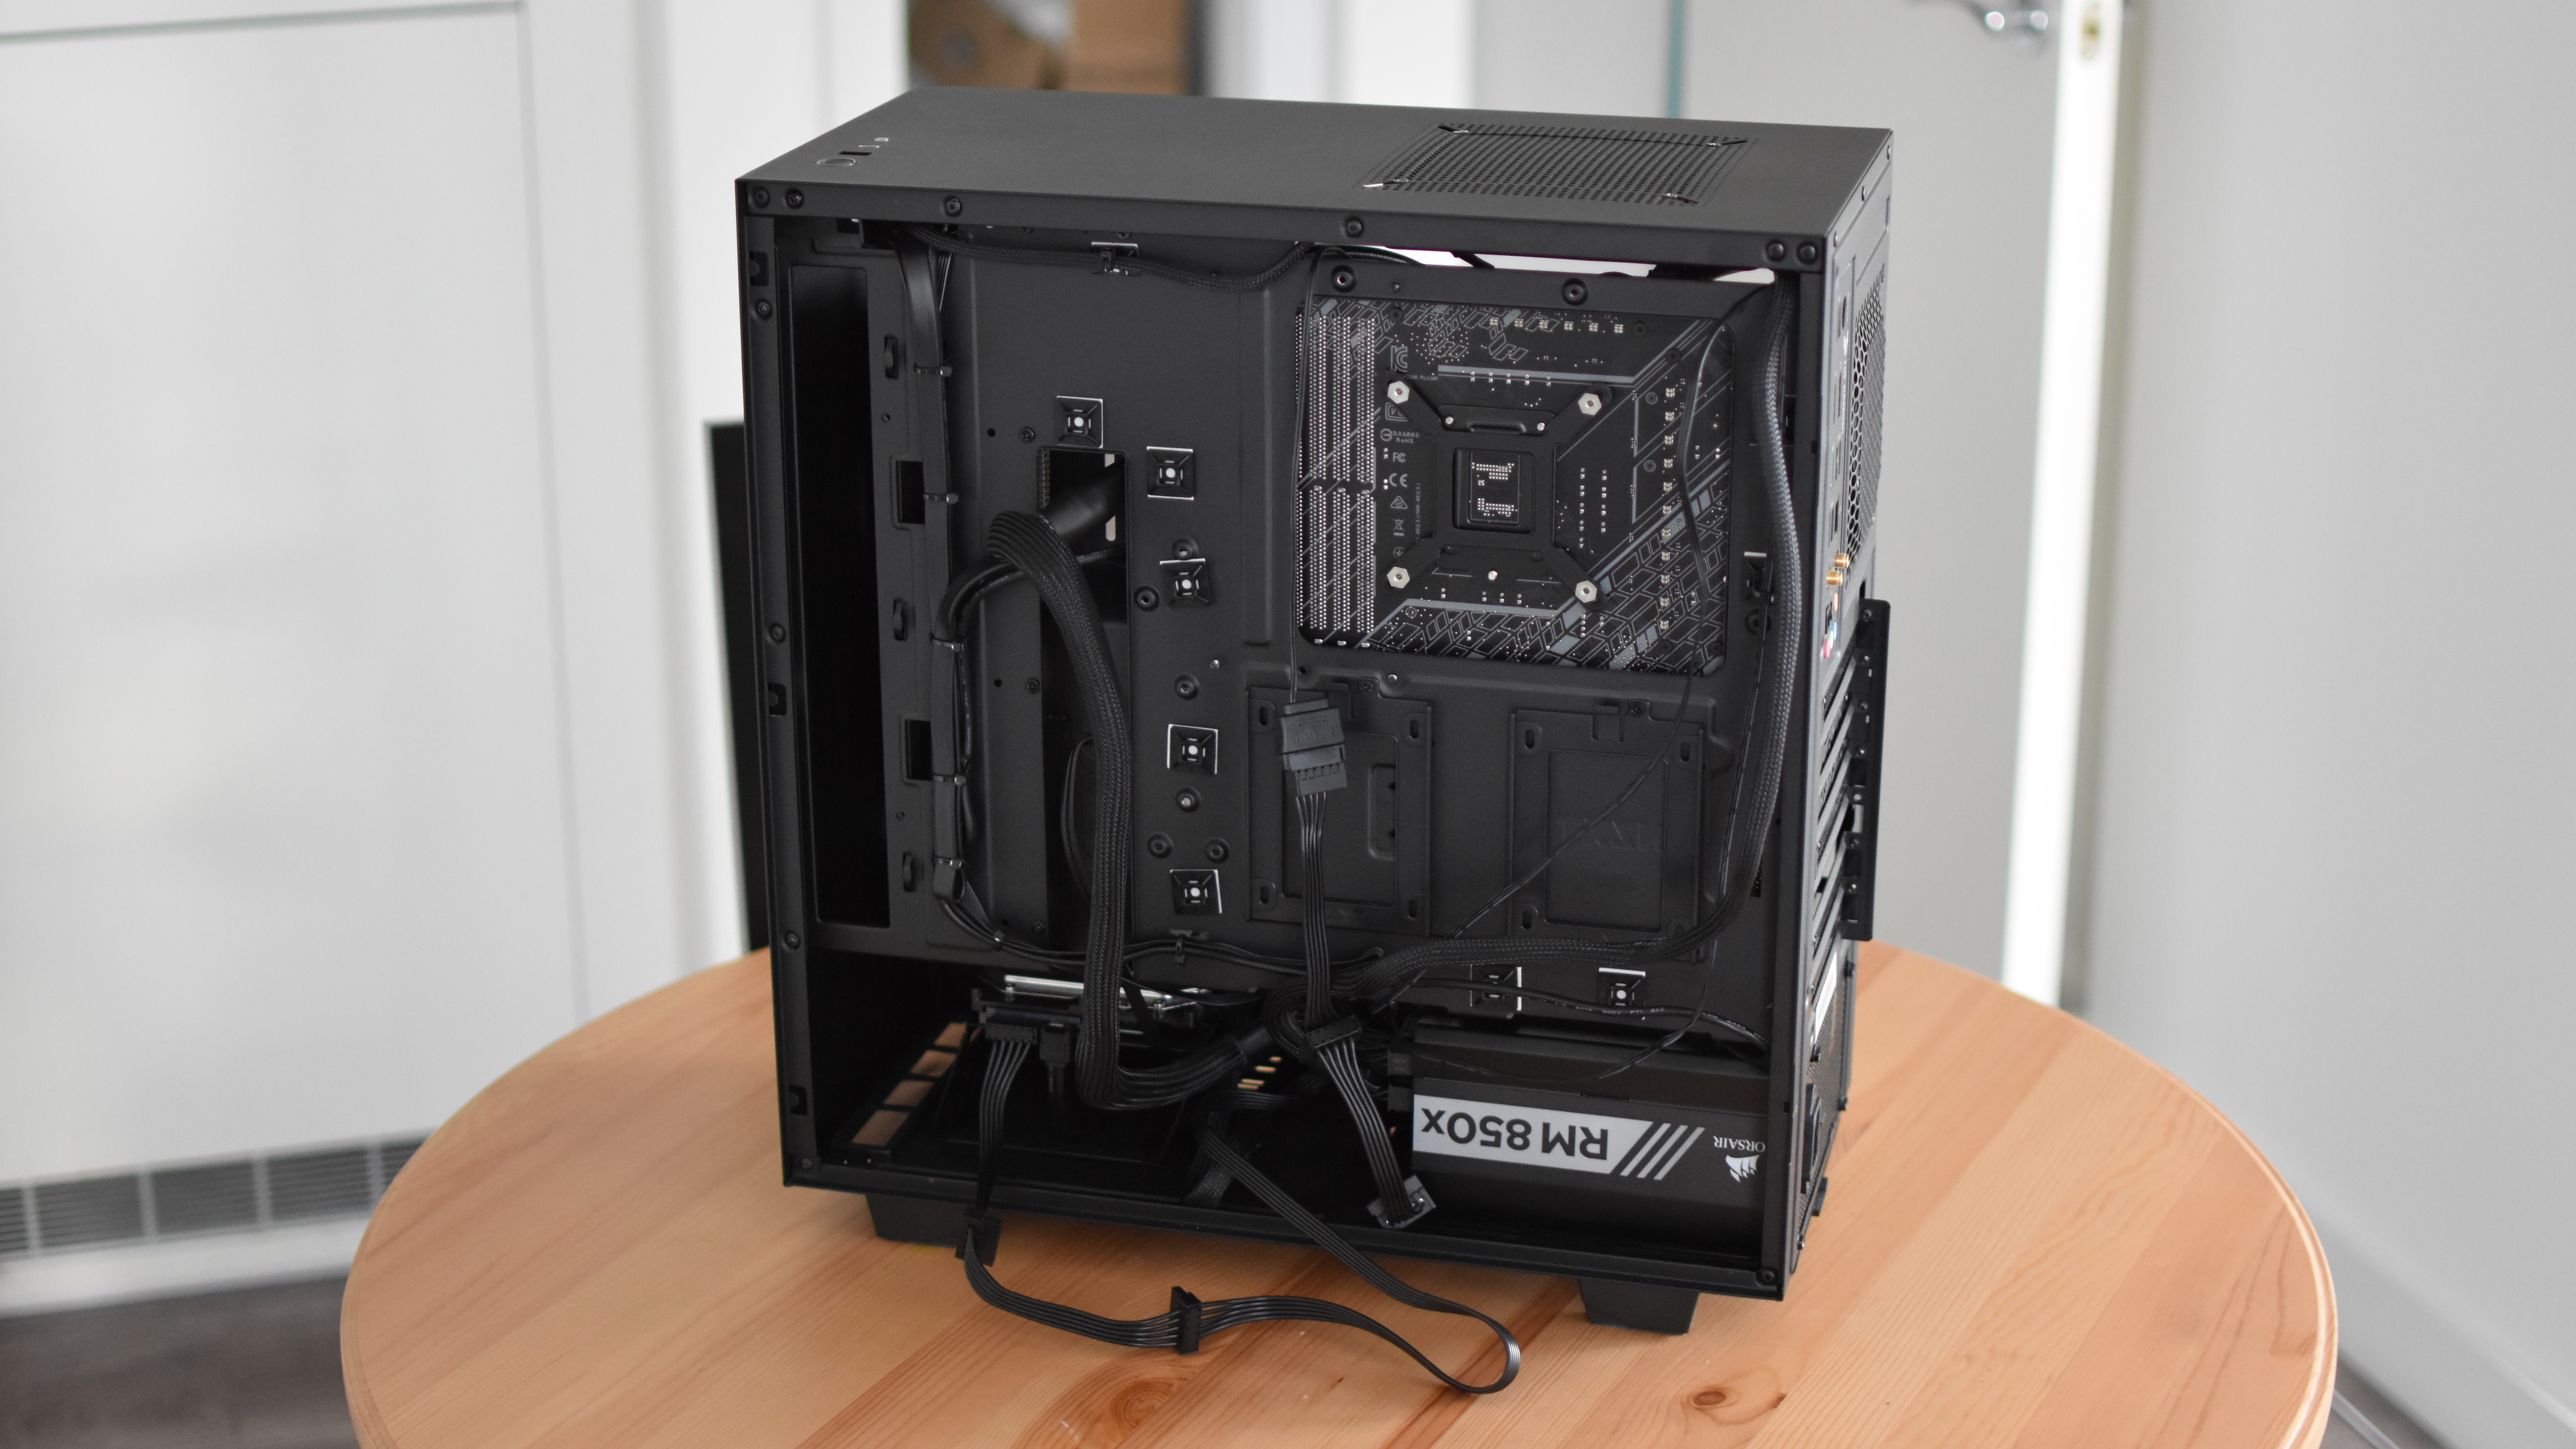
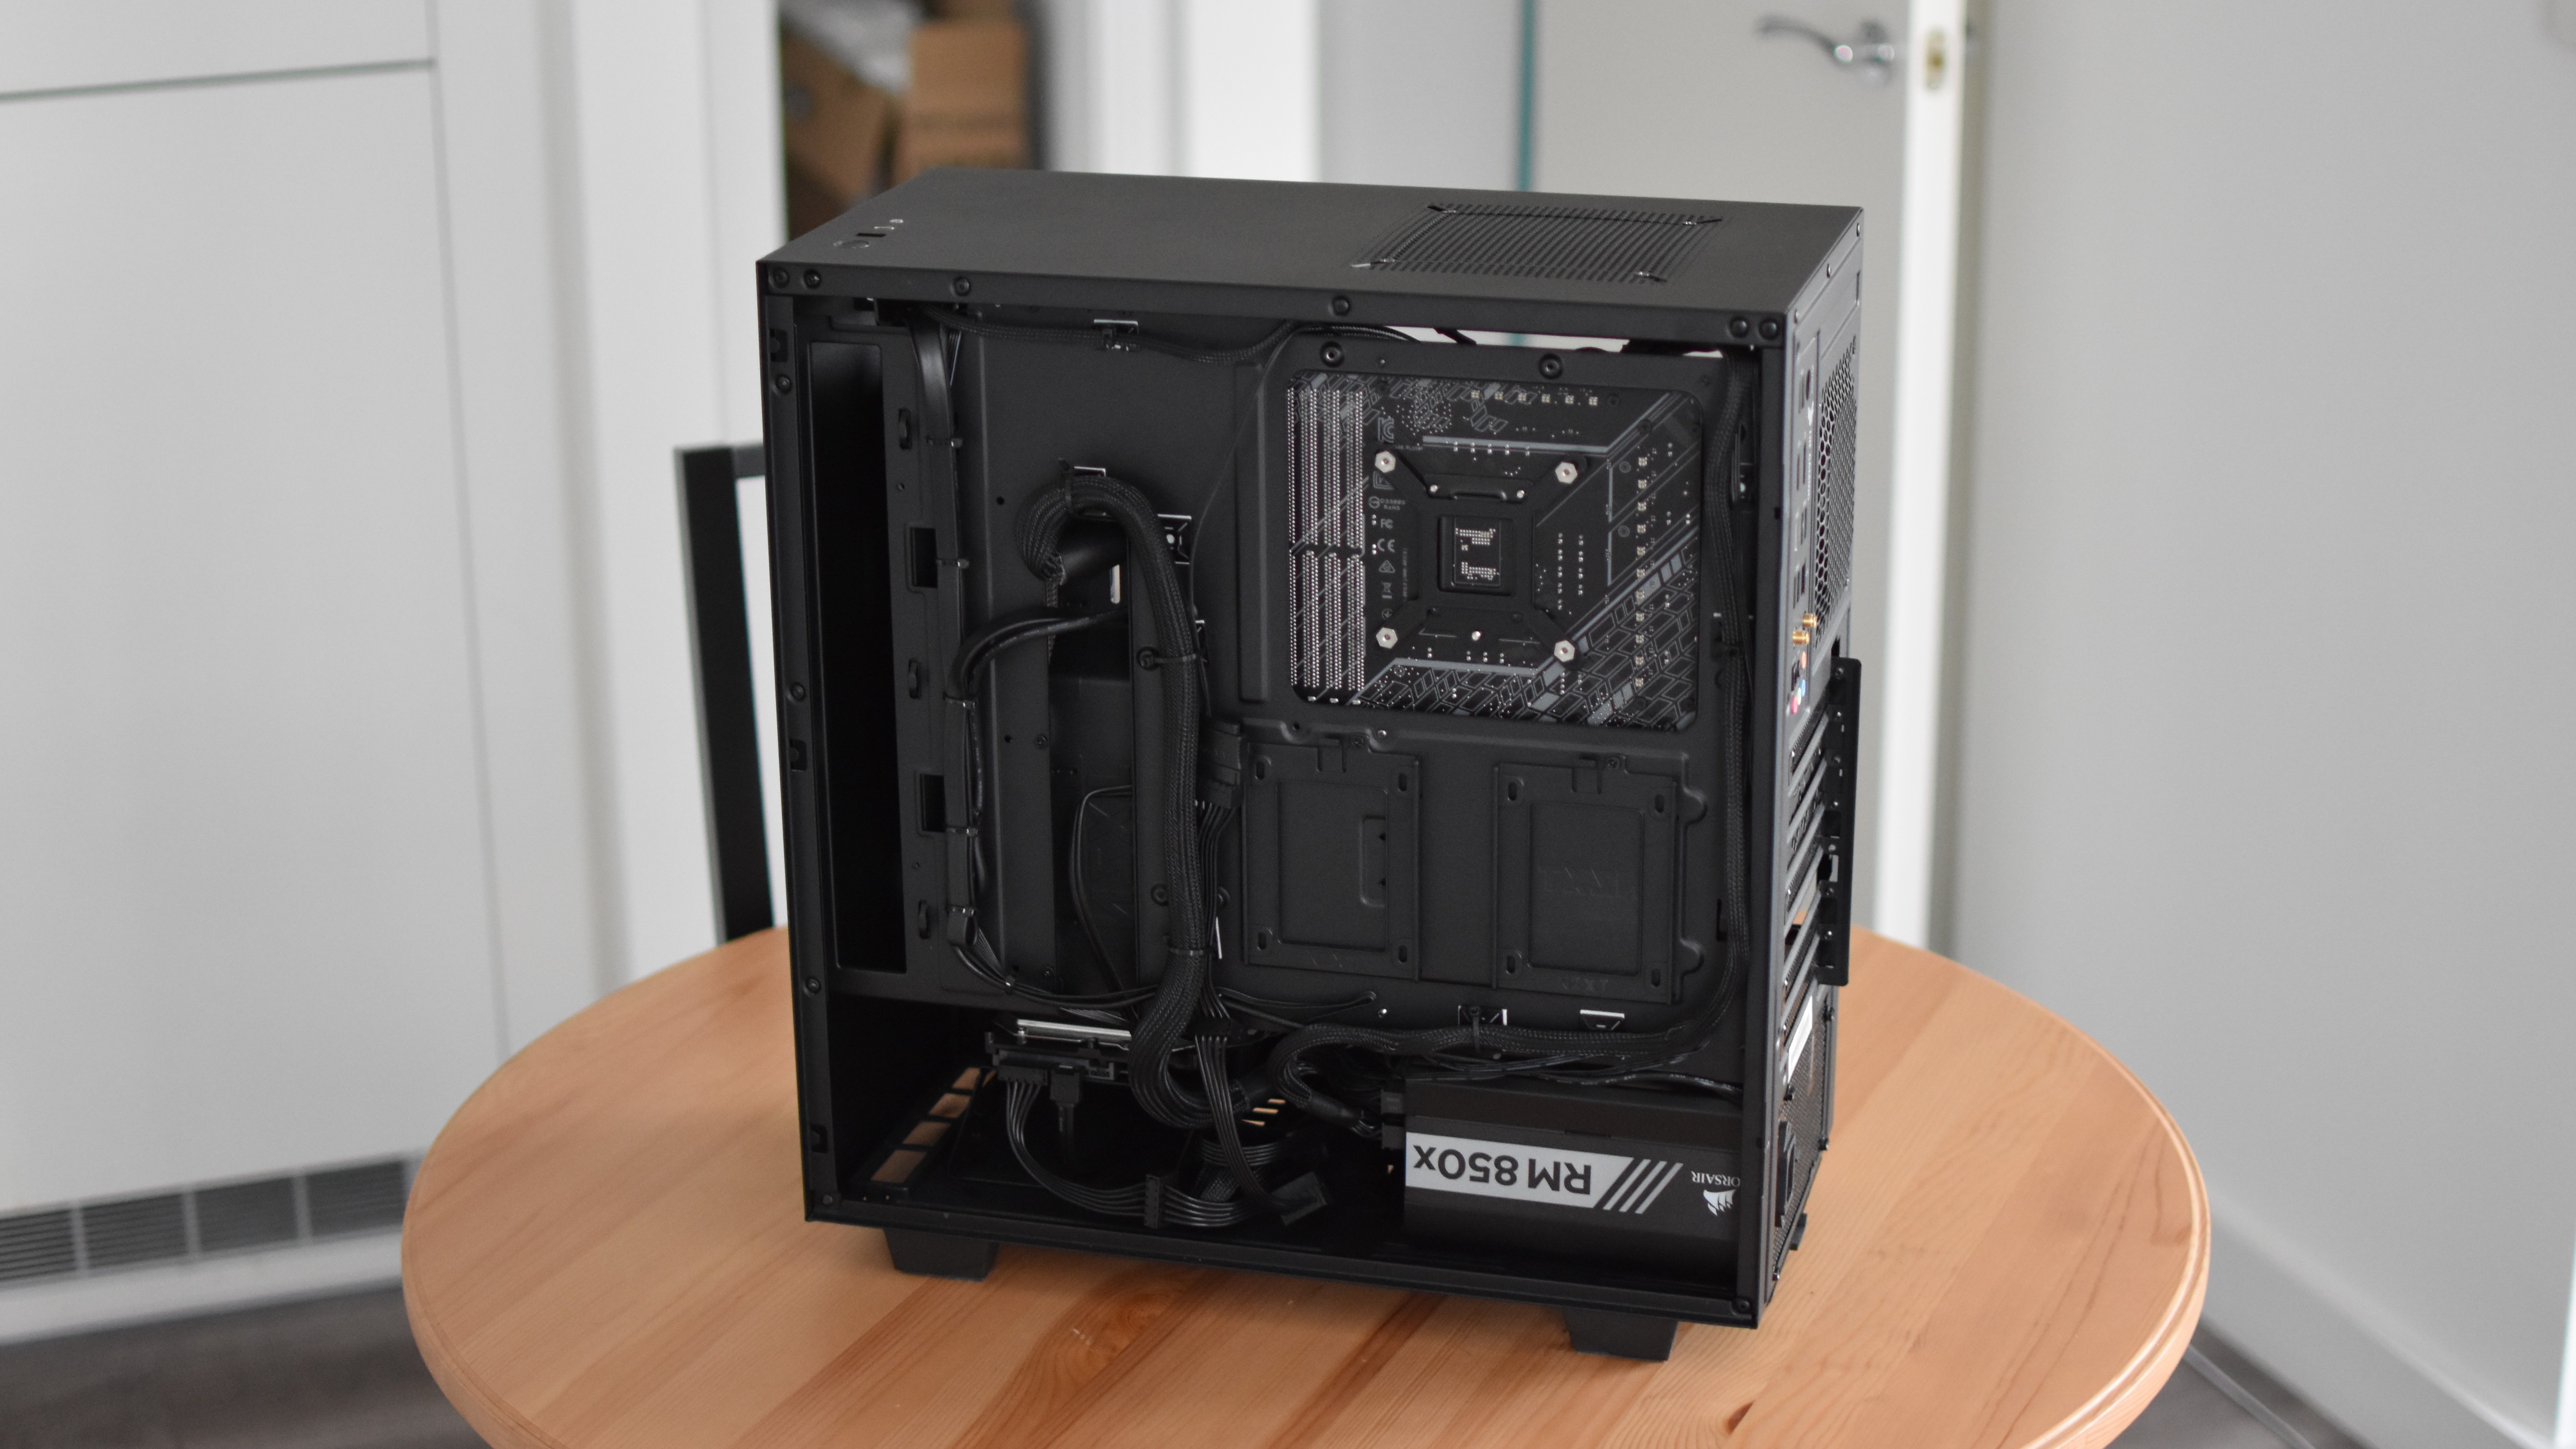
Step 1: Start off by making sure all the cables you need are attached to the PSU, especially if you have a modular or semi-modular unit. The essentials are the 24-pin motherboard power connector, one 8-pin CPU power connector, and as many GPU/PCIe connectors as your graphics card needs. You may also need one or more SATA power cables, for internal storage or to power certain CPU coolers. Step 2: With the PSU fan facing downwards, slide it into the case’s PSU bay. This is usually at the back and in the floor of the case, except for very cheap or old cases that have it at the top. Some cases let you remove a plate at the rear then simply slide in the PSU, which can then be secured by re-attaching the plate. On others, as you can see in these photos, the PSU goes in from the side, then is screwed directly onto the chassis. Either way, secure the PSU in place with the case’s included screws. Step 3: It’s cable connectin’ time. There’s no particular order, but trying to avoid criss-crossing the cables will help you organise them later. Be sure to make use of any routing holes around the motherboard tray, too. The big 24-pin cable connects directly to the motherboard – it’s hard to miss that one, but should almost always be on the board’s right edge – while the 8-pin CPU power cable plugs in at the top-left of the mobo. Some higher-end motherboards might have a secondary CPU power connector, but this is only really for extreme overclocking use, and your system will work fine if you only connect the primary connector. That said, graphics cards with multiple PSU connectors will always need all of them filled. Remember the SATA power connectors as well (the ones shaped like a stretched-out ‘L’). These can plug directly into hard drives or SATA SSDs; some CPU coolers will also have SATA power connector, either as part of a hub unit or on a separate cable. Step 4: Tidy up! You can usually stuff most of the cable bulk next to the PSU, but cable ties or even the cases’ built-in straps should be used to keep the rest of the cables tight and compact. This isn’t just for aesthetics: a tidy case is easier to clean and easier to manage when you choose to change components around in the future. Even if you eventually need to snip some ties to access a particular PSU cable, that’s easier than untangling it from a dusty spaghetti jumble.