Although changing your motherboard will never produce the gaming performance gains of, say, upgrading to one of the best graphics cards, it may still be necessary when you decide to update your CPU. Between different generations of compatible chipsets and physical sockets, only certain mobos will work with certain processors, so if you crave the best gaming CPUs then you’d better be prepared to buy and install a matching motherboard as well. That said, it’s not something you can only approach reluctantly. A newer, better motherboard can grant you more overclocking headroom, let you add more hardware in the future (like Wi-Fi or capture cards) and simply provide you with a wider range of USB and audio ports to use. As ever, it’s also cheaper to buy these components separately and fit them yourself, so keep reading to find out how to DIY a motherboard installation.
How to install a motherboard
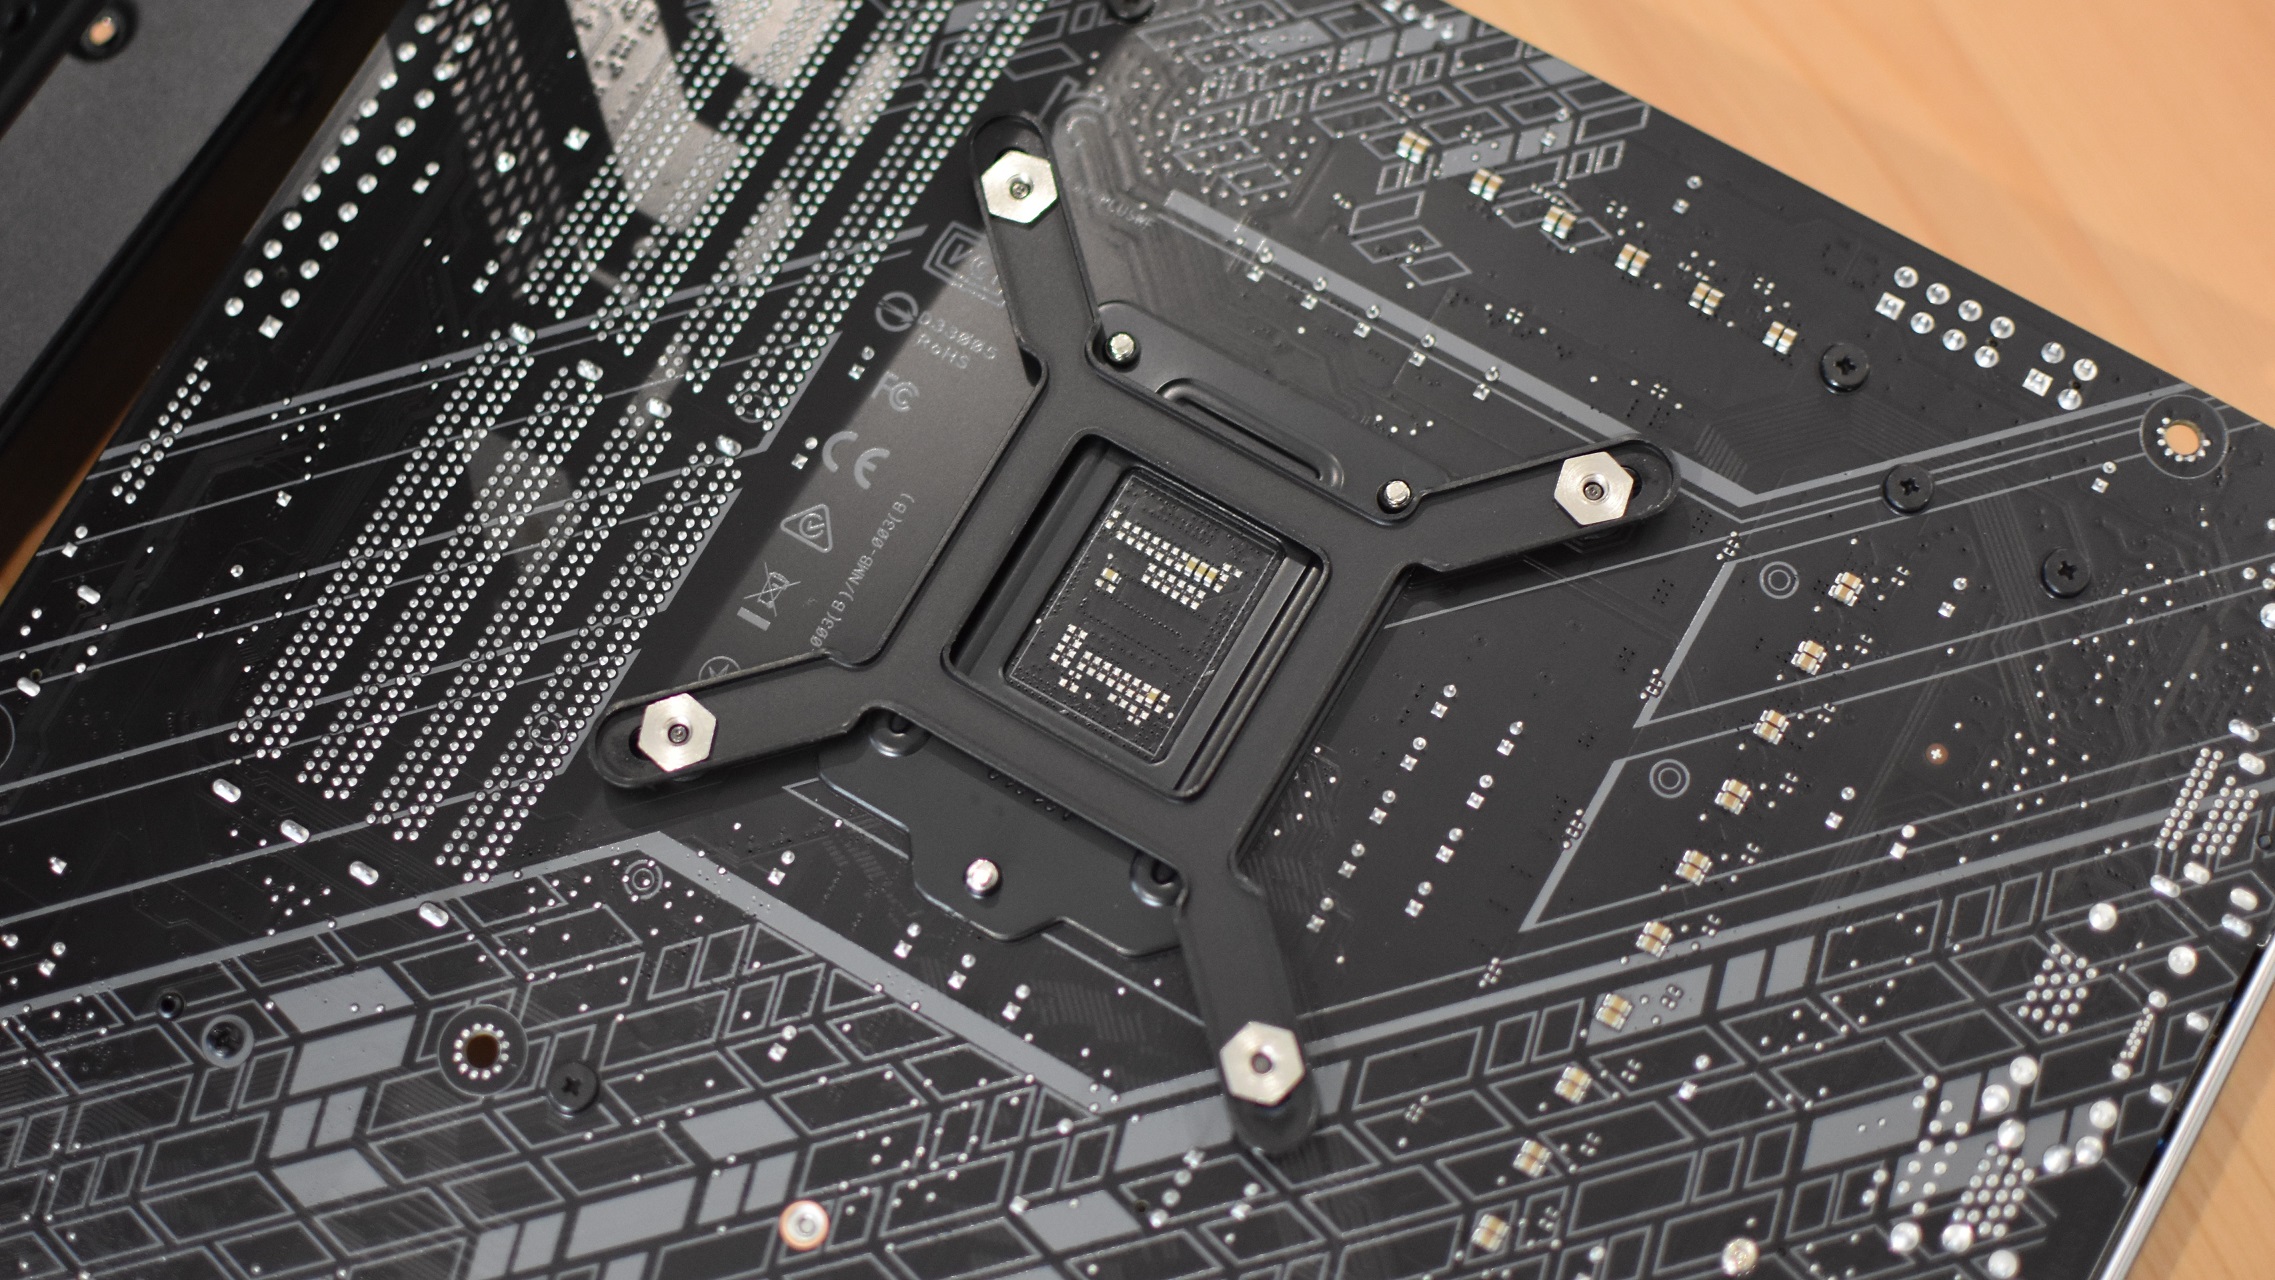
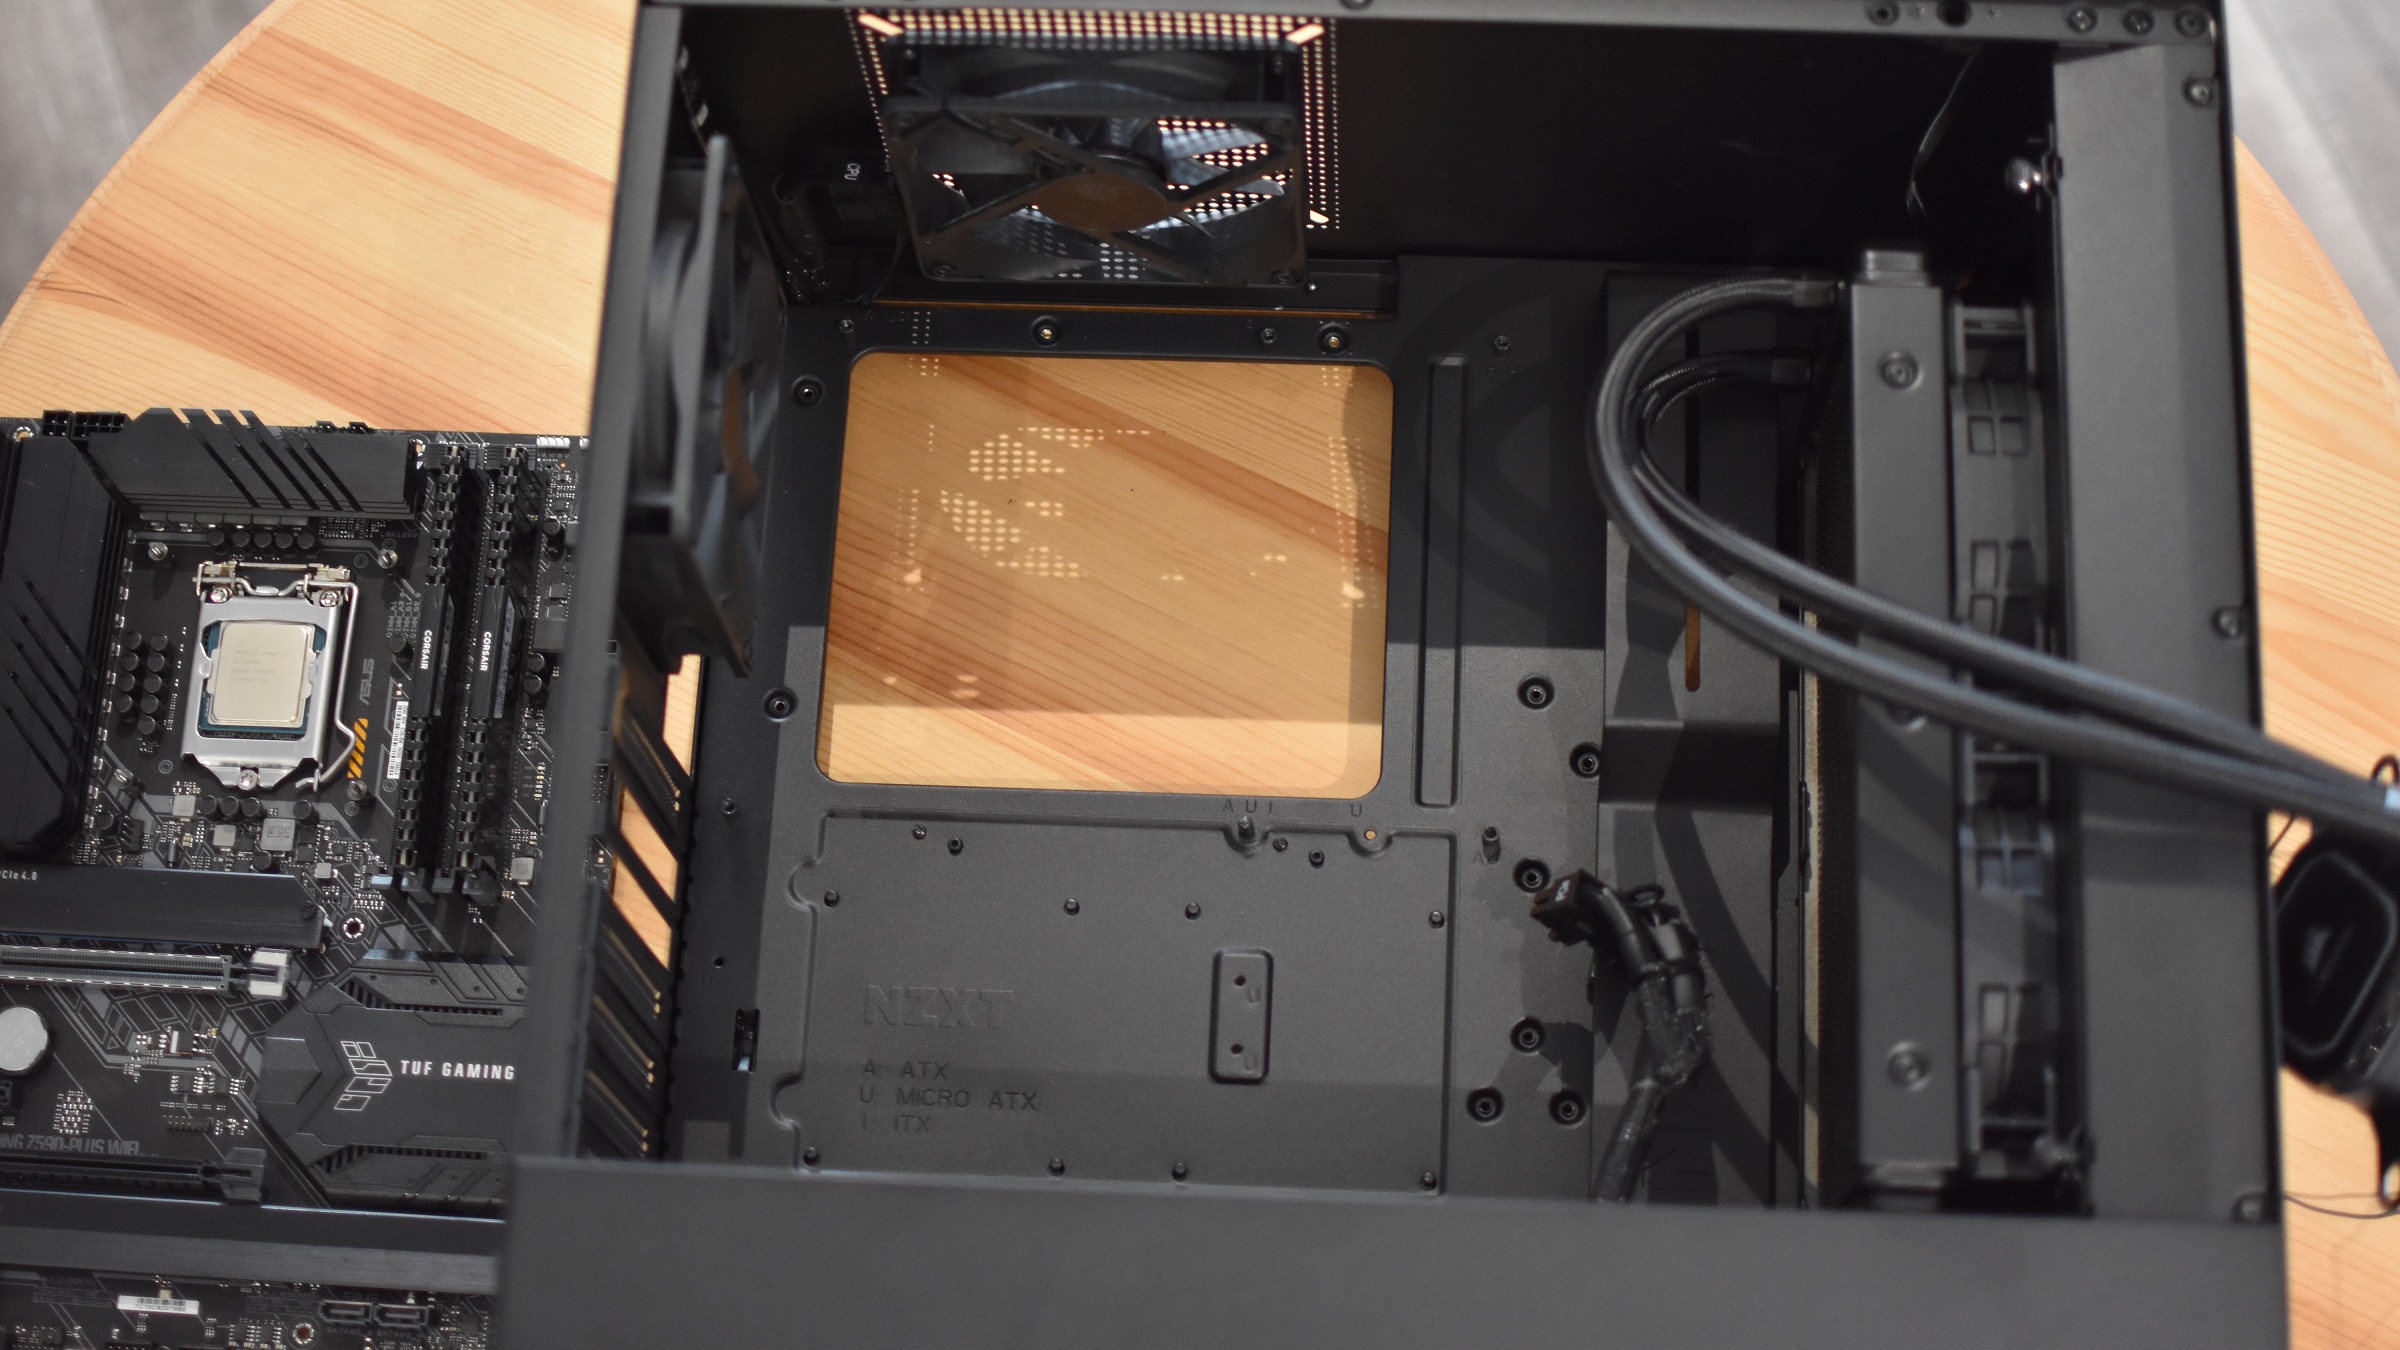
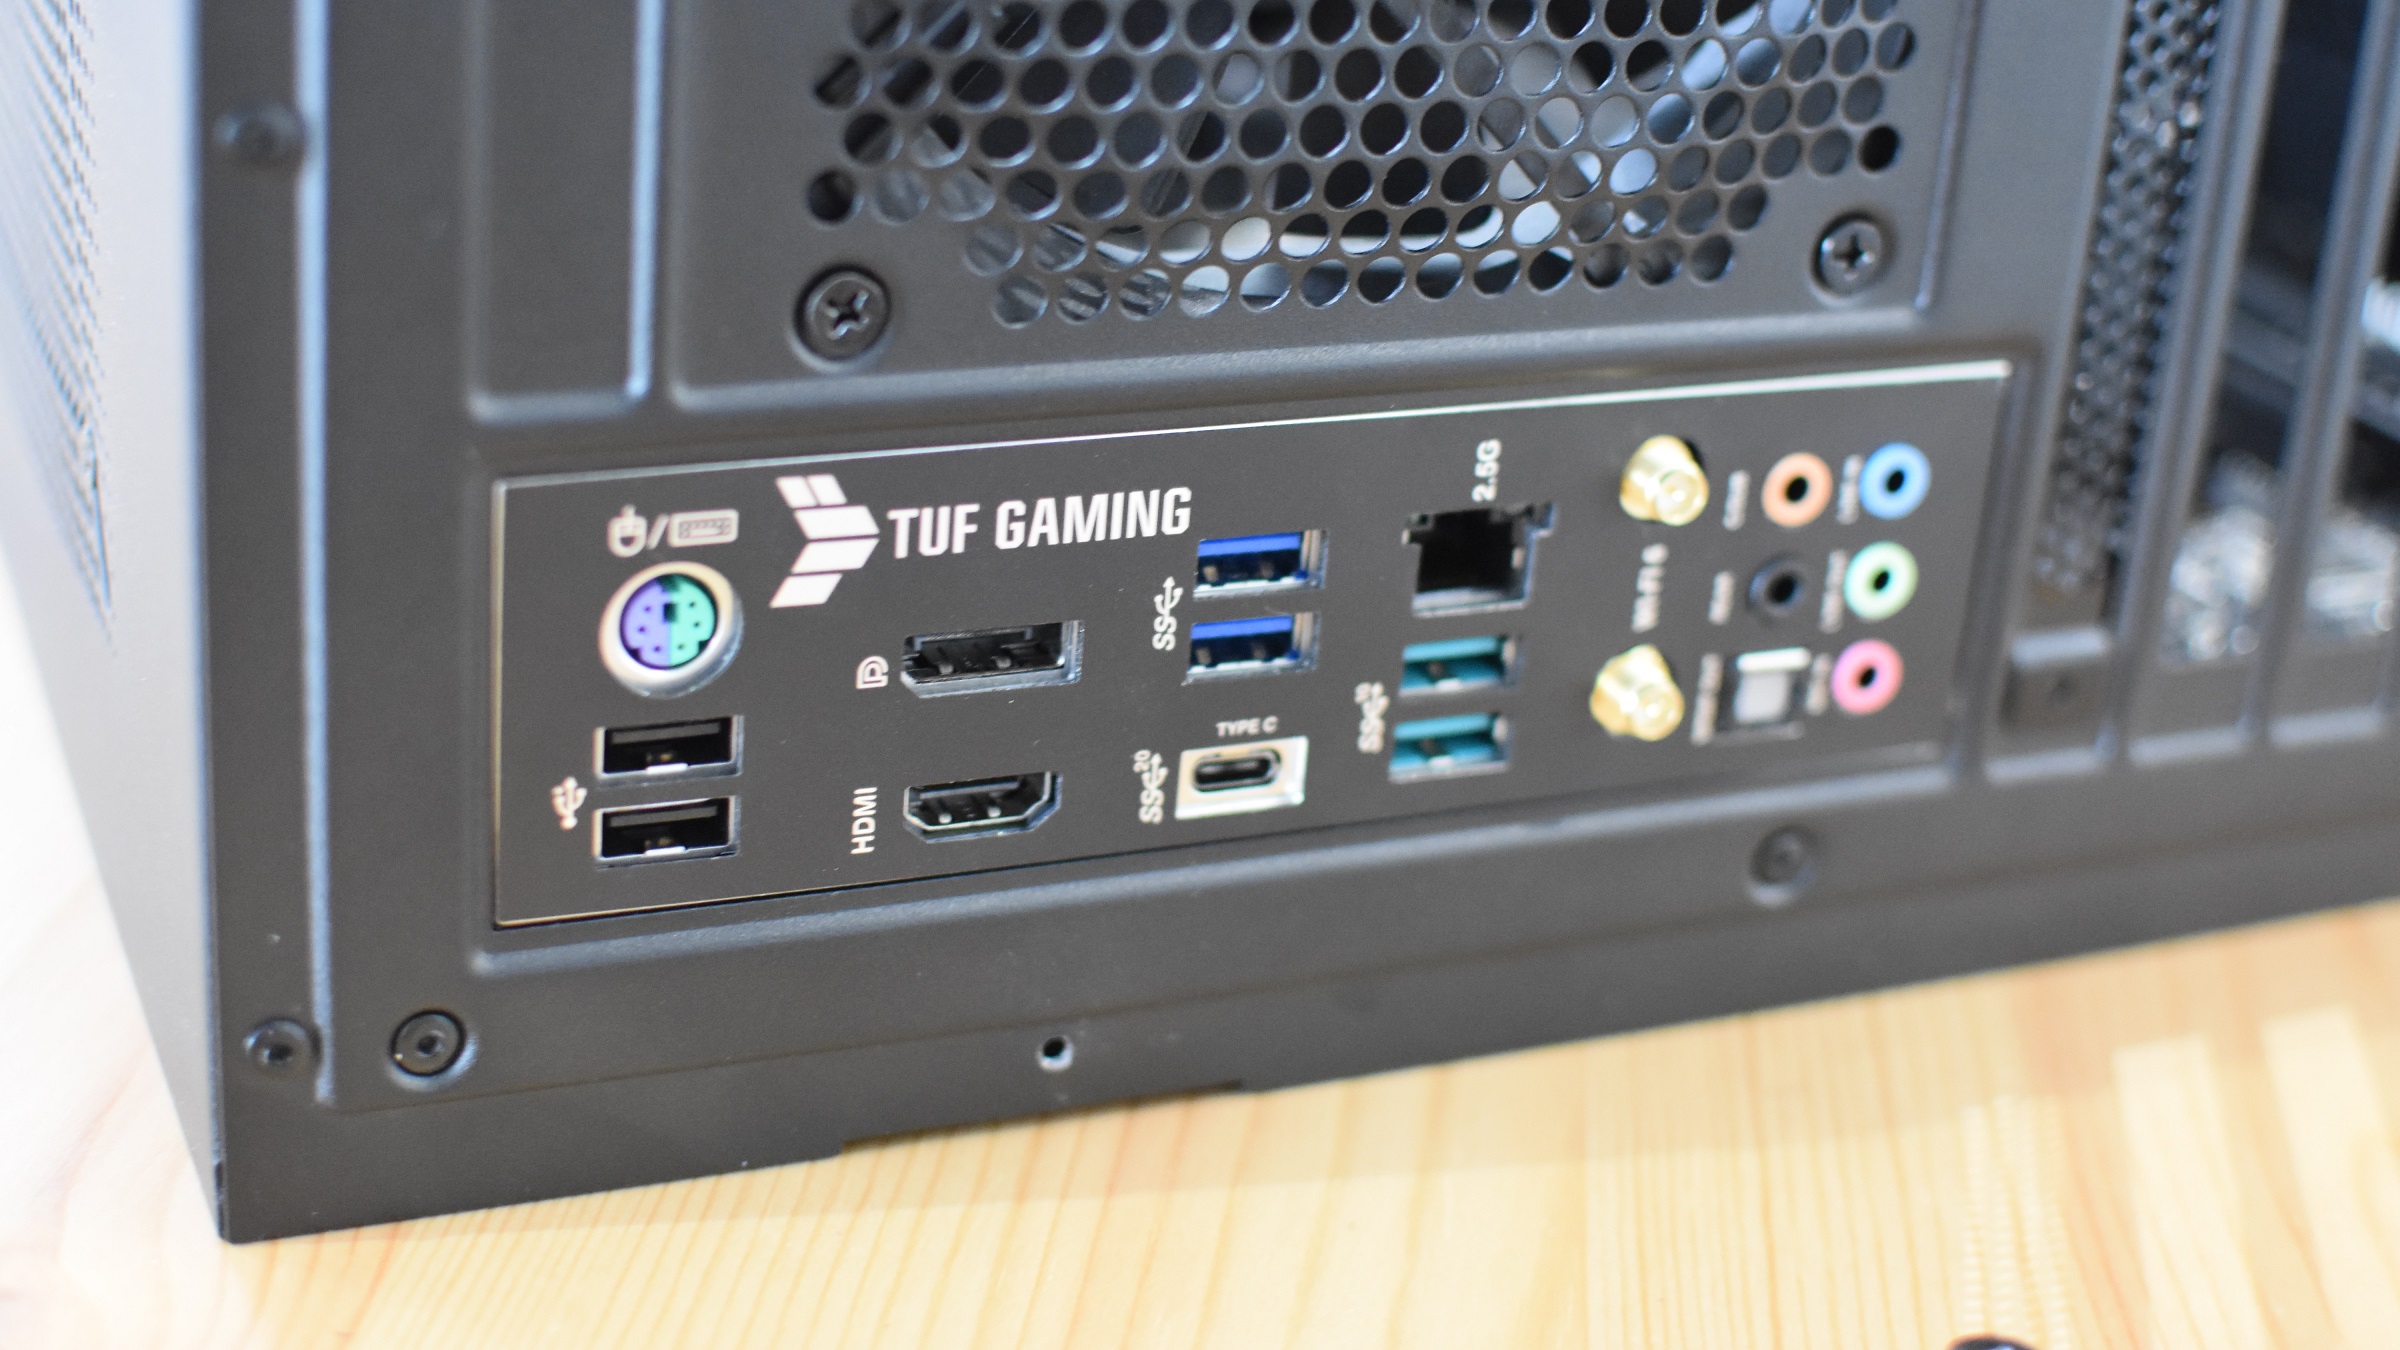
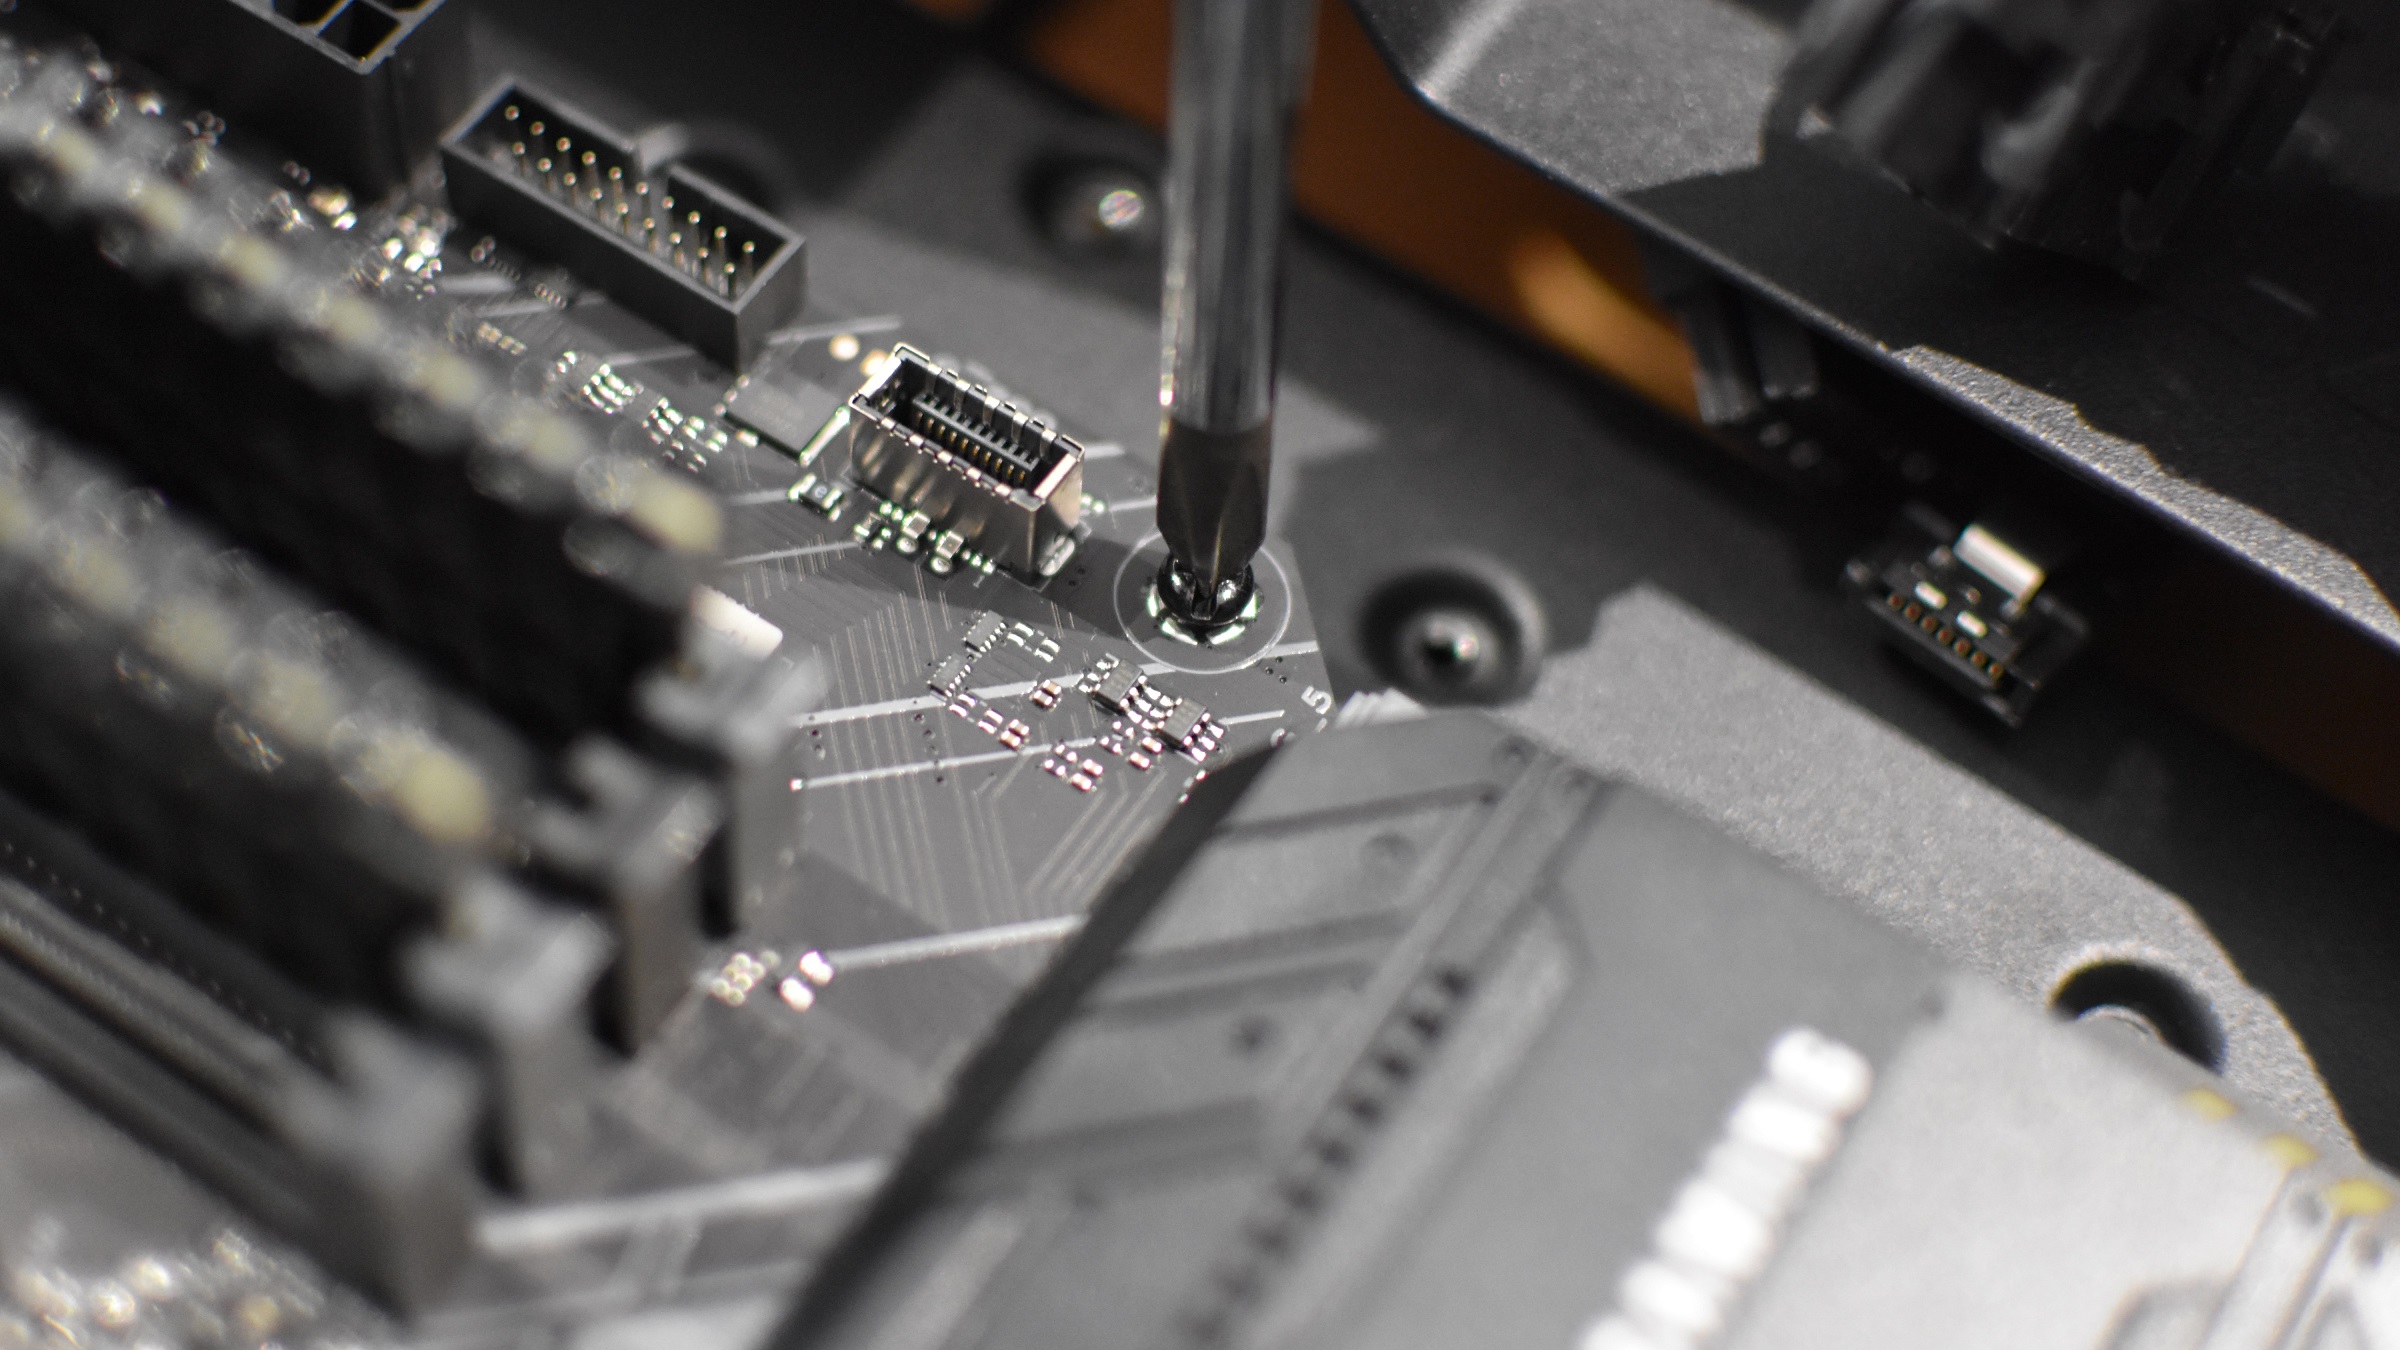
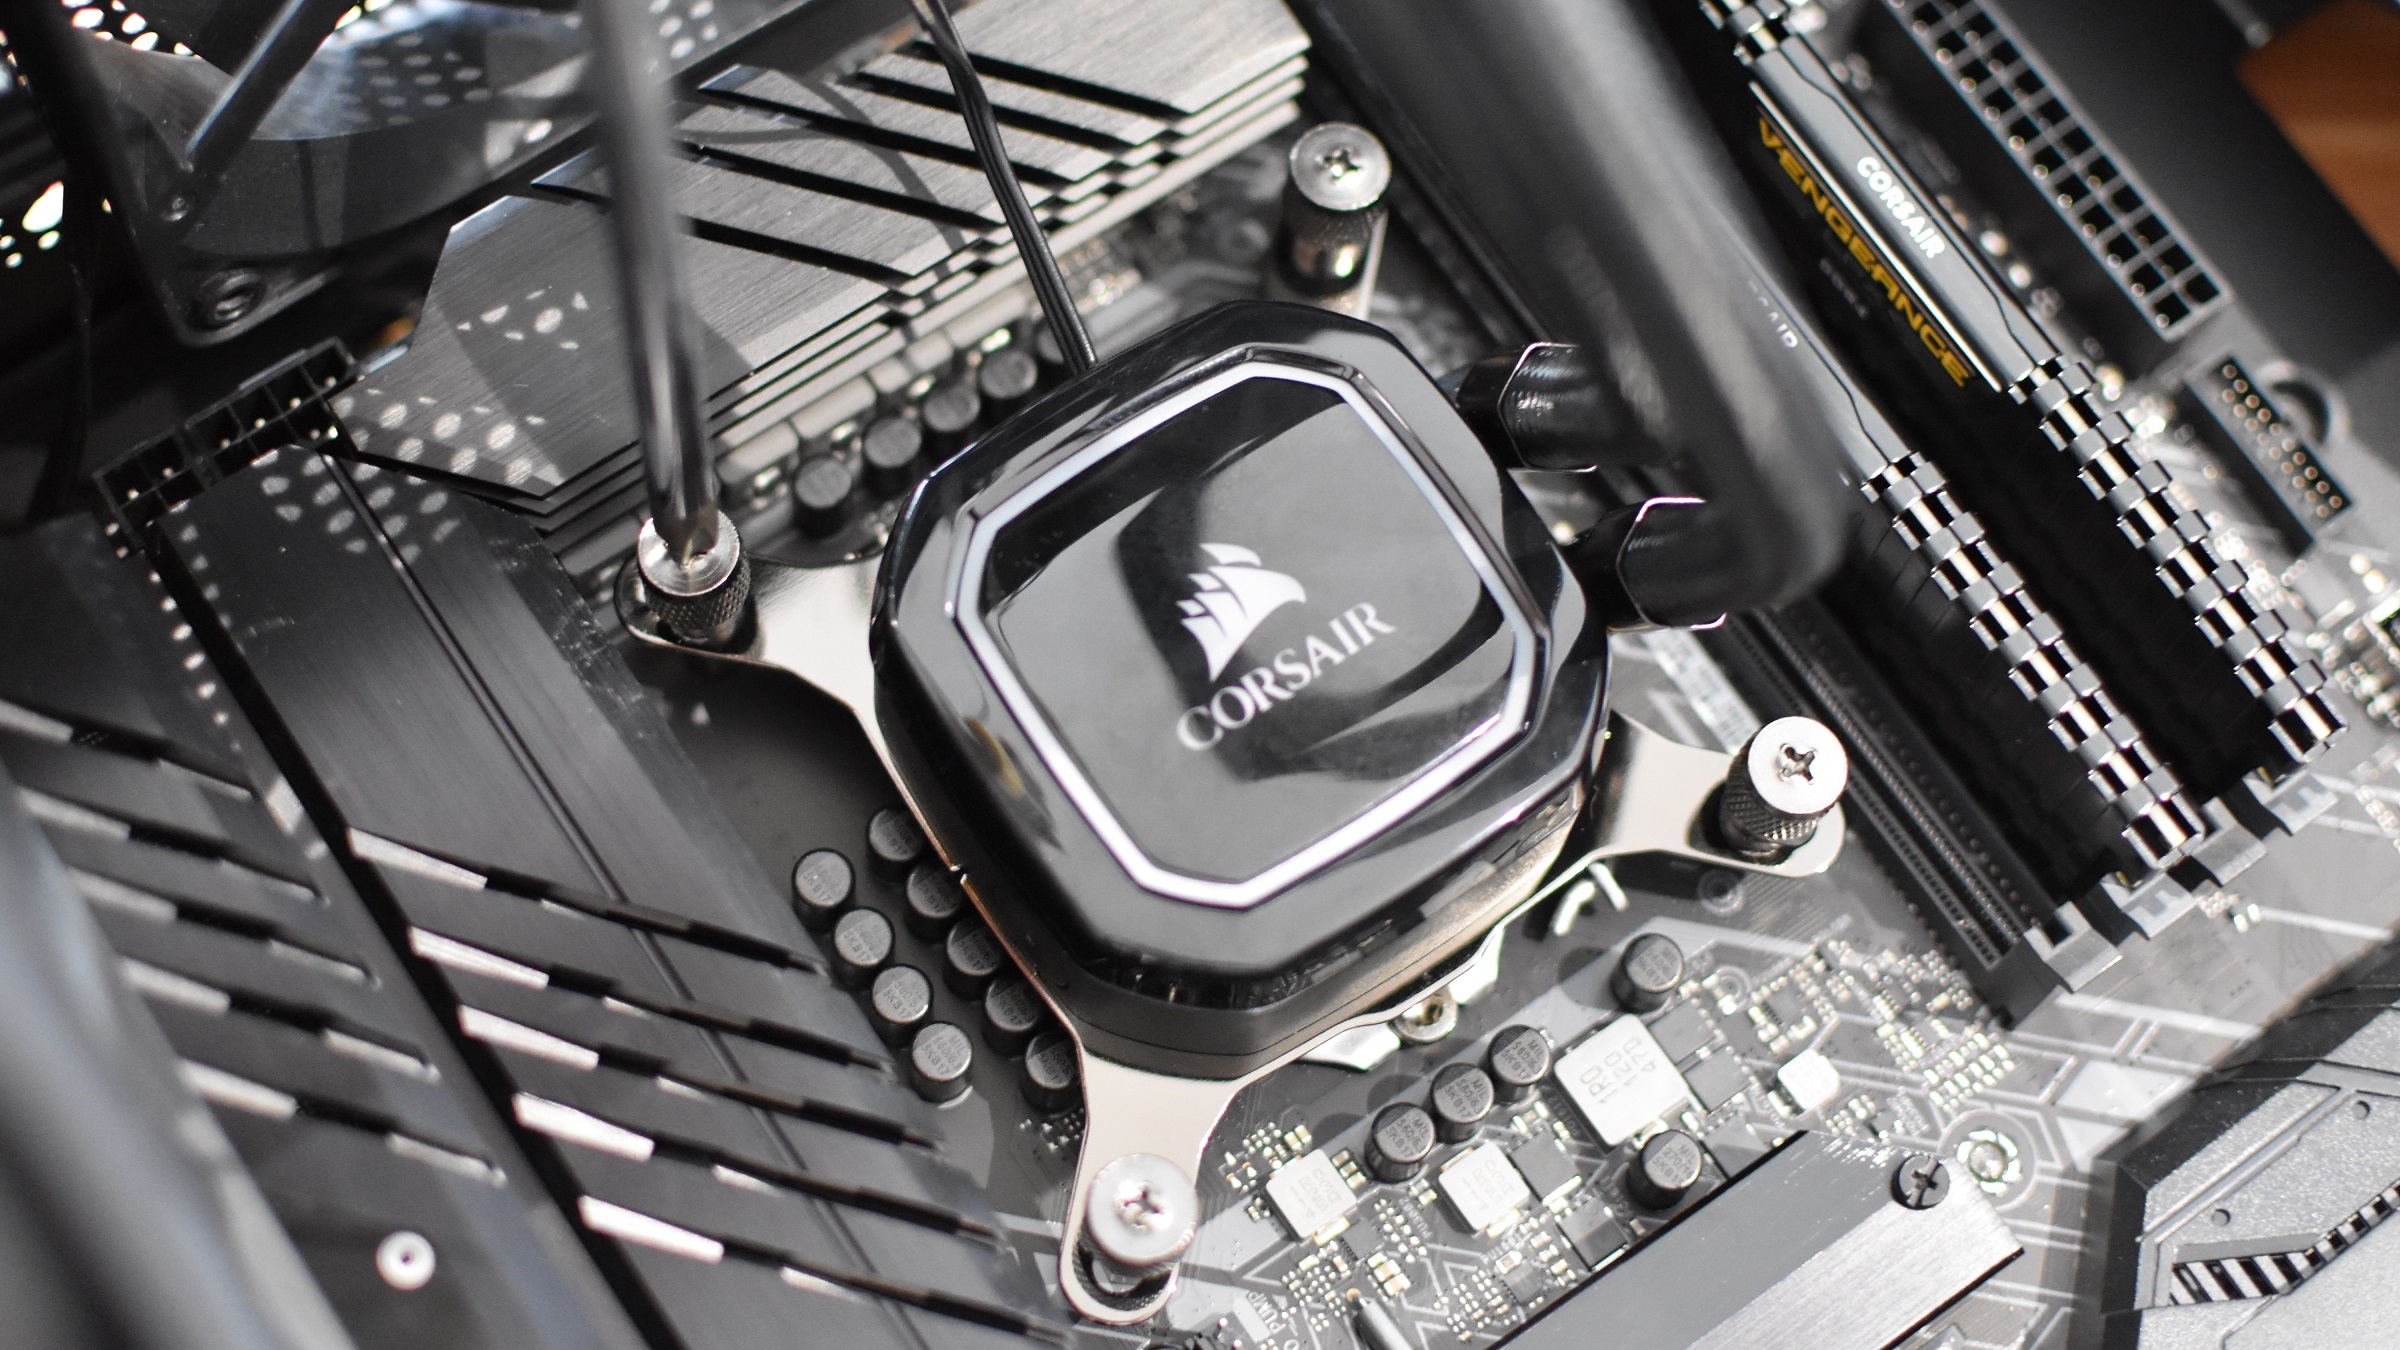
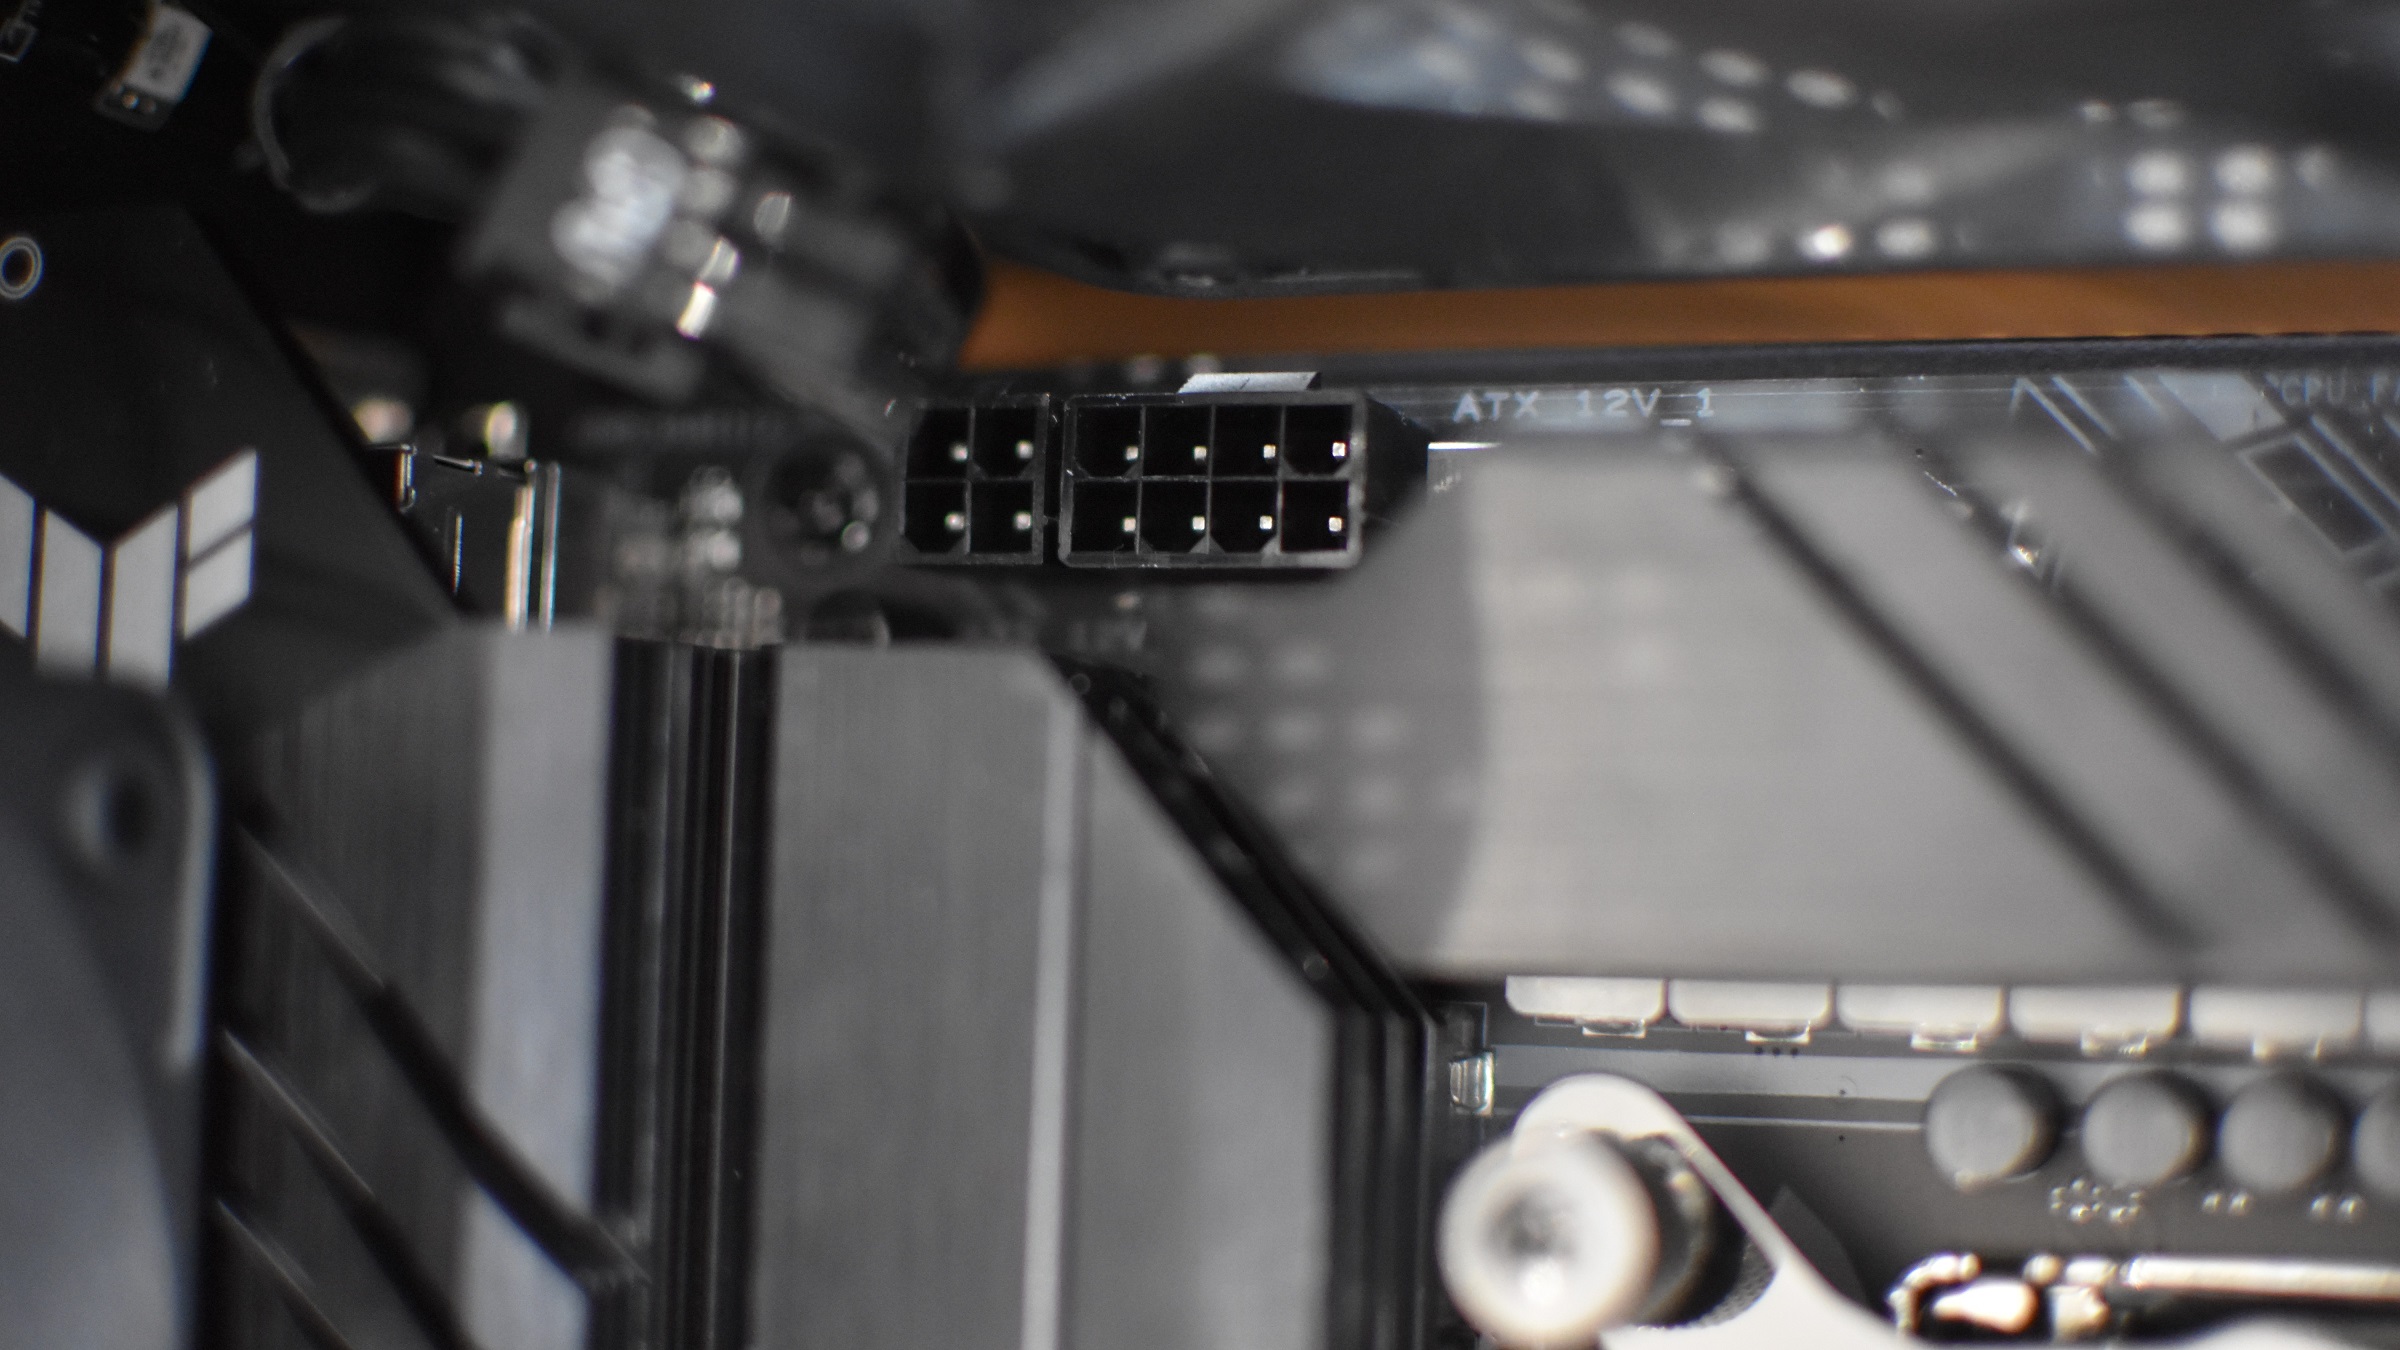
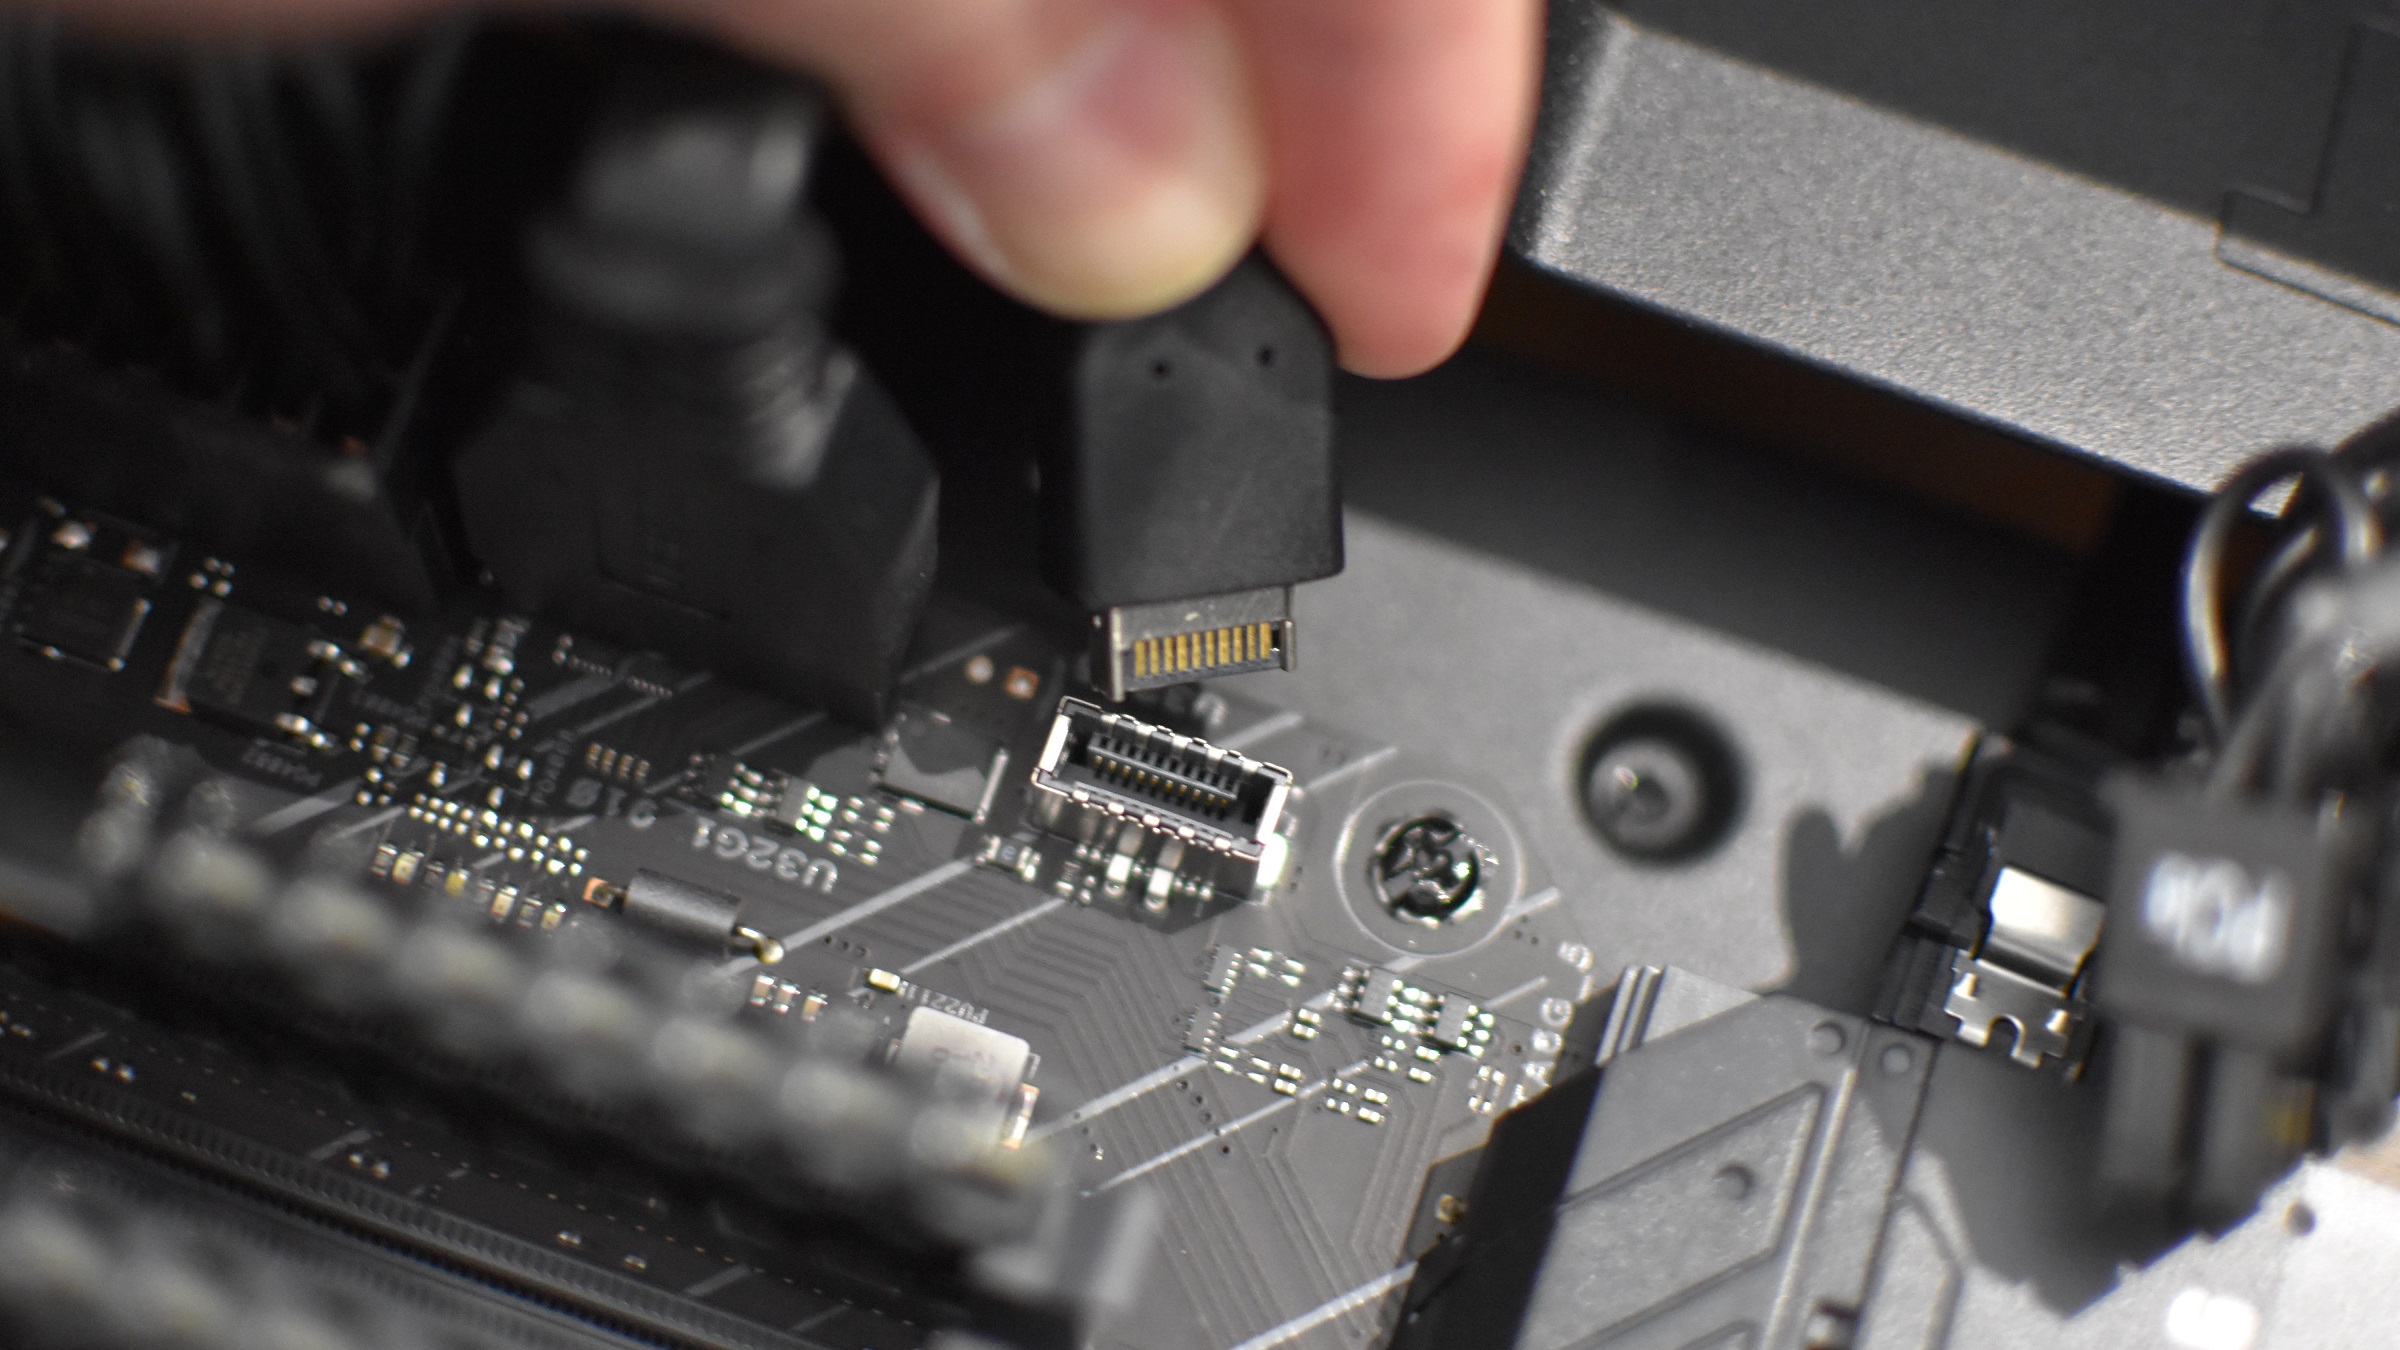
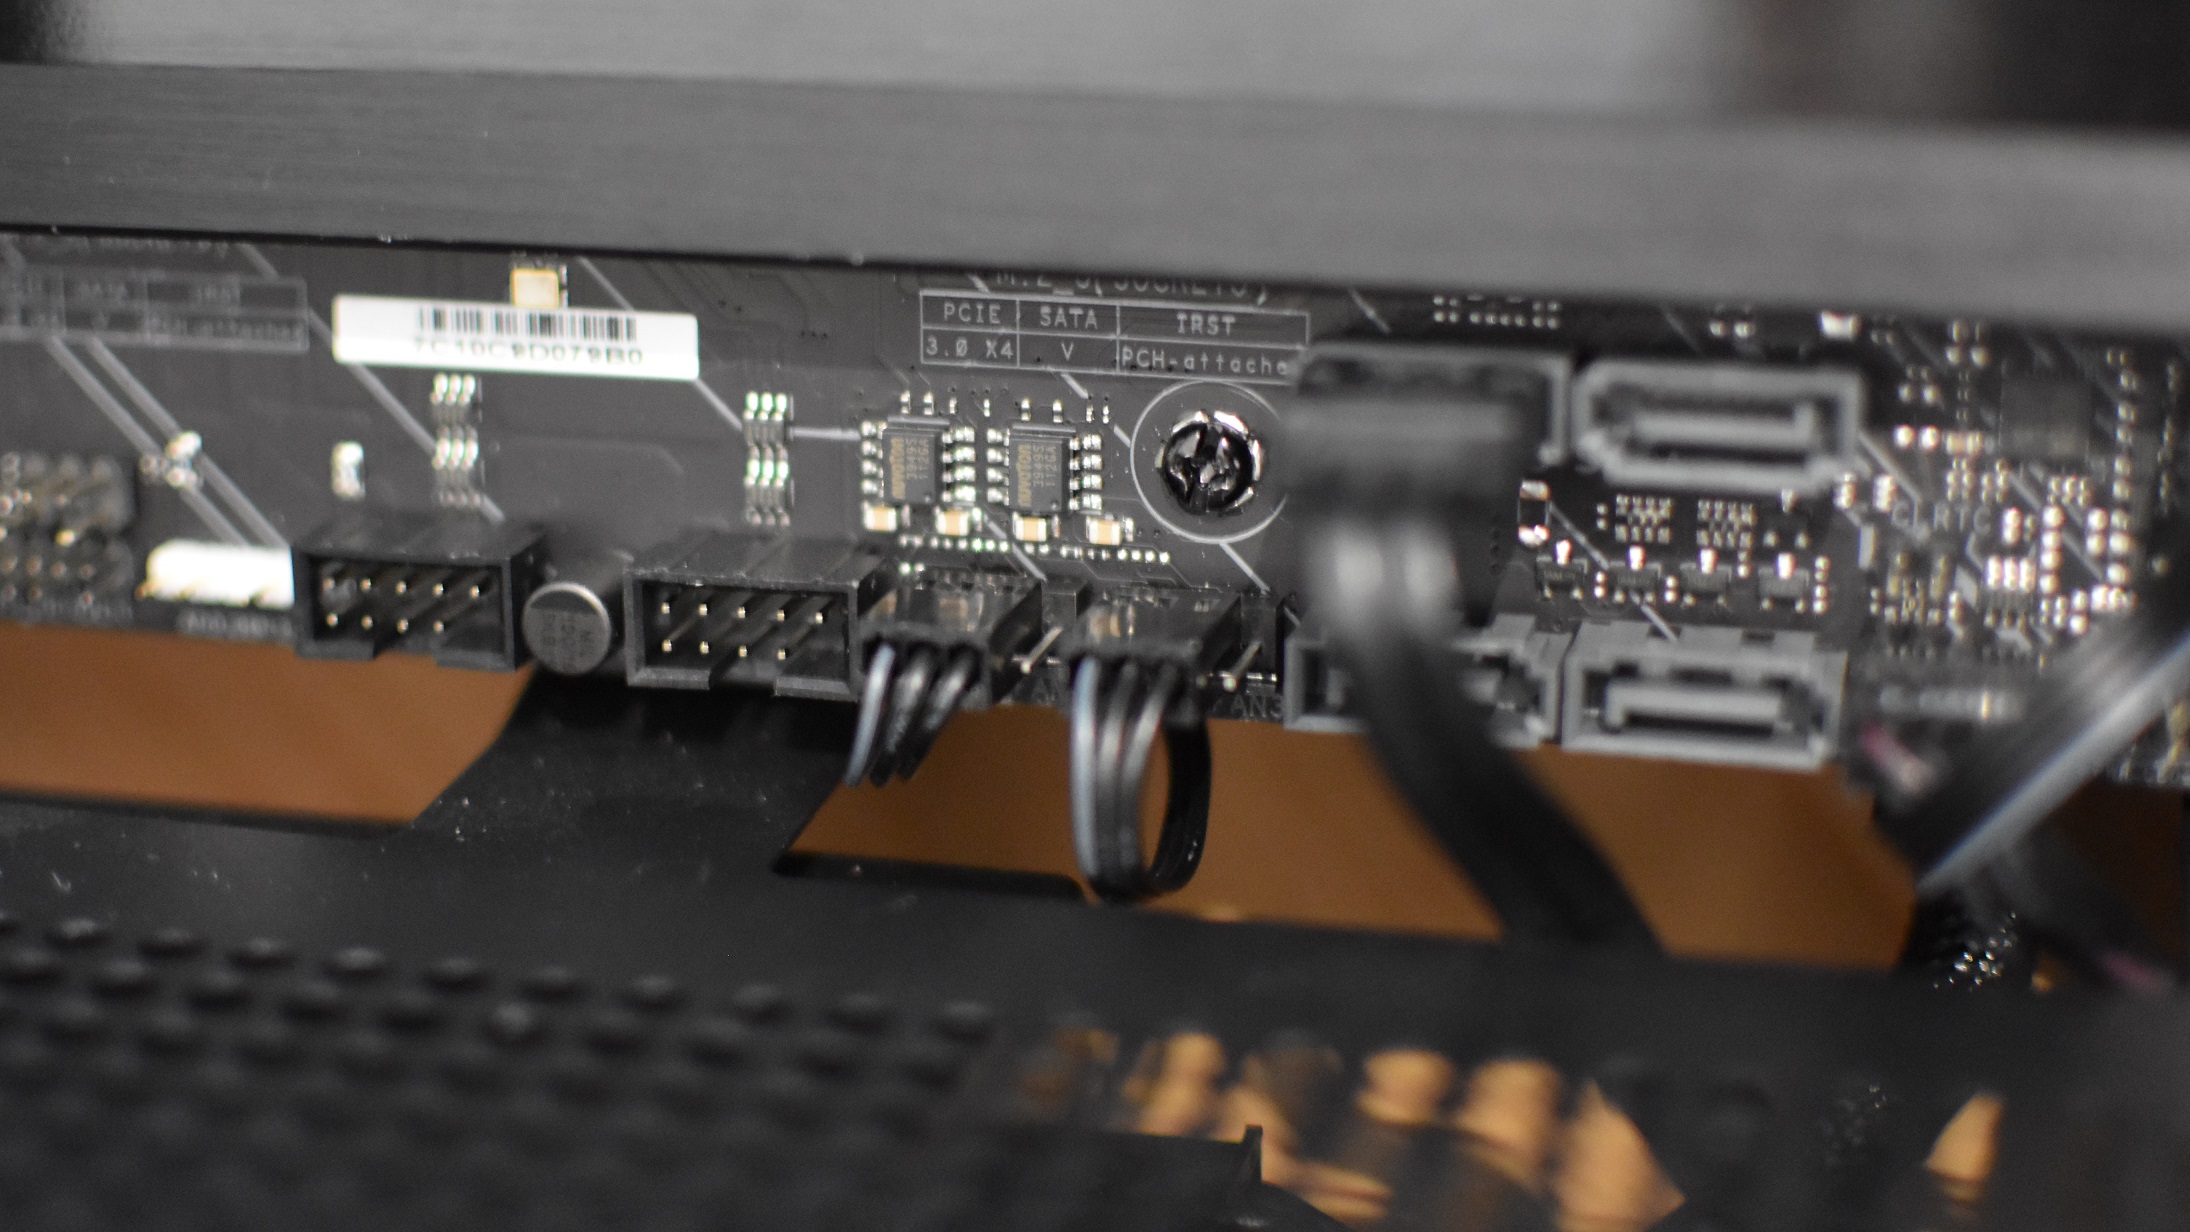
Step 1: Before the motherboard goes in the case, attach and install as many components on it as you can. Install the CPU, install the RAM, and insert any NVMe SSDs in the M.2 slots; it will all be easier than trying to do so in the case, after the mobo has been fitted. If your build includes a CPU air cooler, this should definitely be installed outside the case as well; for all-in-one (AIO) liquid coolers, get their mounting brackets in place on the board first, though attaching the pump can wait. I’d recommend fitting the radiator and fans in the case before installing the motherboard, and only marrying the mobo and pump together once the former is in place (see step 5). Step 2: Make sure your case’s motherboard tray is clear of any cables, and that the standoffs line up with the screw holes in the motherboard. Step 3: If your motherboard came with a separate I/O shield, press it firmly into the rectangular hole at the rear of your case. If your mobo’s I/O shield is integrated into the board itself, you can just slot the whole thing in. Step 4: Align the motherboard’s holes with the standoffs and, using the teensy-tiny screws that came with your case, fasten it in. While you shouldn’t wave magnets around a PC willy-nilly, a magnetic-headed screwdriver is fine to use here, and will help prevent the screws from falling loose and getting lost forever in the bowels of your chassis. Step 5: With the motherboard in place, it’s time to start connecting…everything. When building with an AIO watercooler I like to start with the pump first, just to prevent it sliding around the outside of the case. Every cooler is different but you can find some tips for this in our How to install a CPU guide. Step 6: Let’s connect the power cables next. There will always be one eight-pin CPU power connector at the top-left of the board and a hefty 24-pin connector over on the right edge, so plug these in. Some mobos may have a secondary four-pin or eight-pin CPU power connector next to the main eight-pin header; you don’t actually need to fill this in unless you intend to perform some seriously ambitious overclocking. If your PSU happens to supply the requisite cable, mind, you may as well plug it in anyway. Step 7: The bulk of other cables you’ll need to connect come from the case’s front panel. These can include cables for any USB and USB-C ports, and/or an HD-Audio cable for mic and headphone jacks, though there will always be a set of very small connectors for the power switch and activity LEDs. These should be carefully attached to a labelled header that’s usually around the bottom-right corner of the motherboard; if you’re lucky, as I was in the photo below, they’ll all be merged into one header. If not, they’ll be in a little bouquet of individual connectors, so be sure to place them on the correct pins as per the manual or a diagram on the board itself. Any USB connectors will normally be up on the board’s right edge, while the audio connector should be in the bottom-left corner. Their respective headers will all have different shapes and should be labelled, so don’t worry too much about potentially getting this wrong. Step 8: Connect any SATA cables to available SATA ports, if you’re using hard drives or non-M.2 SSDs. Any coolers, fans or light strips with addressable RGB may also include a separate 5v or 12v RGB connector, so find the appropriate header on the motherboard (if it has one) and connect it. If in doubt, your motherboard’s manual will include lists and diagrams of available connections. Otherwise, all that’s left cable-wise are the fans, be they case fans or attached to a watercooling radiator. Your motherboard should have multiple four-pin fan headers, onto which you can simply press down each cable’s connector. And if that connector only has three holes? No worries, you can still use any four-pin header – just make sure the two little fins on the cable line up either side of the plastic tab on the header. One of the pins will remain exposed, but that’s fine. Step 9: Do a final check around your case for any loose cables that should be attached to the motherboard, and if everything is in place, you’re almost done! You just need to add your graphics card to the motherboard as well. See our guide on how to install a GPU for the full deets, but ultimately, you’re just securing the card in a PCIe x16 slot and attaching any power cables from the PSU. Do leave this step until last, or else the card will just get in the way and block light while you’re trying to wrangle a bunch of miniscule wires. Once that’s done, you can officially consider your motherboard installed. This is one of the trickiest parts to building a PC, as well one of the more involved upgrades you can make to an existing rig, but that’s just down to the number of steps rather than the probability of failure. And, now that you know where and how all your PC’s different components are connected to each other, hopefully you can be more confident in making future hardware customisations.