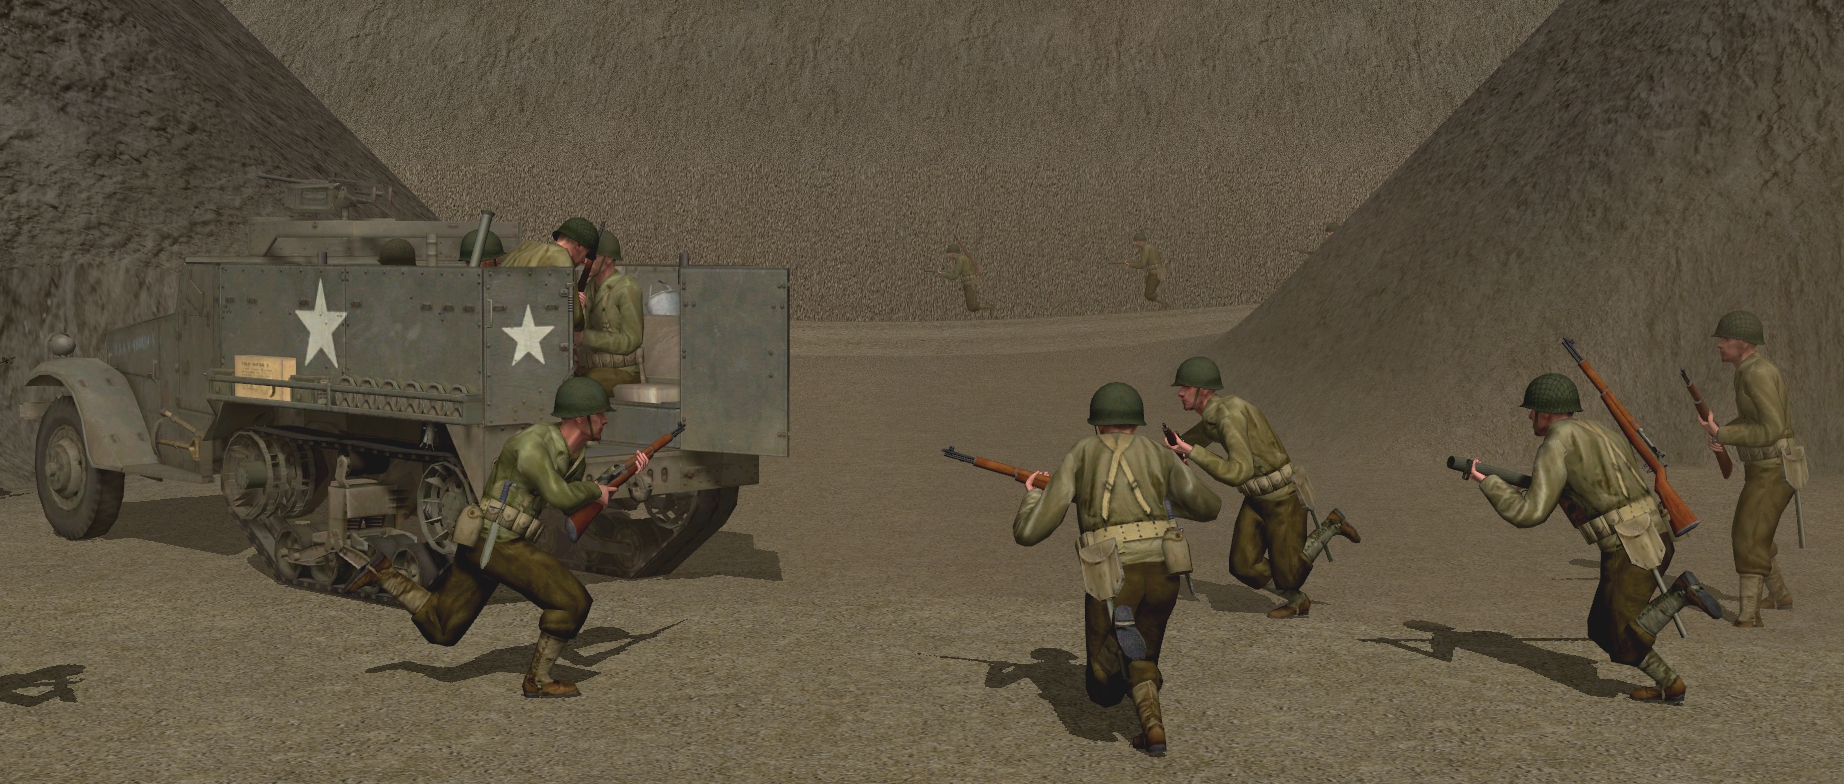
(Colonel Croesus is an open-to-all game of Combat Mission: Fortress Italy in which Allied forces are orchestrated by commenters while German units are computer controlled. Each daily turn covers one minute of WeGo action. For a scenario outline and accounts of earlier turns, click here). The time for pussyfooting is over. Pussyfinding and pillbox and U-boat neutering are the priorities for the impressively well-coordinated Comment Commanders this turn. When the clock restarts Crabmeat 1 in the north and Crabmeat 2 in the south scuttle westward, keen to eliminate static infantry threats and discover the whereabouts of Steiner’s heavy-duty staff car.
The MG fire that harries Crabmeat 1 and her sizeable infantry entourage as they advance down the row 3 tunnel intensifies ominously as the units approach their destinations (various positions in and around the tunnel mouth). It’s clear that the control room and pen gates ahead are defended by more than a handful of riflemen. There’s a tripod-mounted HMG for starters.
The incoming unnerves what’s left of 1st Squad and denies Moffat, the reluctant anti-tankist, any chance of redemption. An unwieldy spring-loaded rocket projector falls to the ground with a clatter early in the turn.
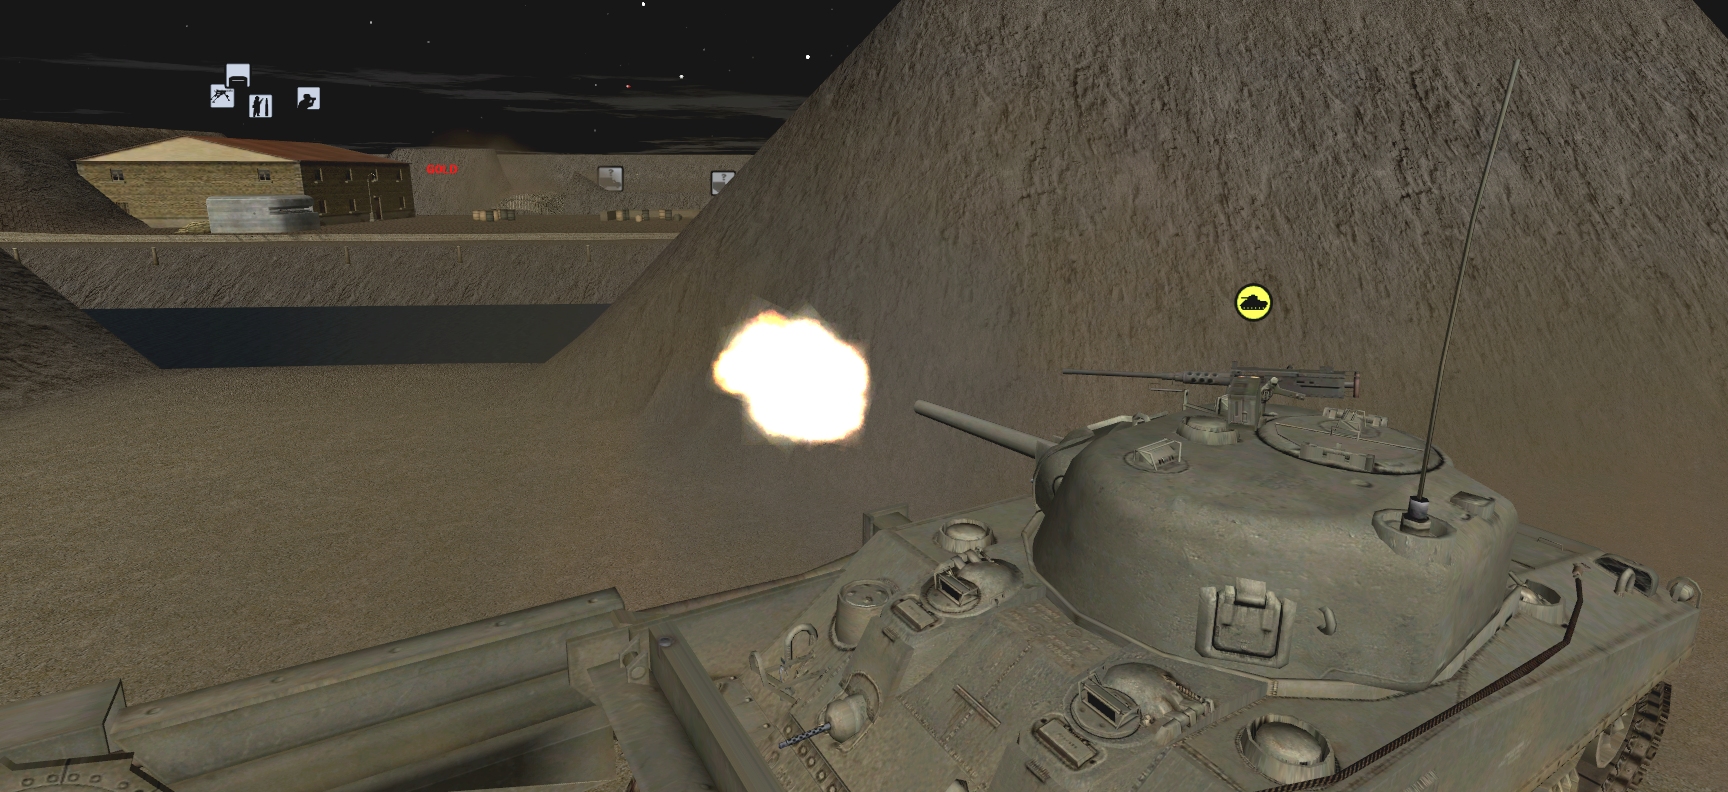
Once in position, Crosbie’s tank, now buttoned, begins molesting a U-boat deck-gun, that, somewhat surprisingly, it can’t actually see. Do the three or four rounds of high-velocity HE do the trick? Judging by the fact that the waterproof flak gun is silent for the rest of the sixty, yes they do.
1st Squad might have decided that discretion is the better part of valour, but grounded aviators Lynch & Bishop are happy to brave the bullet storm. The pair hare across the hot-as-hell r column road and bundle into the building at p4.
Demonstrating commendable fitness/fighting spirit they then proceed to identify and engage targets to the south.
This flanked rocketeer won’t be troubling the Crabs or the Achilles in future turns…
From their new position, L&B have an excellent view of an armoured car glimpsed a little earlier by the Wasp as it traversed BRASS.
Singh’s flamer finishes up in a position where it can’t influence the battle for GOLD, but the Breach Team jogging along behind it spend a significant portion of Minute 12 plinking the annoyed Sd.Kfz. 231 on the slipway and taking potshots at crewmen near the lifeless U-boat gun.
Meanwhile, further south, 3rd Squad are busy doing this…
…while, not a million miles away, Crabmeat 2 uses the extensive cross-map view afforded by SILVER’s western wing to knock lumps out of the pillbox at j16.
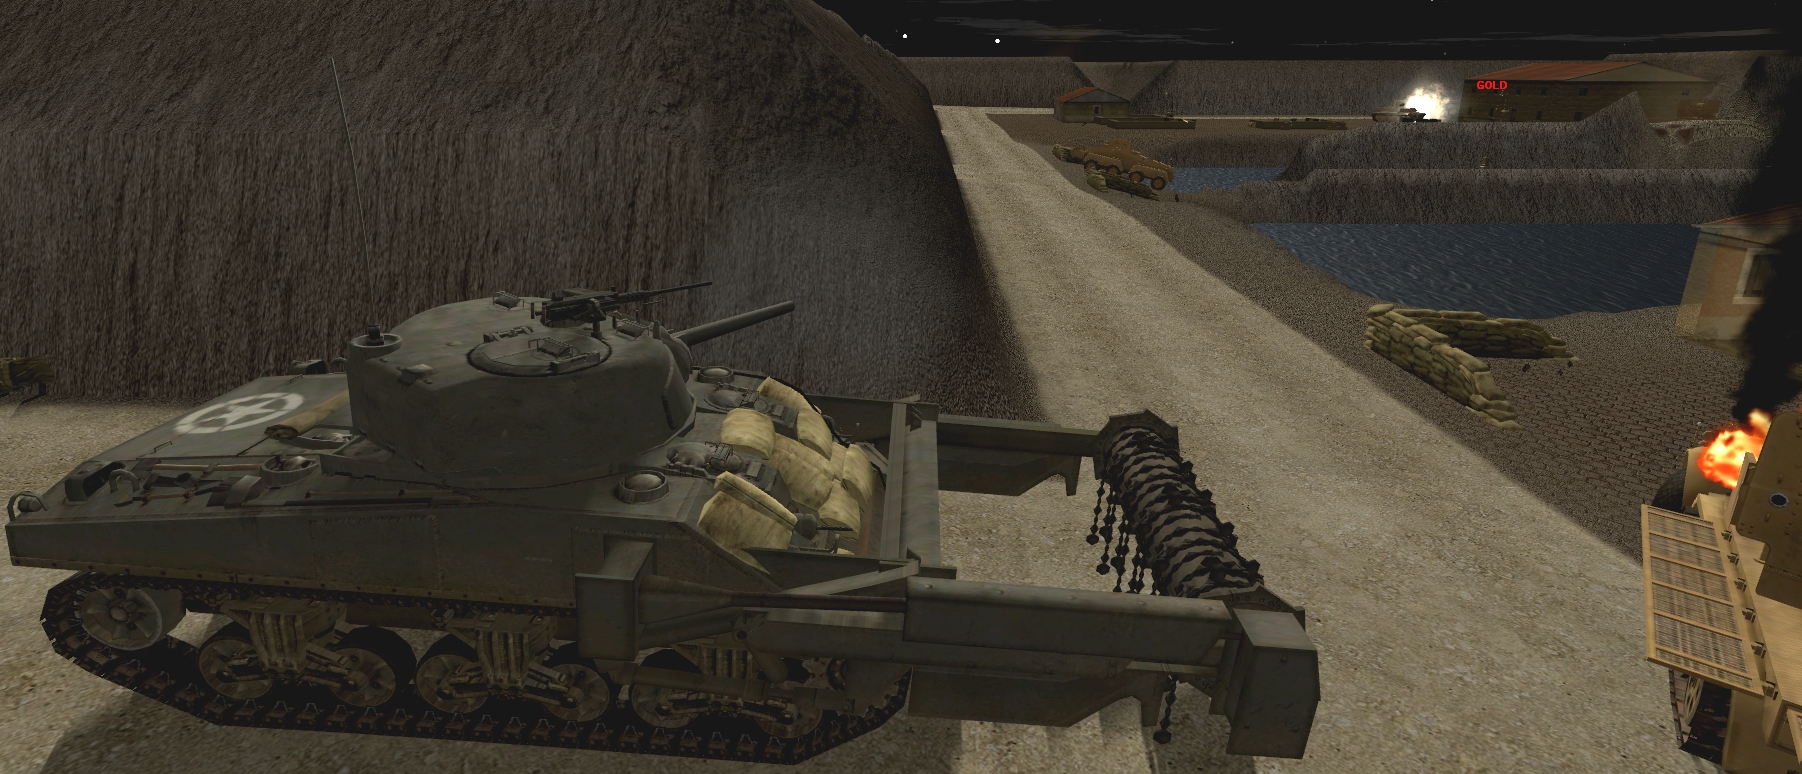
Their ears ringing and their eyes red from dust and smoke, the occupants of the battered redoubt could be forgiven for missing 2nd Squad’s cagey push down the row 17 road. If Steiner’s Tiger tank hadn’t emerged from the monster closet workshop area at e/f16 early in the turn, distracting a GI as it did so, King’s squad might not have lost another man.
Nemchik’s tank seems ideally positioned to halt the Panzer VI as it heads for the main quay, but a combination of dust, darkness and the lure of the pillbox, somehow conspire to prevent a timely ambush. By the time Crabmeat 2 does open fire, the purposeful Tiger has already swapped munitions with Crabmeat 1.
The duel with Crosbie’s steed opens with an 88mm delivery that deals damage despite missing its aimpoint by several feet. Thundering over Crabmeat 1’s turret top like a phantasmal freight train, the wayward round strikes the wall behind the Allied tank, hurling rock and steel shrapnel into the crowded tunnel. Among the injured are Sergeant Nelson (1st Squad) and one of Rocca’s HQ team.
The aggregate-sprinkled Sherman responds with an AP round that appears to do little except chip a chunk of Zimmerit from the big cat’s flat front armour.
It’s at this point, a couple of seconds before the turn ends, that Crabmeat 2 finally weighs in. Spotting the unmissable German giant through a gap in the billowing dust clouds, Jackson, Nemchik’s gunner, does what he’s done hundreds of times before. A cylinder of concentrated chaos leaps from the barrel of the flail tank, flashes across the oily waters of the southern dock, and, after colliding with 80mm of side armour at an unfavourable angle, careens away defeated.
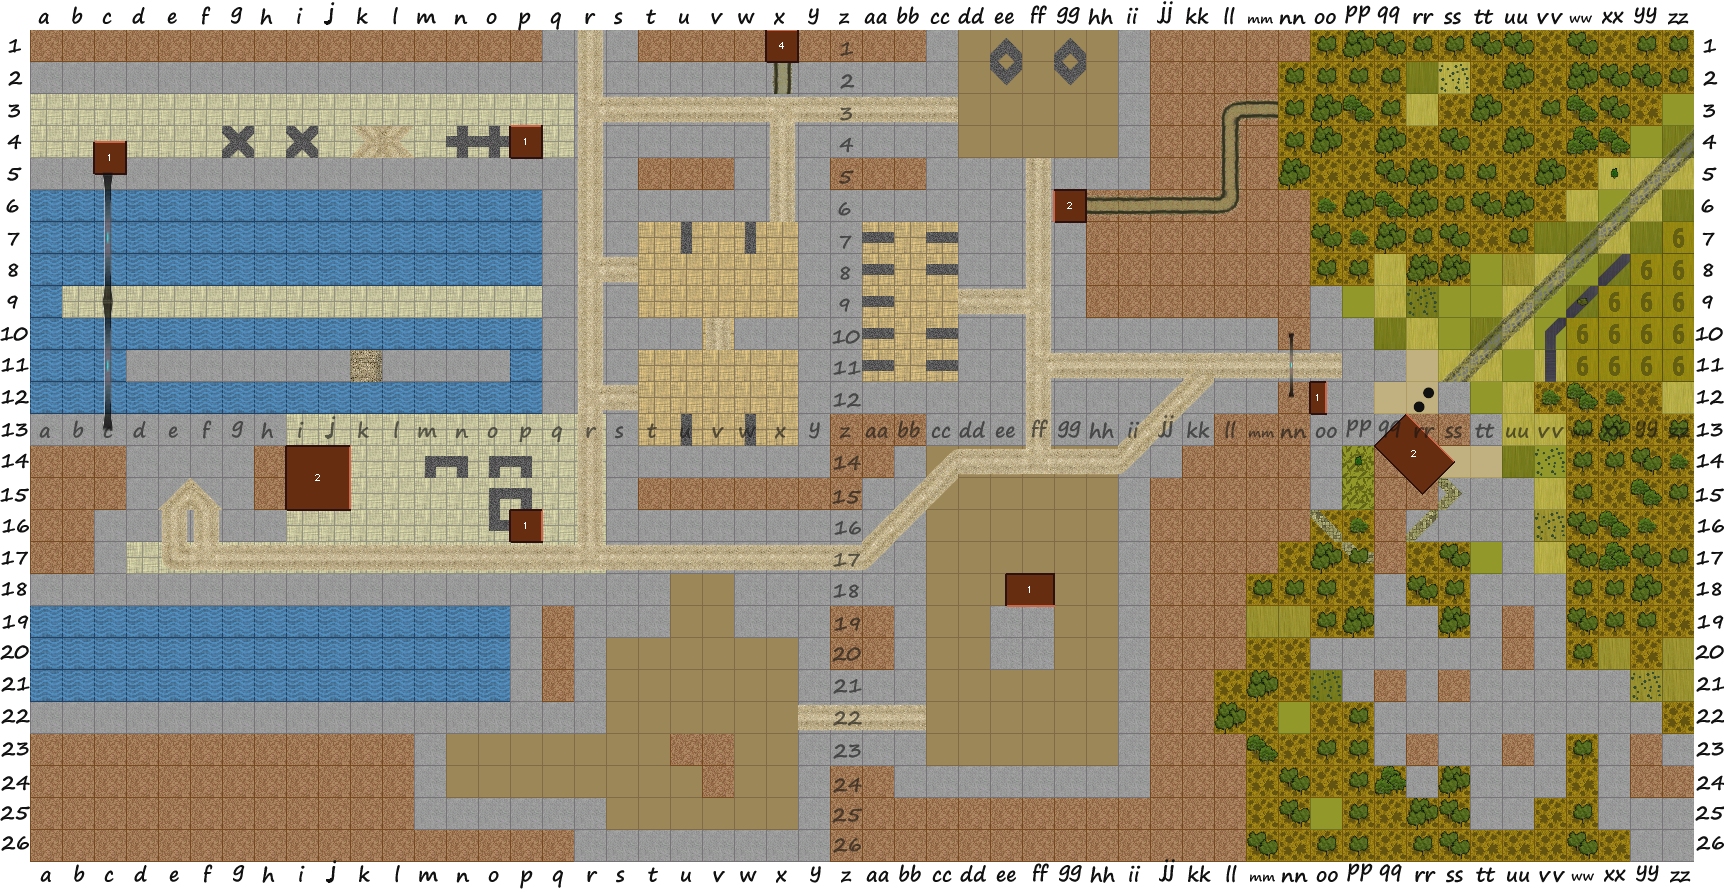
The situation at T+60: